Have you ever found yourself staring up at the night sky, mesmerized by the twinkling stars, and wondered how to capture that celestial magic in a photograph? Star trail photography might just be the answer you’re looking for. It’s a breathtaking technique that allows you to capture the movement of stars across the night sky, creating stunning visual effects. In this guide, we will walk you through everything you need to know to create the perfect star trail photography.
Star trail photography beautifully captures the Earth’s rotation and the stars’ pathways. But before you dive into this cosmic adventure, let’s explore some history, tips, and technicalities to make your star trail photo session successful.
Table of Contents
The Origins of Star Trail Photography
Star trail photography isn’t just a modern invention. It dates back to the mid-19th century when photographers first began experimenting with long exposures. At that time, capturing star trails was more of a byproduct than a goal. Early astronomers and photographers used long exposures to study celestial bodies, inadvertently leading to the discovery of star trail patterns.
Much like the early pioneers of photography, today’s star trail photographers must be willing to experiment, learn from their mistakes, and cherish those imperfect yet magical images. After all, part of the charm in star trail photography is its unpredictable, ever-changing nature.
Understanding the Basics
What Are Star Trails?
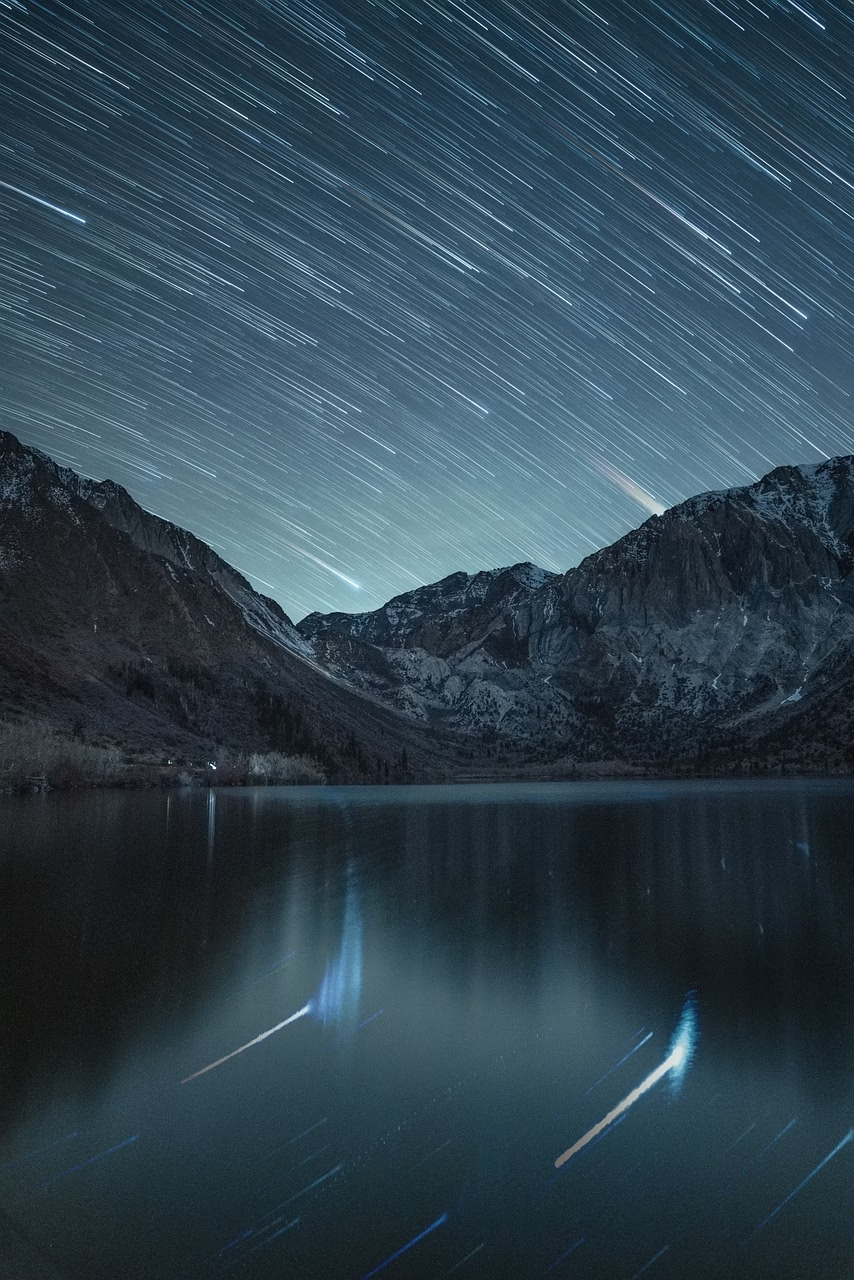
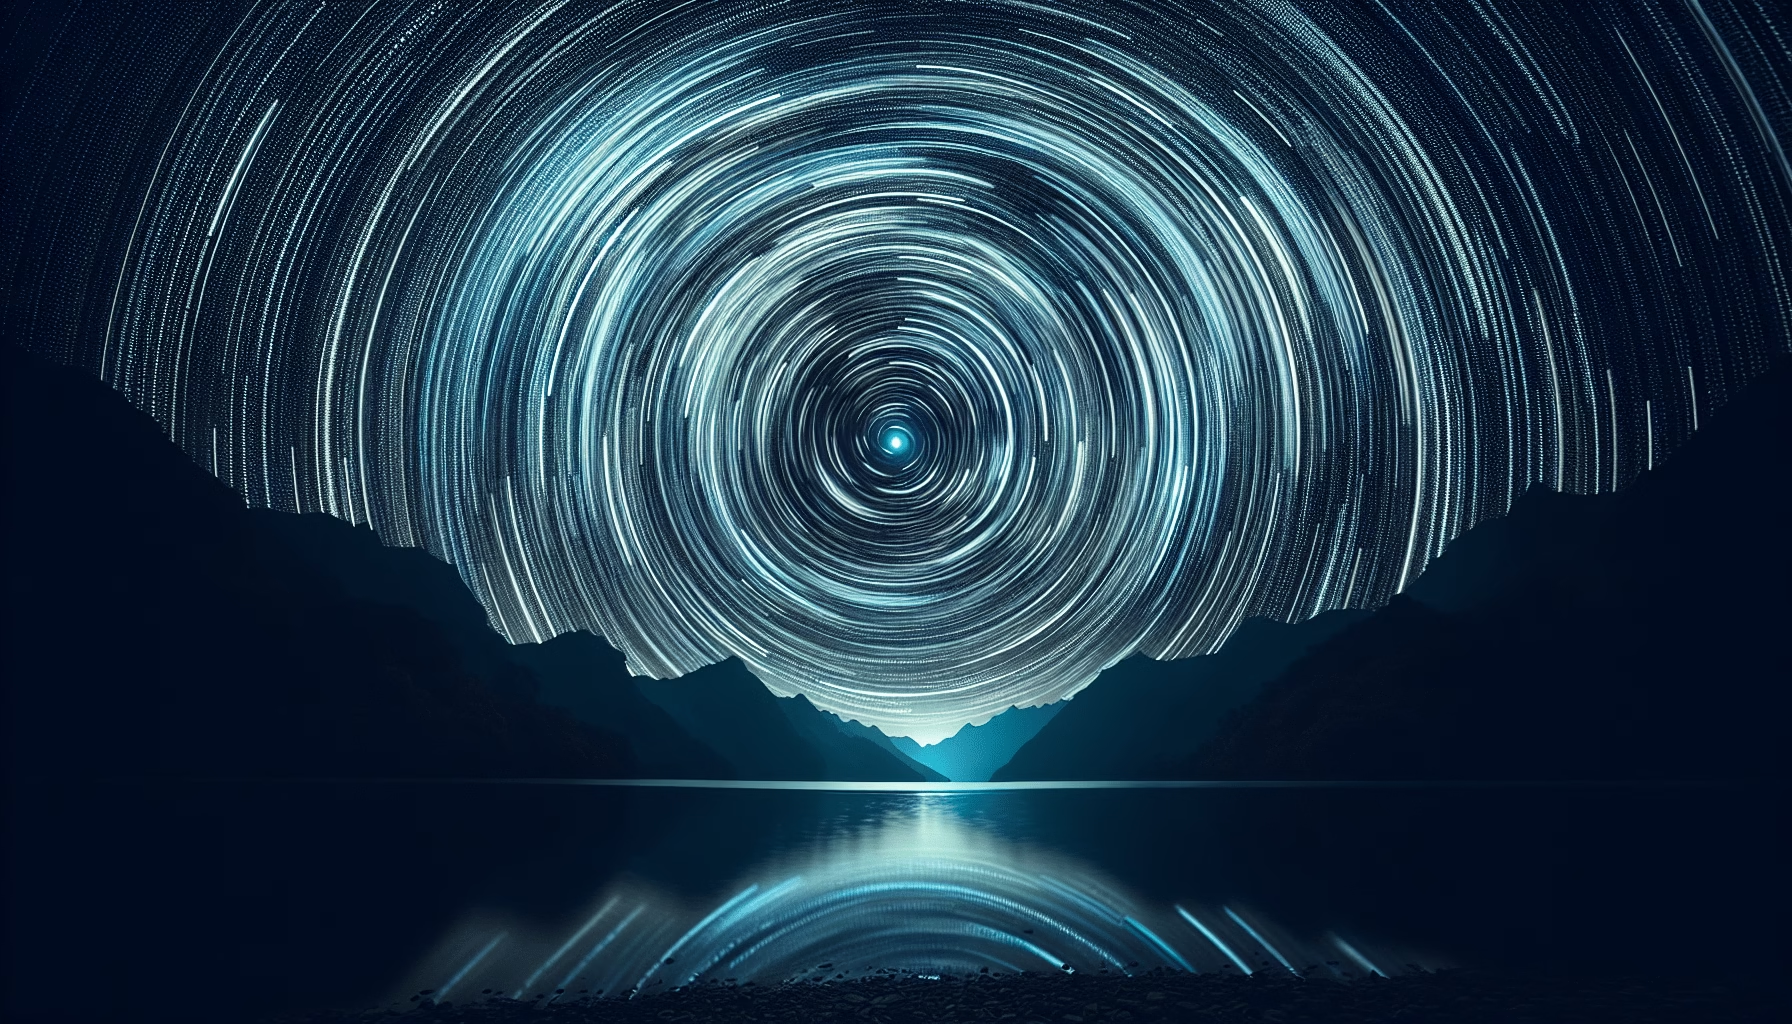
Star trails are the paths that stars appear to trace across the sky due to the Earth’s rotation. They create beautiful, elongated arcs and circles in long-exposure photographs. These trails highlight the timelessness of our universe and our humble perspective within it.
Setting the Scene: Equipment You Will Need
Getting the right setup is crucial for capturing star trails effectively. Here’s a handy guide to the essential equipment you’ll need for your photographic endeavor:
- Camera: A digital single-lens reflex (DSLR) or a mirrorless camera capable of manual settings.
- Lens: A wide-angle lens with a low f-stop (f/2.8 or lower is preferable).
- Tripod: A sturdy tripod to keep your camera stable during long exposures.
- Remote Shutter Release or Intervalometer: To avoid camera shake, use a remote control, or set your camera to take multiple exposures automatically.
- Extra Batteries and Memory Cards: Long exposures can quickly drain your battery, and you’ll capture lots of images, so be prepared.
The Ideal Conditions for Star Trail Photography
The environment you choose can greatly impact the quality and beauty of your star trail images. Here are key factors to consider when planning your star-gazing adventure:
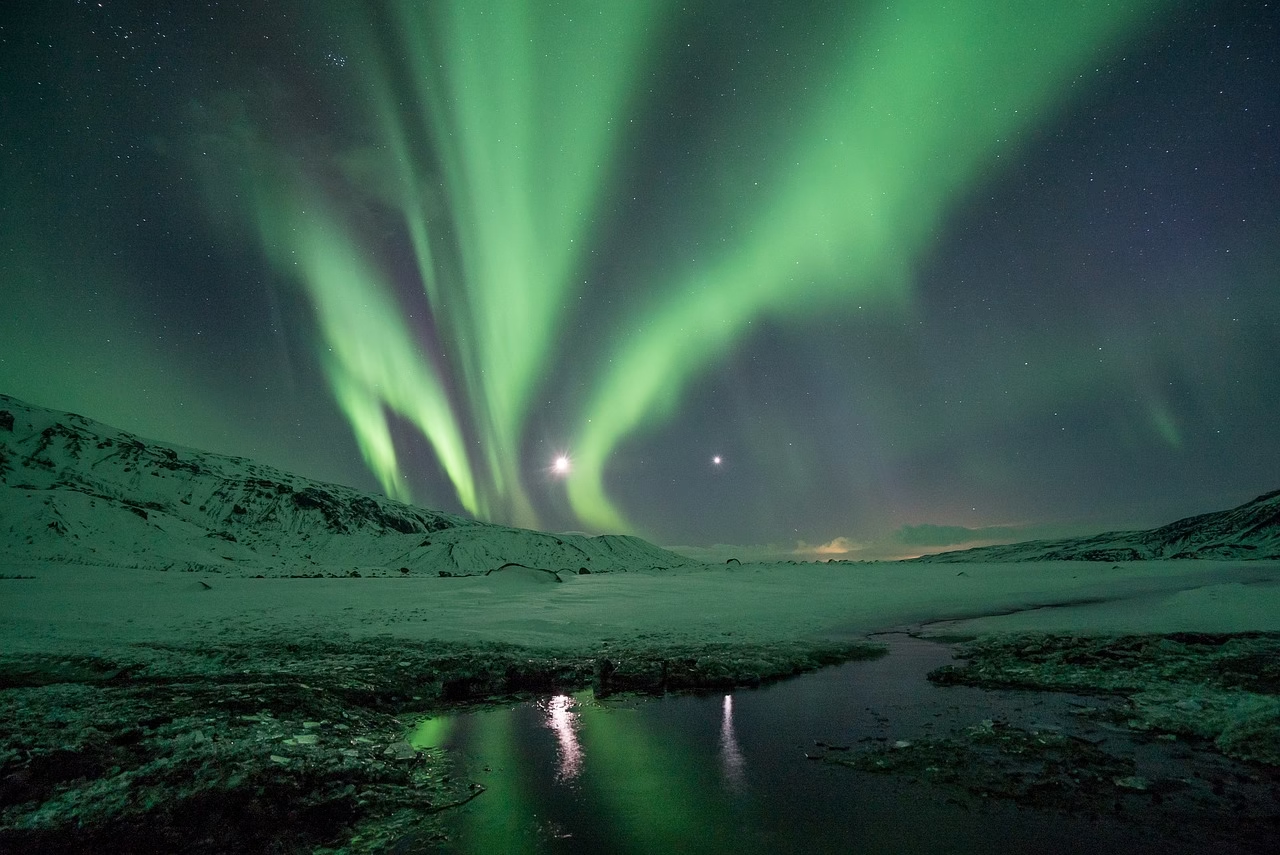
- Dark Skies: Avoid light pollution by choosing a location far from city lights. National parks or rural areas are excellent choices.
- Clear Weather: Check weather forecasts to ensure clear skies for your shoot.
- Moon Phase: A new moon or a waning crescent provides a darker sky, making it easier to capture star trails.
Planning Your Shoot: A Step-by-Step Guide
Step 1: Scout Your Location
Planning is pivotal in star trail photography. Visit your chosen location during the day to evaluate potential shots, test different angles, and identify any obstructions. This will save time and ensure you have perfect compositions when the stars appear.
Step 2: Determine Your Composition
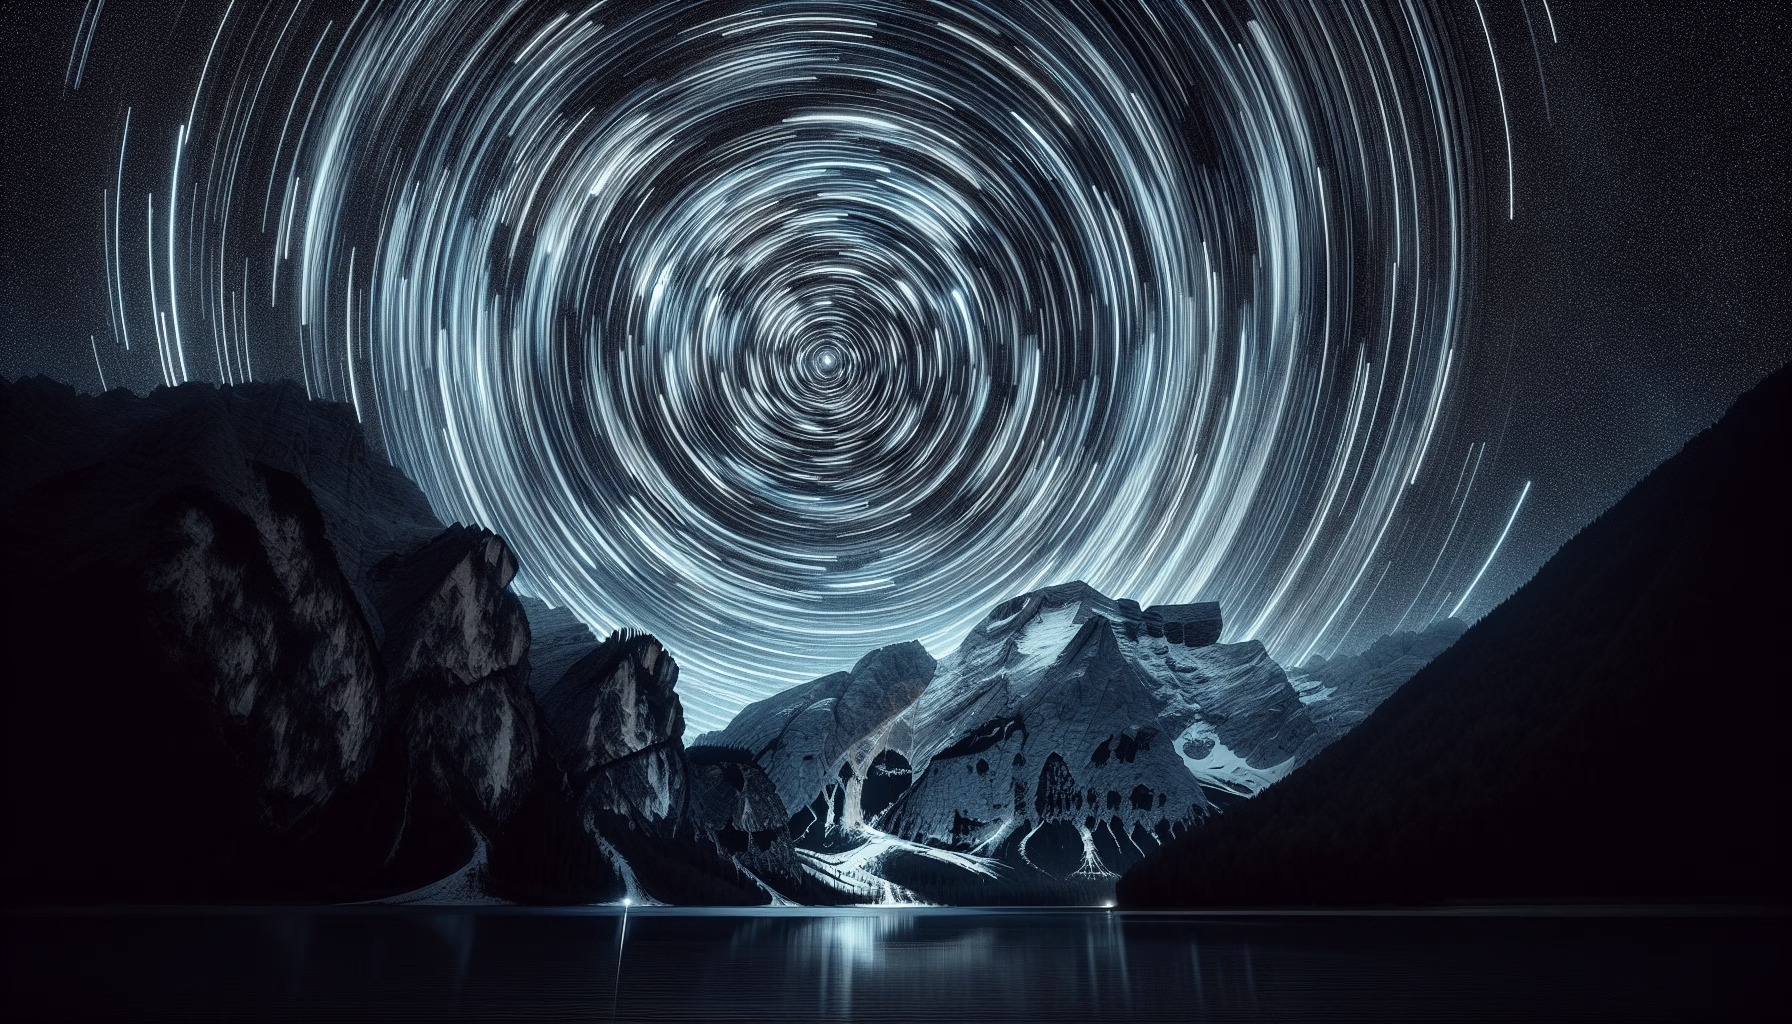
Composing your shot is about artistic vision and environmental synergy. Look for stunning foregrounds such as trees, mountains, or structures that complement and contrast with the swirling star trails. Keep in mind how you want the trails to look—circular trails can be achieved by pointing your camera towards the North or South Pole.
Step 3: Camera Settings for Star Trail Photography
Manual settings are your best friend when it comes to star trail photography. Here’s a simple guideline to get you started:
- ISO: Set your ISO between 400 and 1600 to capture enough light without introducing excessive noise.
- Aperture: Use a wide aperture (f/2.8 to f/4) to allow as much light as possible onto the sensor.
- Shutter Speed: Choose a base exposure time of 20-30 seconds to begin crafting your trails.
- Focus: Use live view mode to focus manually, setting your lens to infinity for precise clarity on the stars.
Step 4: Execute the Shot
Now, you’re ready to capture the night sky. Use your remote shutter release or intervalometer to take continuous, long-exposure shots over a period of time—ideally, an hour or more. The more images you capture, the more defined and vivid your star trails will be.
Post-Processing: Bringing Your Star Trails to Life
Capturing the images is only half the battle. Post-processing enlivens your star trail photographs, enhancing the quality and aesthetic appeal. Here’s a quick guide to the post-processing workflow:
Stacking Your Images
Use software like Adobe Photoshop or dedicated astrophotography software like StarStaX to stack your photos. Stacking amplifies the trails while reducing noise, resulting in cleaner images. Follow these basic steps:
- Import your images into the software.
- Stack them in sequence to create a smooth trail.
- Basic adjustments to exposure, contrast, and color balance.
Adding the Final Touches
After stacking, make further adjustments to enhance detail and balance. Look to reduce any noise, adjust highlights, and fine-tune colors for a more dramatic effect. Remember, subtlety can often yield the most stunning results in the final image.
Case Studies: Inspiring Examples of Star Trail Photographers
Let’s draw inspiration from some prominent photographers who have mastered the art of star trail photography. Their work shows a range of techniques, compositions, and effects:
Photographer A: Embracing Natural Landscapes
Known for capturing trails over serene lakes and rugged mountains, Photographer A’s work marvels at the interaction between land and sky. The compositions favor wide shots where star trails form enchanting mosaics overhead, emphasizing the grandeur of nature.
Photographer B: Urban Star Trails
Photographer B brings a unique twist by capturing star trails over urban landscapes. The contrast between artificial city lights and celestial trails creates a marriage between two worlds, highlighting life’s coexistence. Realities blur, offering an unexpected yet harmonious blend of nature and metropolitan life.
Photographer C: Abstract Stars
Taking an artistic route, Photographer C creates dizzying star trails that turn the usual arc patterns into abstract splatters of light. These images push boundaries, making celestial photography as much about art as science, challenging conventions with surprising success.
Troubleshooting Common Challenges
Photography isn’t without its hurdles, especially when aiming for precision. Here are solutions to common issues faced by star trail photographers:
Challenge 1: Noise and Image Interference
Long exposures can lead to noise and unwanted interference. Use a lower ISO wherever possible, or employ noise reduction software during post-processing to counteract this.
Challenge 2: Lens Fogging
The difference in temperature between night air and camera equipment can cause lens fogging. Solve this by using lens hoods, keeping your camera in a zipped bag until ready for use, or employing dew heaters.
Challenge 3: Interruptions During Long Exposures
Managing battery life and unexpected interruptions can be frustrations. Bring extra batteries, ensure your equipment is fully charged before shooting, and monitor equipment performance regularly.
Emphasizing Sustainability
While capturing the stars, it’s important to respect our planet. Be mindful of your setting to ensure a minimal environmental impact:
- Leave No Trace: Carry out everything you bring in and leave the location as you found it.
- Choose Eco-friendly Products: Use eco-friendly electronics, batteries, and equipment.
- Educate Others: Share knowledge about light pollution and its impact on our ability to enjoy starlit skies.
Future Trends and Technologies
The field of photography is ever-evolving, and keeping up with trends can enhance your craft:
Technological Advancements: Tools for Tomorrow
New technologies are making star trail photography more accessible and precise. Smart devices, advanced software, and improved imaging sensors are at the forefront of these advancements, enabling greater flexibility for budding photographers.
Sociocultural Shifts: Broadened Appreciation of Celestial Photography
The digital age has enabled a growing community of night-sky enthusiasts. Social media platforms offer opportunities to share your work, gain feedback, and connect with fellow guides to the stars, cultivating a healthy culture of appreciation and learning.
Engage with Your Star Trail Community
Conclusion time! Creating star trail photographs involves patience and practice but leads to truly captivating results. Have you tried capturing star trails yourself? Share your experiences and the challenges you faced in the comments. Additionally, explore related articles for more tips on photography and growing your skills.
By embracing this celestial journey, you not only create incredible images but also connect with the timeless dance of the cosmos. Happy shooting!
Beginner’s Guide to Star Trail Photography.
Israeli Soldiers Face Daunting Challenge in Gaza’s Underground Nightmare
