Have you ever looked up at the night sky and wondered how to capture its mesmerizing dance of stars? star trail photography might just be the perfect answer to that. It’s both an art and a playful blend of patience and technical finesse, enabling you to weave the magic of the universe into a single frame.
Table of Contents
The Allure and Mystery of Star Trail Photography
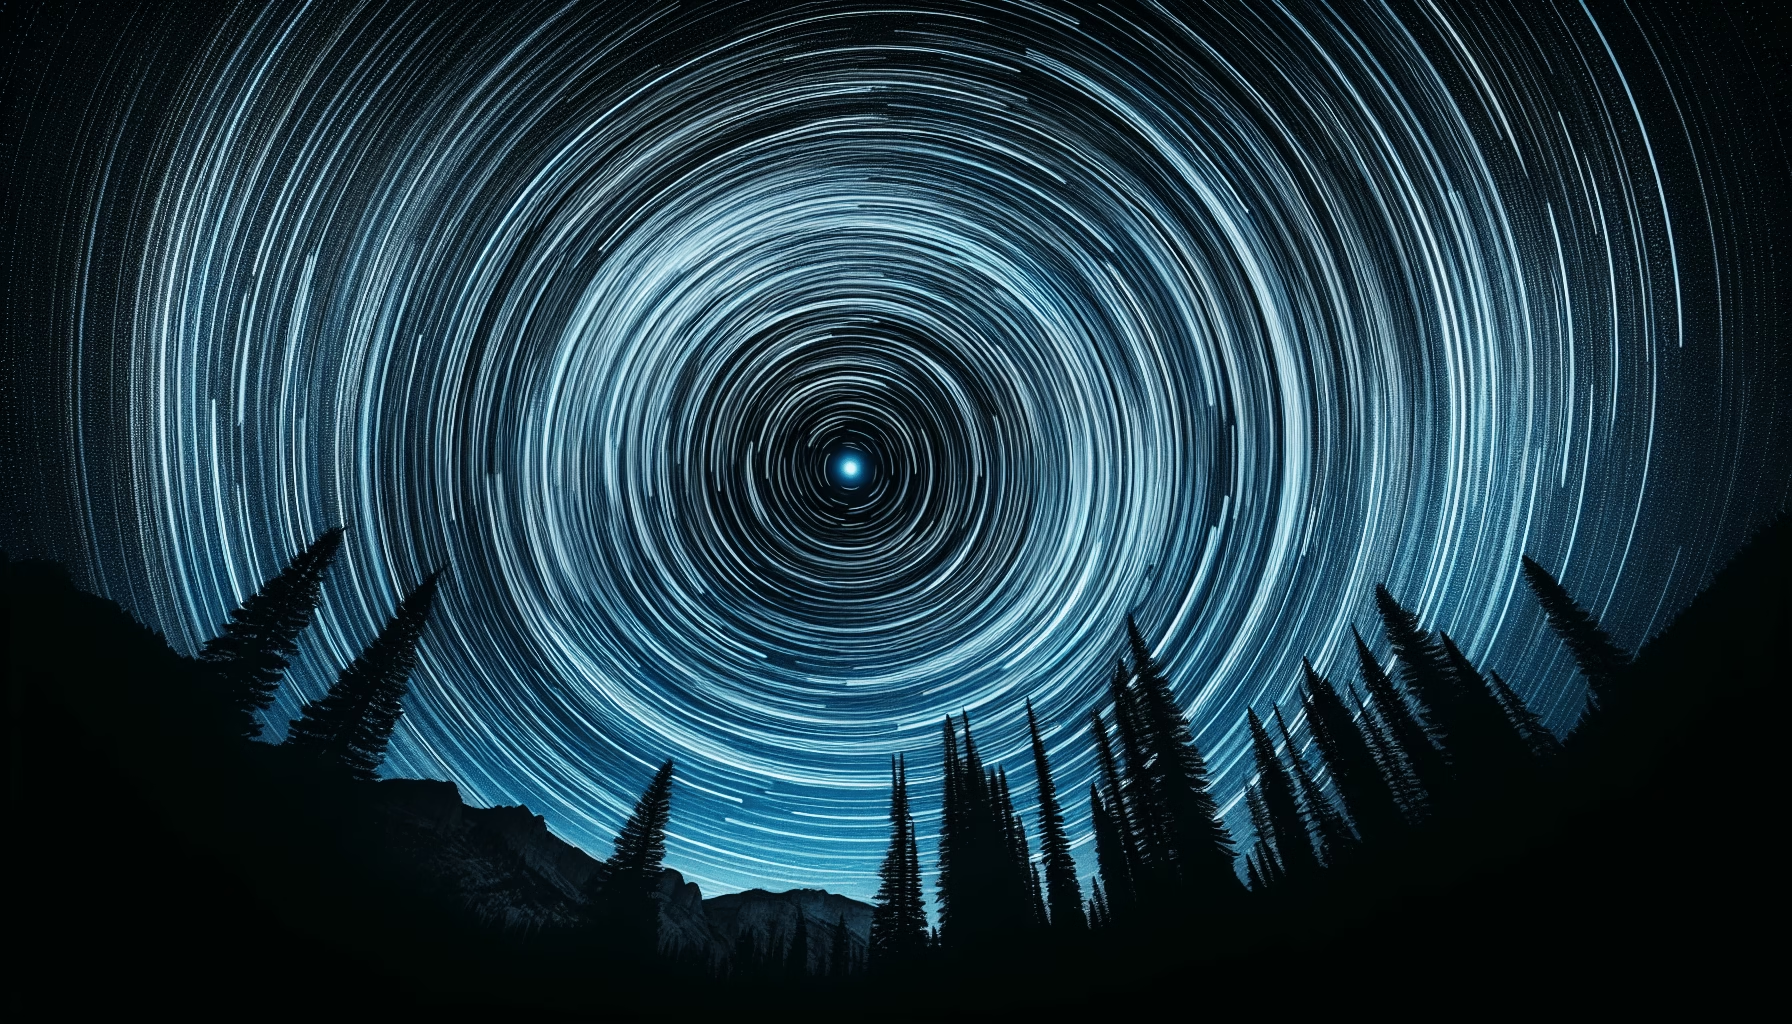
Star trail photography captures the trails of stars as they appear to move across the sky due to Earth’s rotation. This magical dance has enthralled photographers and stargazers alike, turning a simple night sky into a dazzling display of light. But why do many photographers pursue this elusive form? The charm lies in transforming a fleeting moment into a canvas overflowing with motion and beauty. It’s a blend of art, science, and patience that lets you share the cosmos with others.
Understanding the Basics
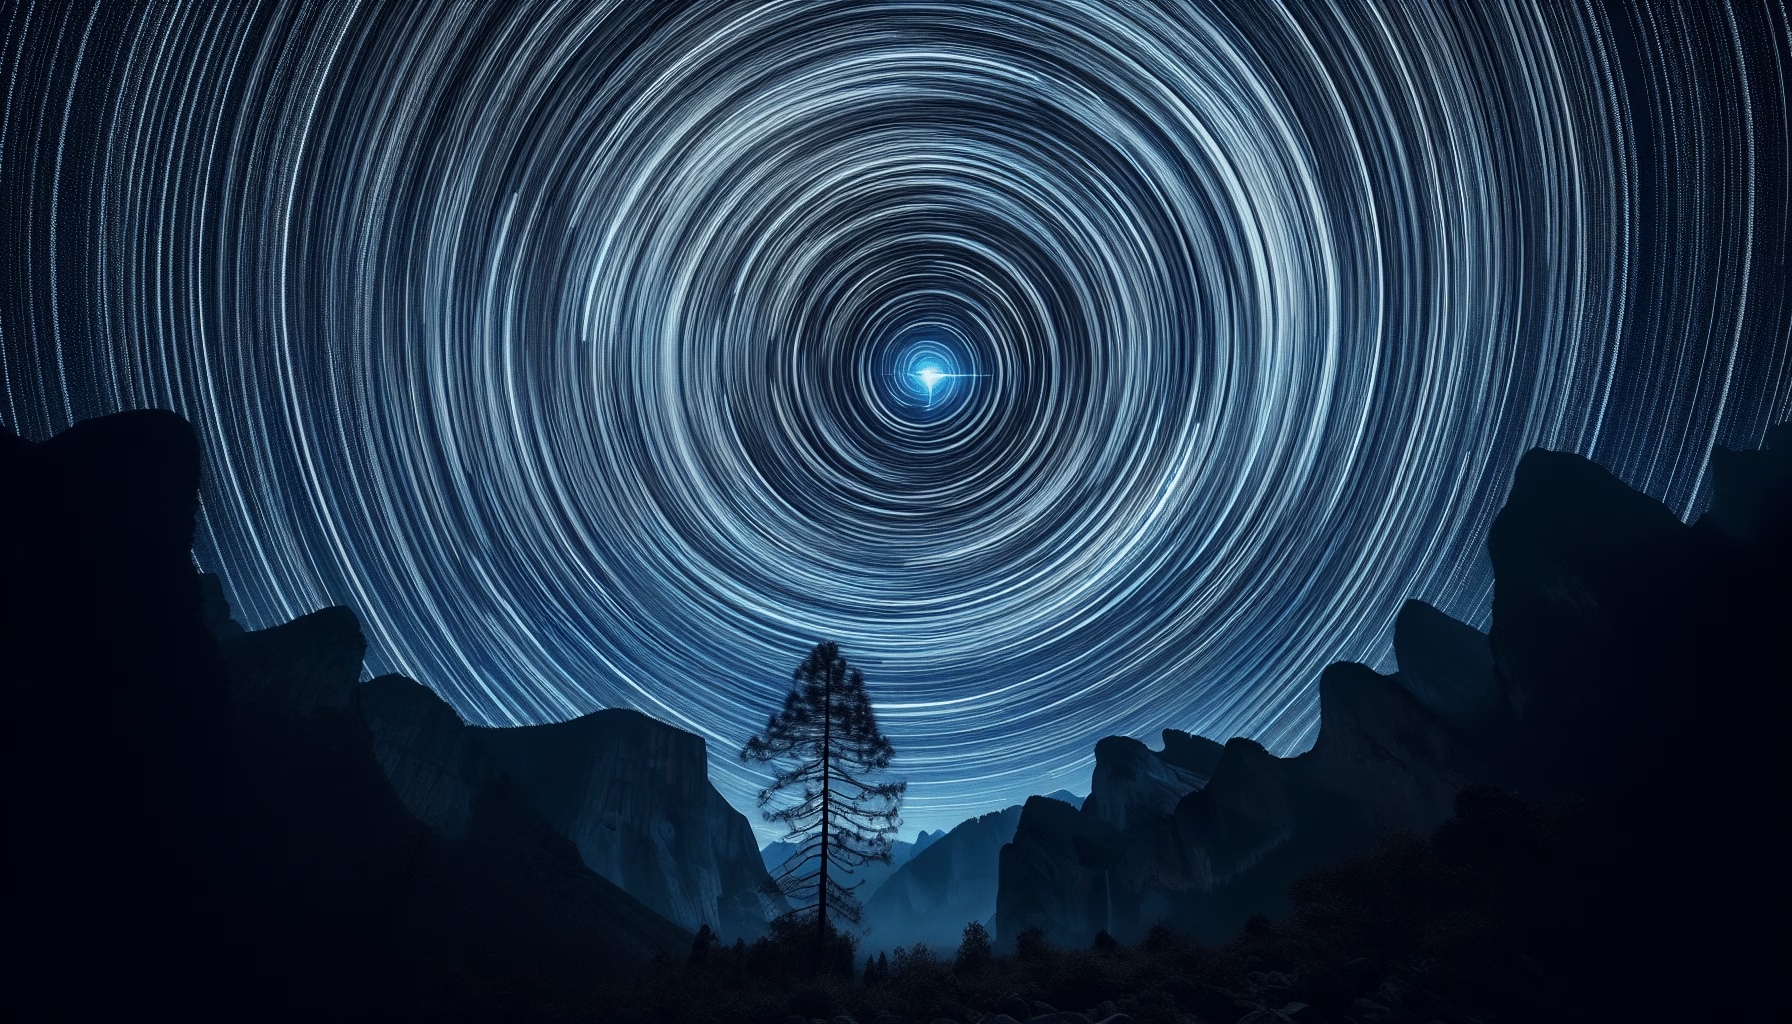
Before we get into the how-to, let’s talk about the ‘why’ and the ‘what’. Star trails are essentially long-exposure photographs that record the movement of stars—pretty neat, right? It’s a way of visually narrating how stars dance around the celestial poles, creating circular patterns that take your breath away. Understanding the basic concepts can provide a foundation that makes the technical aspects less daunting.
The Gear You’ll Need
First things first, let’s arm yourself with your sidekicks—your camera gear! In the world of star trail photography, the right equipment can make a universe of difference.
- Camera: A DSLR or mirrorless camera that allows for manual control over exposure settings.
- Lens: A wide-angle lens is preferable. Faster lenses (capable of opening up to at least f/2.8) are ideal.
- Tripod: A sturdy tripod is an absolute must. Think of it as the backbone on which your starry adventures hinge.
- Shutter Release or Intervalometer: While some cameras have built-in functions, an intervalometer helps automate the capture of multiple exposures.
Having the right gear allows for greater flexibility and control over your photos, transforming technical challenges into artistic opportunities.
Planning Your Session: It’s All in the Timing
With gear in hand, the next step is the delicate art of timing. But don’t worry, you don’t need a degree in astrophysics for this. Timing is less about luck and more about understanding your environment and the celestial schedule.
Choosing the Right Night
Not all nights are created equal when it comes to star trail photography. While every clear night has its potential, some key factors can guide your planning:
- Moon Phase: Aim for a night when the moon is new or crescent. A full moon, while lovely, competes with the stars and washes out their trails.
- Clear Skies: Obvious, right? Clouds are the enemies of star trails, but they can be dramatic when used strategically.
Location, Location, Location
In real estate, it’s all about location, and the same goes for this celestial escapade. To get those perfect, uninterrupted star trails, you need to seek out locations far away from city lights. Light pollution can dim your trails and steal their magic. National parks, rural areas, or anywhere generally “in the middle of nowhere” might be perfect spots.
Aligning with Celestial Poles
Your star trails align around the celestial poles. In the Northern Hemisphere, the North Star (Polaris) is a critical counterbalance, dictating the direction of your captivating pattern. By directing your camera at or away from these poles, you can shape the movement and pattern of your trails.
Camera Settings: The Secret Sauce
Arguably one of the most important aspects, and where most of your magic happens, are your camera settings. Here is where your vision takes on life.
Shooting in Raw
Always, always shoot in RAW. This format collects far more data than JPEG, giving you leeway in post-processing. It becomes your digital safety net when fine-tuning your images later on.
Aperture, ISO, and Shutter Speed
Here comes the dance of numbers and settings:
- Aperture: Keep it wide open (e.g., f/2.8 or wider). This lets more light in and accentuates those twinkling details.
- ISO: Balance is key. Start around 800-1600 to capture details without too much noise.
- Shutter Speed: This will vary. Aim for 30-second exposures to start, and adjust based on the ambient light and desired effect.
Focus and Stabilization
Focusing in the dark could make anyone a bit cross-eyed. Set your lens to manual and focus at infinity before the start of your session. Also, switch off any stabilization on lenses or cameras; with your camera mounted on a tripod, stabilization can actually have adverse effects.
Capturing the Star Trails
Now for the fun part. Armed with settings, location, and equipment, it’s time to capture the sky’s magical dance.
Taking Multiple Exposures
Instead of one endless exposure, which could lead to sensor overheating and increased noise, take a series of shorter exposures. This method also allows you to combine images later for more control over noise reduction and exposure balancing.
Stacking Images
Using post-processing software like Adobe Photoshop or a program dedicated to astrophotography, you can stack these exposures. This process merges them to form a continuous trail, blending each star’s movement succinctly across the night.
Problem Solving: Push Through the Obstacles
Like most worthwhile endeavors, star trail photography doesn’t come without its challenges. But every challenge presents an opportunity to learn and refine your craft.
Balancing Ambient Light
Sometimes even in perfect rural settings, the ambient light can taint that pristine sky. Consider using a light pollution filter if you can’t avoid these sources.
Tackling Accidental Movement
Unwanted movements can ruin a sequence. Ensure your tripod is stable, consider weighing it down, and always use your shutter release or intervalometer to reduce vibrations.
Addressing Noise
Long exposure inevitably introduces digital noise. Using noise reduction features on your camera or software can mitigate this. Experiment with your ISO settings for minimal noise while preserving the detail.
Enhancing Trails in Post-Processing
Post-processing is where the photos come alive, and your creativity takes flight. During post-processing, you enhance and emphasize your trails to make your masterpiece mesmerizing.
Software to Consider
Adobe Lightroom, Photoshop, or specialized software such as StarStax provides tools tailored for such editing. They enable you to stack images, reduce noise, and enhance contrast effectively.
Stardust Magic: Adding Contrast and Clarity
Adjusting contrast and clarity boosts your trails’ visibility, making them pop against the dark canvas of the sky. Also, tweaking white balance to a cooler tone often enhances the celestial ambiance.
Real-world Inspirations: Learning from the Best
Beyond mere mechanics, there’s wisdom in observing accomplished photographers who have captured staggering star trails. Their insights can propel your learning curve forward with hands-on philosophies.
Case Study: Capturing the Aurora
Some photographers merge star trails with aurora borealis sessions, melding two celestial phenomena into one harmonious portrait. Consider this technique if you’re in polar regions.
Star Trails and Urban Landscapes
Combining star trails with urban architecture presents another fascinating challenge. The juxtaposition of moving stars against static skyscrapers can result in stunning visuals.
Embracing Sustainability In Your Nightscape Journeys
While your head is in the stars, keep your feet on earth in terms of sustainability. Night photography has its environmental footprint, but small adjustments and choices can make a significant impact.
Minimizing Light Pollution
By being mindful of your light usage during shoots, you reduce your environmental impact. Reducing unnecessary light pollution helps preserve these celestial wonders for future generations.
Ethical Consideration of Wildlife
Respect habitats while shooting, ensuring that your presence does not disturb the natural order. Each location’s ecological balance is critical to the life surrounding it.
A Look Into the Future: What’s on the Horizon?
The horizon of star trail photography is as expansive as the sky itself. Emerging technologies promise new techniques and possibilities—larger sensors, processing power, and machine learning can all enhance what’s possible.
Integration of AI
Artificial intelligence can assist in planning sessions with predictive modeling for weather patterns, celestial movements, and noise reduction, making star trail photography more accessible and intuitive than ever before.
New Tools and Techniques
Exploring 360-degree star-trail videos or automated drone captures offer fresh avenues for creativity. As technology evolves, these innovations will push those creative boundaries ever outwards.
Drawing It All Together: Turning Aspiration into Art
In star trail photography, the journey is just as captivating as the outcome. From understanding celestial movements to the patience of capturing and finally weaving it all together in post-processing, each step is a testament to one’s dedication to capturing the night sky’s wonder. It’s not just about snapping photos; it’s about sharing a story about the universe, its rhythms, and your unique perspective on it.
Remember, each session offers a new opportunity to learn and evolve. Your experiences and explorations will turn star trails from afar dreams into an illuminated reality. Now, isn’t it time to let your camera take a cosmic journey?
