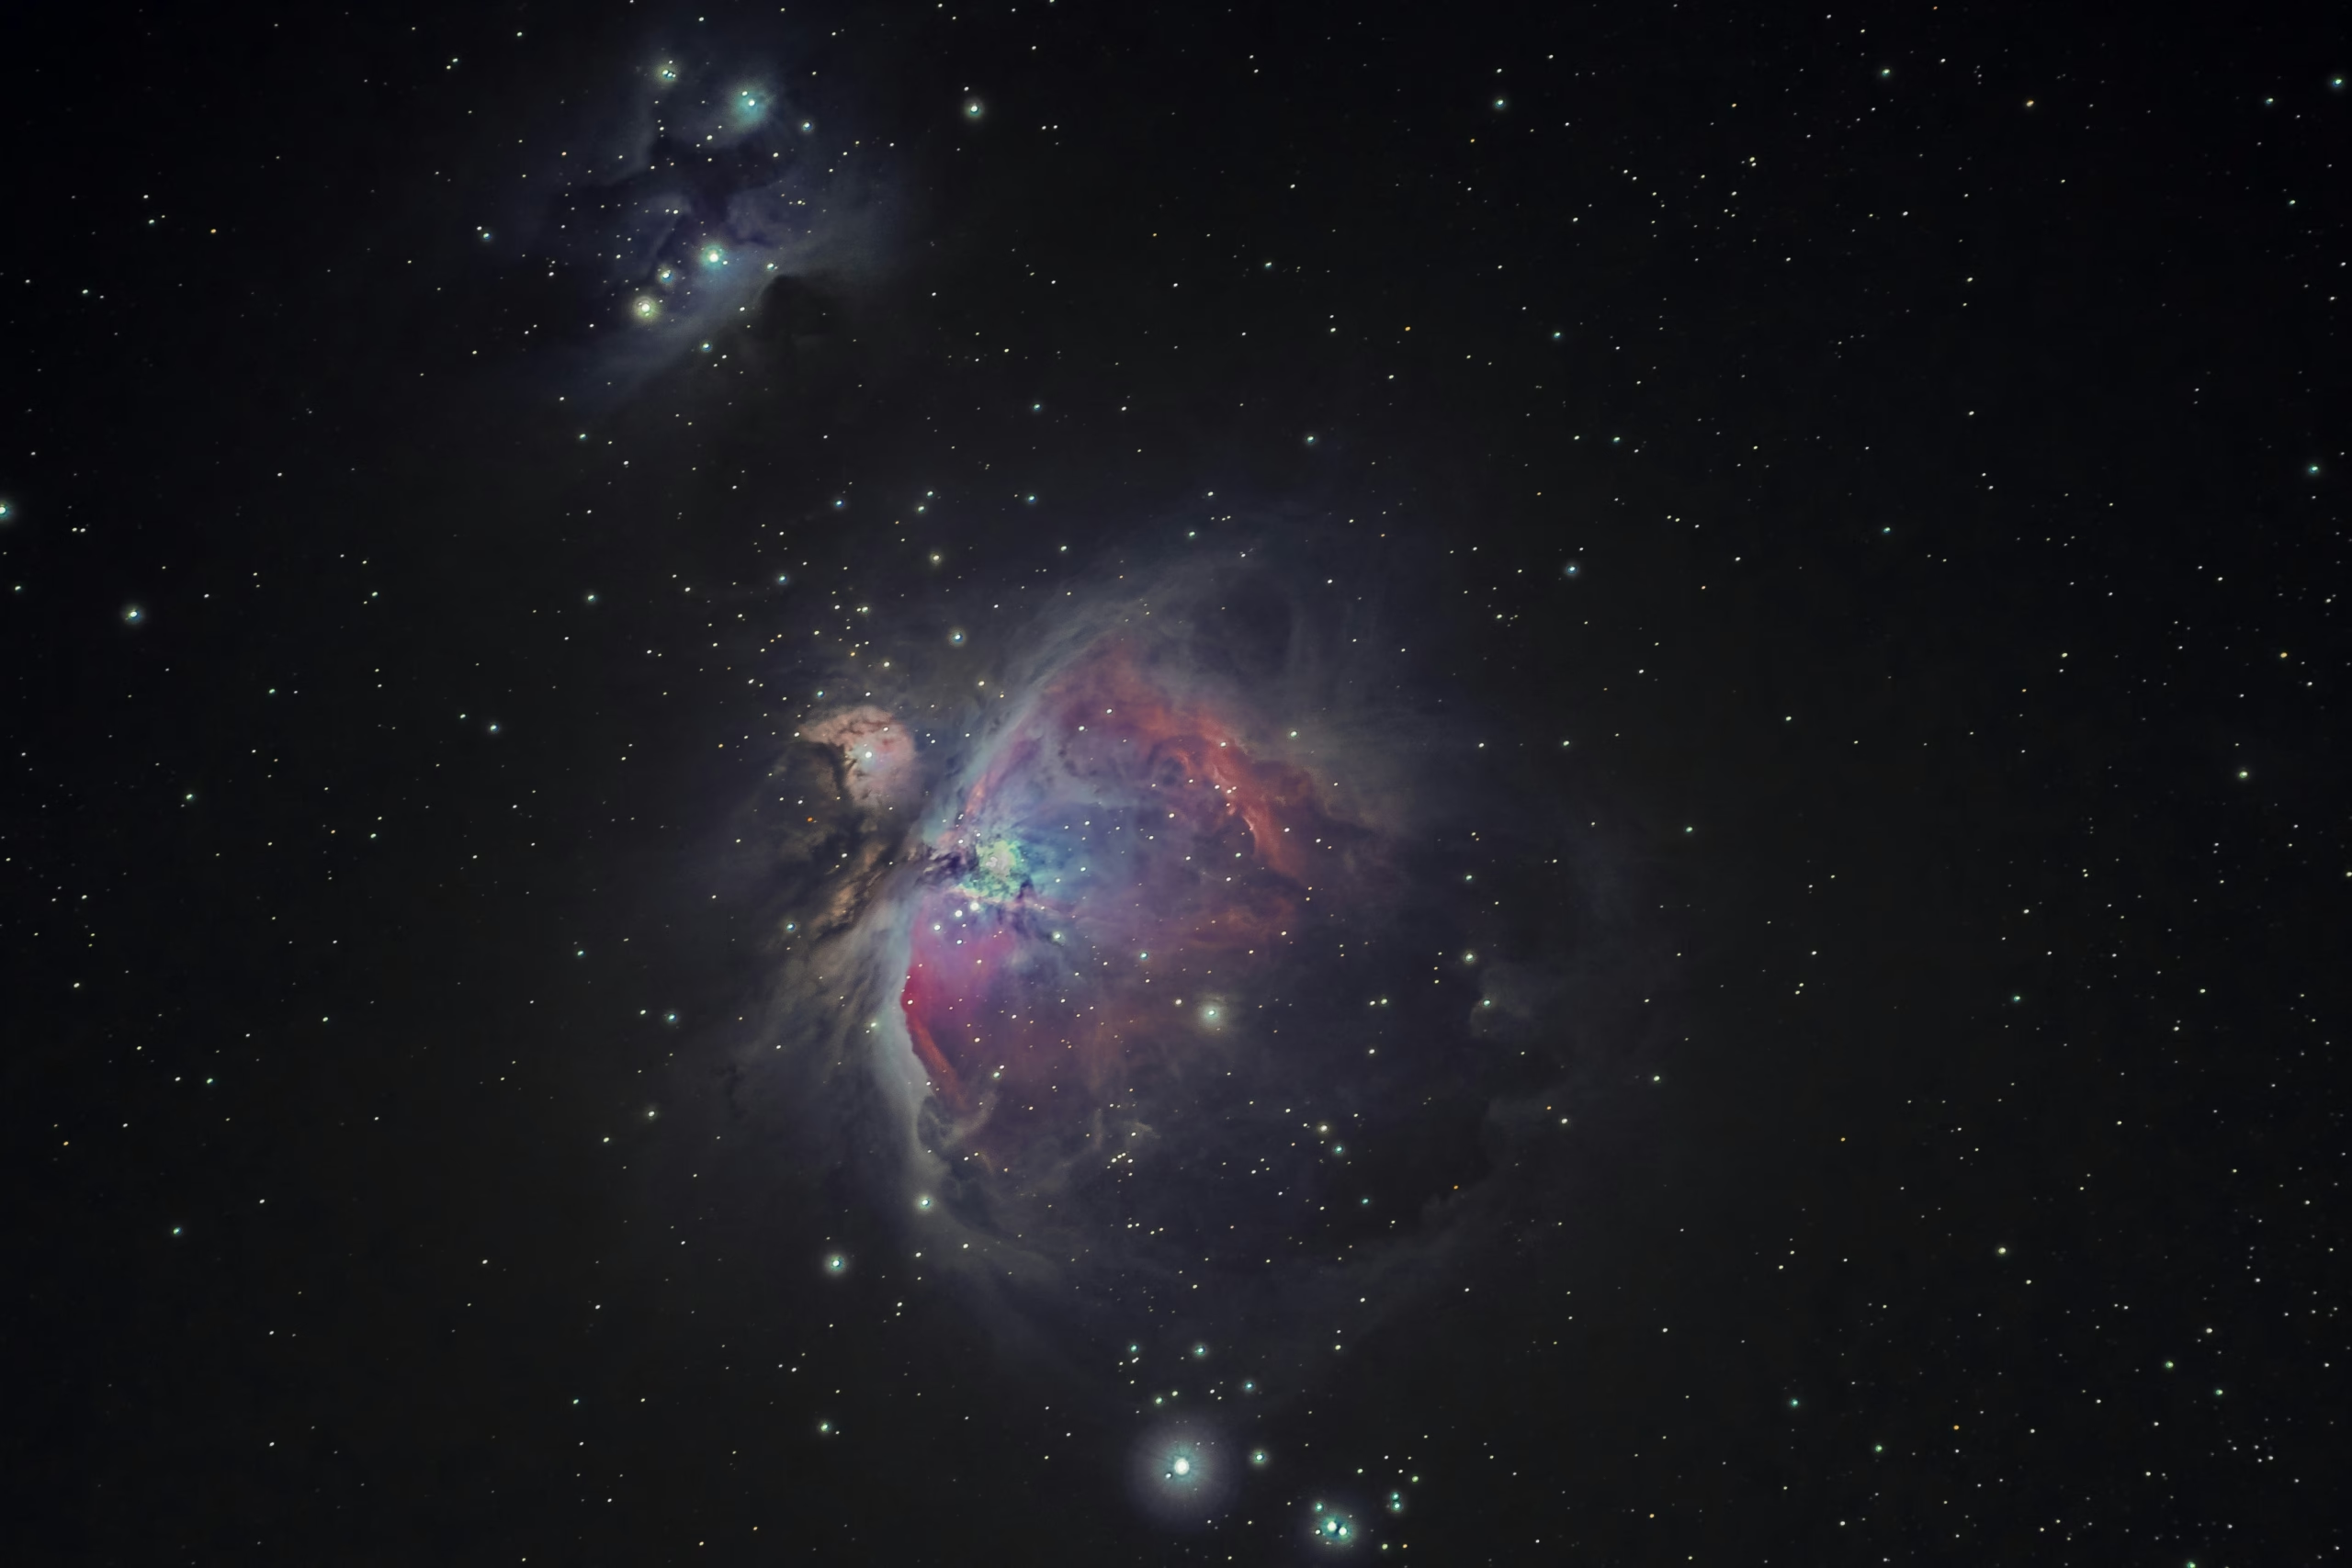
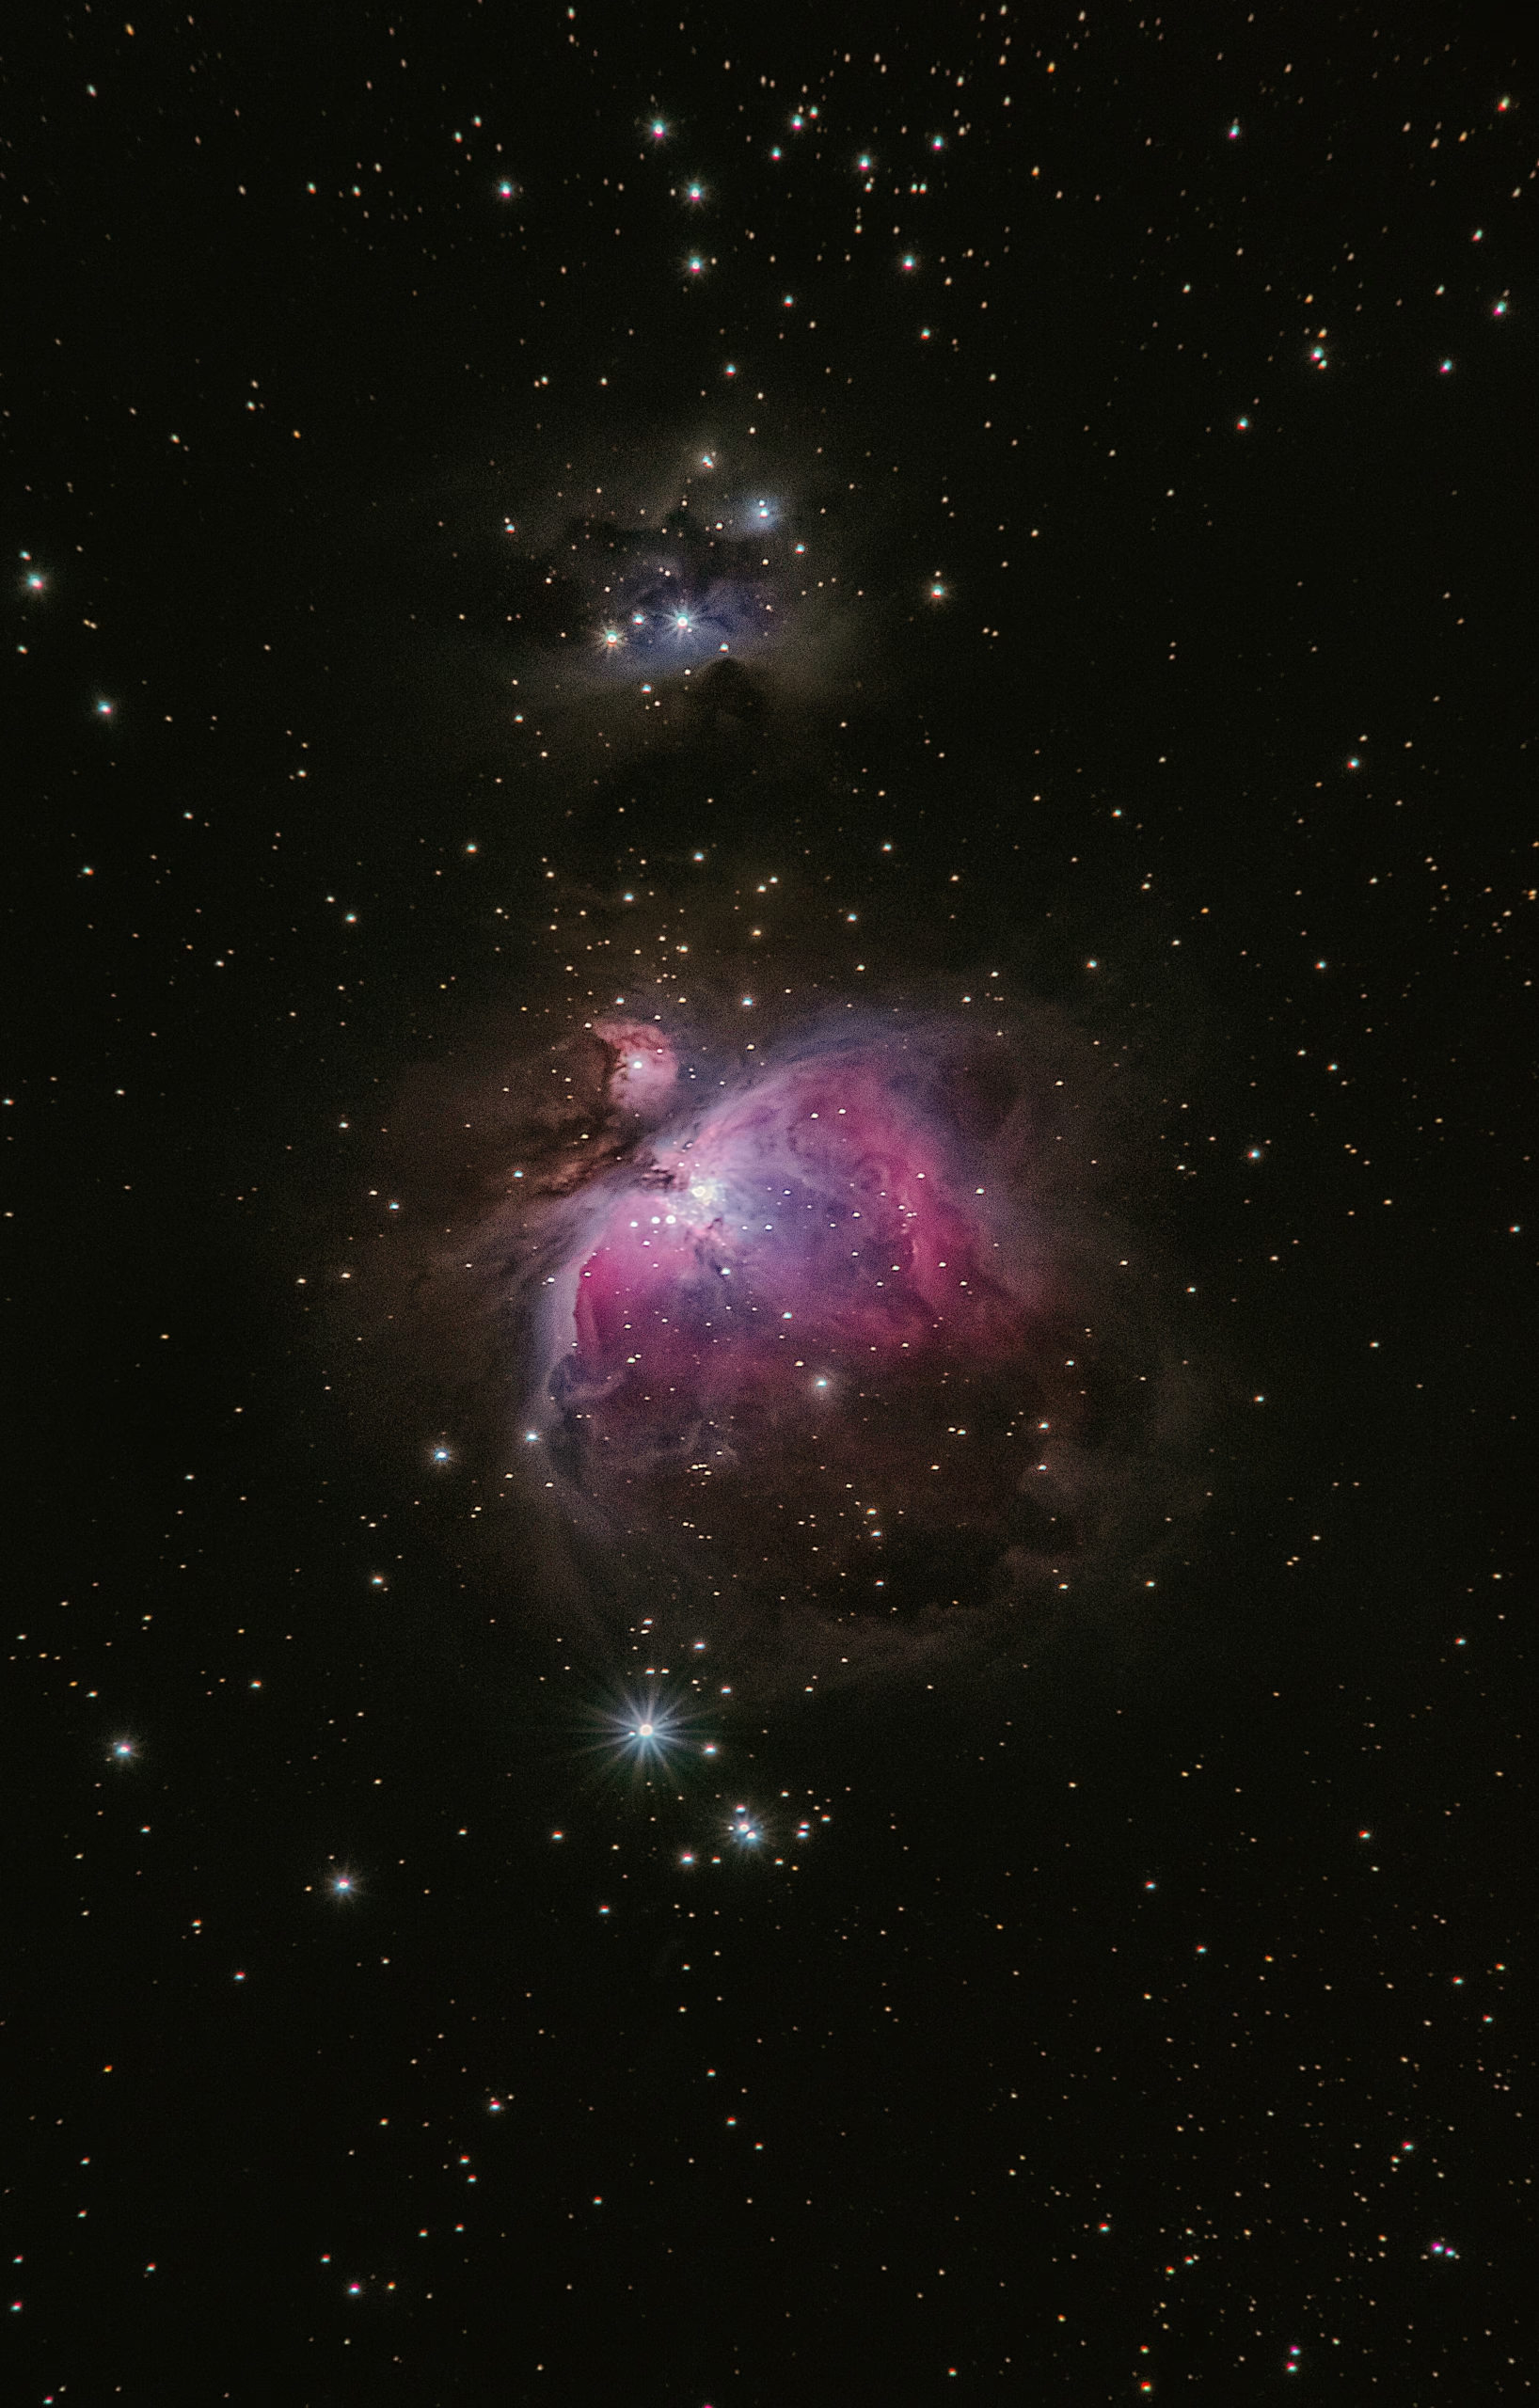
Star Hopping Techniques for Telescope Enthusiasts: Isn’t it fascinating to consider the infinite vastness of the cosmos? The celestial wonders above us are not just an abstract expanse but also a playground for the curious minds of telescope enthusiasts. Are you passionate about gazing into the night sky, yearning to unravel its myriad secrets? If you’ve ever dreamed of navigating the stars with precision, “star hopping” is a technique that can transform your stargazing experience.

Table of Contents
The Art of Star Hopping: A Historical Lens
Star hopping is a tried-and-true method for finding celestial objects using a telescope. It has a rich history, intertwined with the human spirit that has always sought to understand our place in the universe. Before technology enabled GPS systems in telescopes, star hopping was the primary technique used by astronomers, both amateur and professional. It involves using the stars’ relative positions as a roadmap, helping you leap from one celestial landmark to another until you reach your target.
A Glimpse into the Past
The origins of star hopping are older than you might imagine. Hundreds of years ago, explorers of the sky employed this method to navigate and catalog stars. When Johannes Kepler and Galileo Galilei peered through their telescopes, they undoubtedly relied on similar techniques to explore the cosmos. In those days, without modern conveniences, a thorough knowledge of constellations and the ability to hop from one star to another was an essential skill.
In more recent history, the advent of star charts and more advanced telescopes has made star hopping easier and more accurate. Even with the development of computerized telescopes that align themselves, many still find joy and fulfillment in the hands-on challenge and simplicity of star hopping.
Understanding Telescopes and Equipment
To effectively employ star hopping, you’ll need the right equipment. But don’t be intimidated—choosing a telescope and understanding the basics isn’t as daunting as it seems.
Selecting the Right Telescope
When it comes to telescopes, there are primarily three types: refractors, reflectors, and compound (or catadioptric). Each has its pros and cons, and your choice would depend on what you’re hoping to see and where you plan to use it.
- Refractors: These are classic telescopes, with lenses at the front. They’re great for viewing planets and the moon in vivid detail.
- Reflectors: Using mirrors rather than lenses, reflectors are often favored for deep-sky observations like nebulae and star clusters.
- Compound Telescopes: Combine features of both refractors and reflectors, offering versatility in viewing different celestial bodies.
Essential Accessories
Alongside a telescope, certain accessories are indispensable. A sturdy mount is crucial for stability and ease of movement. Additionally, having a good-quality star chart can aid your star hopping immensely.
- Red Flashlight: Preserves your night vision while reading charts.
- Eyepieces: The lower the focal length, the higher the magnification.
- Finder Scope: Helps in easily locating stars through a wider field of view before fine-tuning with your main telescope.
Understanding the basic setup and operations can vastly improve your star hopping technique. Remember, star hopping is a visual and cognitive exercise, improved dramatically with the right tools.

Star Hopping Techniques: A Step-by-Step Guide
Now that you understand the background and technical setup, let’s dive into the steps of star hopping. The goal is to use your knowledge of constellations and visible stars to navigate toward harder-to-find celestial wonders.
Step 1: Identify Your Starting Point
At the beginning of any star hopping adventure, you must identify a bright star or constellation as your starting point. This is akin to finding “You are here” on a map.
Step 2: Consult Your Star Chart
Using a star chart, often available as a smartphone app, check out the path that leads to your desired object. Maps will show you bright stars which you can use as your initial hop steps.
Step 3: Use Your Naked Eye and Finder Scope
Start with your naked eye to establish the position of your starting star. Then, through a finder scope, confirm your starting point. This device helps to give a wide-angle view of the sky, making it easier to align your telescope.
Step 4: Begin Hopping
Systematically move your telescope using the finder scope to “hop” from star to star. Pay attention to distances and directions as detailed on your chart.
Step 5: Switch to Your Main Telescope
Once you’re close enough or have reached your destination, switch to your main telescope to fine-tune and enjoy the view in greater detail.
Step 6: Adjustments and Composure
Stability and patience are virtues here. Adjust your telescope to bring your object into clear view. This might need refocusing or minor repositioning.
Charting Your Progress
Keeping a record of the stars you hop through helps in refining your technique. A logbook can provide not just a record but also a sense of achievement.
Navigational Challenges and Solutions
Star hopping, despite its simplicity, does come with its share of challenges. One common issue is losing track of the pathway on the star chart, especially if the sky is cloudy or light-polluted.
Reading the Sky: Overcoming Light Pollution
Urban areas often suffer from light pollution, making stargazing tricky. You might only see the brightest stars on a clear night, so make full use of a good finder scope and star chart. Another option is to travel to less polluted areas when possible.
Dealing with Sky Conditions
The weather and sky clarity can sometimes be at odds with your stargazing plans. Cloud cover, humidity, and even moonlight can affect visibility.
Table: Quick Fixes to Common Star Hopping Problems
| Problem | Solution |
|---|---|
| Light pollution | Use filters to reduce glare, travel to darker sites |
| Losing track of stars | Regularly refer to a star chart |
| Poor weather conditions | Check forecasts, be patient, plan for clearer nights |

Enhancing Your Experience with Visual Aids
To make your celestial journeys even more successful, consider integrating visual aids. Technology offers a plethora of resources that can augment your star hopping.
The Role of Applications and Software
There are numerous stargazing apps available, many of which can be incredibly useful during your sessions. Apps can simulate the night sky, allowing you to plan your hops and test different paths before heading out.
Videos and Infographics
Short tutorial videos on how to star hop or identify constellations can be a bonus. Infographics showcasing star maps or specific hopping routes can save a lot of trial and error.
Diving Deeper: Star Hopping Success Stories
Real-world stories of successful star hopping can be both instructional and inspiring. Reading or watching videos about fellow astronomers’ adventures can illustrate the principles we’ve discussed in action.
Case Study: Finding the Andromeda Galaxy
Many enthusiasts recount their first successful star hop to the Andromeda Galaxy. Beginning at Pegasus, a well-known constellation, they hop to nearby stars and then on to Andromeda—a rewarding journey provided your starmap is accurate, and your patience, ample.
Table: Example of a Star Hopping Pathway to Andromeda
| Starting Constellation | Star Hop Sequence | Destination |
|---|---|---|
| Pegasus | 3 bright stars | Andromeda Galaxy |

Final Thoughts on Your Star Hopping Adventure
The celestial vault is vast and wondrous, filled with constellations, planets, galaxies, and nebulae waiting for you to discover them. Star hopping is more than a technique; it’s a meditative journey through the universe’s grand expanse, anchored by patience and curiosity. As you hone your skills, you’ll find each star a stepping stone to greater cosmic wonder, reaffirming your place beneath the infinite sky.
Remember, the art of star hopping is not just about the destination but the thrill of locating it on your own. May your telescope serve you well, and may the stars guide your path.
