A Beginner’s Guide to Collimating a Telescope. Collimating a telescope might sound like a daunting task, but with a bit of guidance, it’s something you can master easily. Think of it as tuning a musical instrument to get the best sound; collimation ensures your celestial viewing is crystal clear. This beginner’s guide will walk you through the fundamentals of collimation, highlighting why this process is vital for optimal telescope performance and how recent trends have simplified it even further.
By understanding the ins and outs of collimation, you’ll not only improve your stargazing experiences but also gain confidence in handling your astronomical equipment. Have you ever gazed up at the night sky and wondered how to see those twinkling stars and distant galaxies with perfect clarity? If you’ve spent any time peering through a telescope, you’ve likely wondered about the most effective ways to improve your view. The secret often lies in a process called collimation.
Table of Contents
A Beginner’s Guide to Collimating a Telescope
Overview
Collimation is the process of aligning the mirrors or lenses within your telescope to ensure that the light waves entering it are focused correctly. This alignment is crucial for obtaining sharp, clear images of celestial objects. Without proper collimation, even the most expensive telescopes can produce blurry or distorted images, making your stargazing experience less enjoyable.
This guide aims to demystify the process of collimation for beginners, offering straightforward steps and essential tips to help you get the most out of your telescope.
Historical Context
Telescope collimation has been a key component of observational astronomy since the invention of the first telescopes in the early 17th century. Originally, collimation was a cumbersome and imprecise process due to the rudimentary design of early telescopes. Over time and with the advent of new technologies, the process has become more sophisticated and accessible, allowing even amateur astronomers to achieve excellent results.
Evolution of Telescope Design
The journey from the basic refractors used by Galileo Galilei to modern reflectors and compound telescopes has significantly impacted how we approach collimation. Early refracting telescopes primarily required alignment of lenses, which was simpler compared to today’s advanced reflector designs utilizing primary and secondary mirrors. As telescope designs evolved, so did the methods for collimation, now incorporating laser and computerized tools to achieve precise alignment.

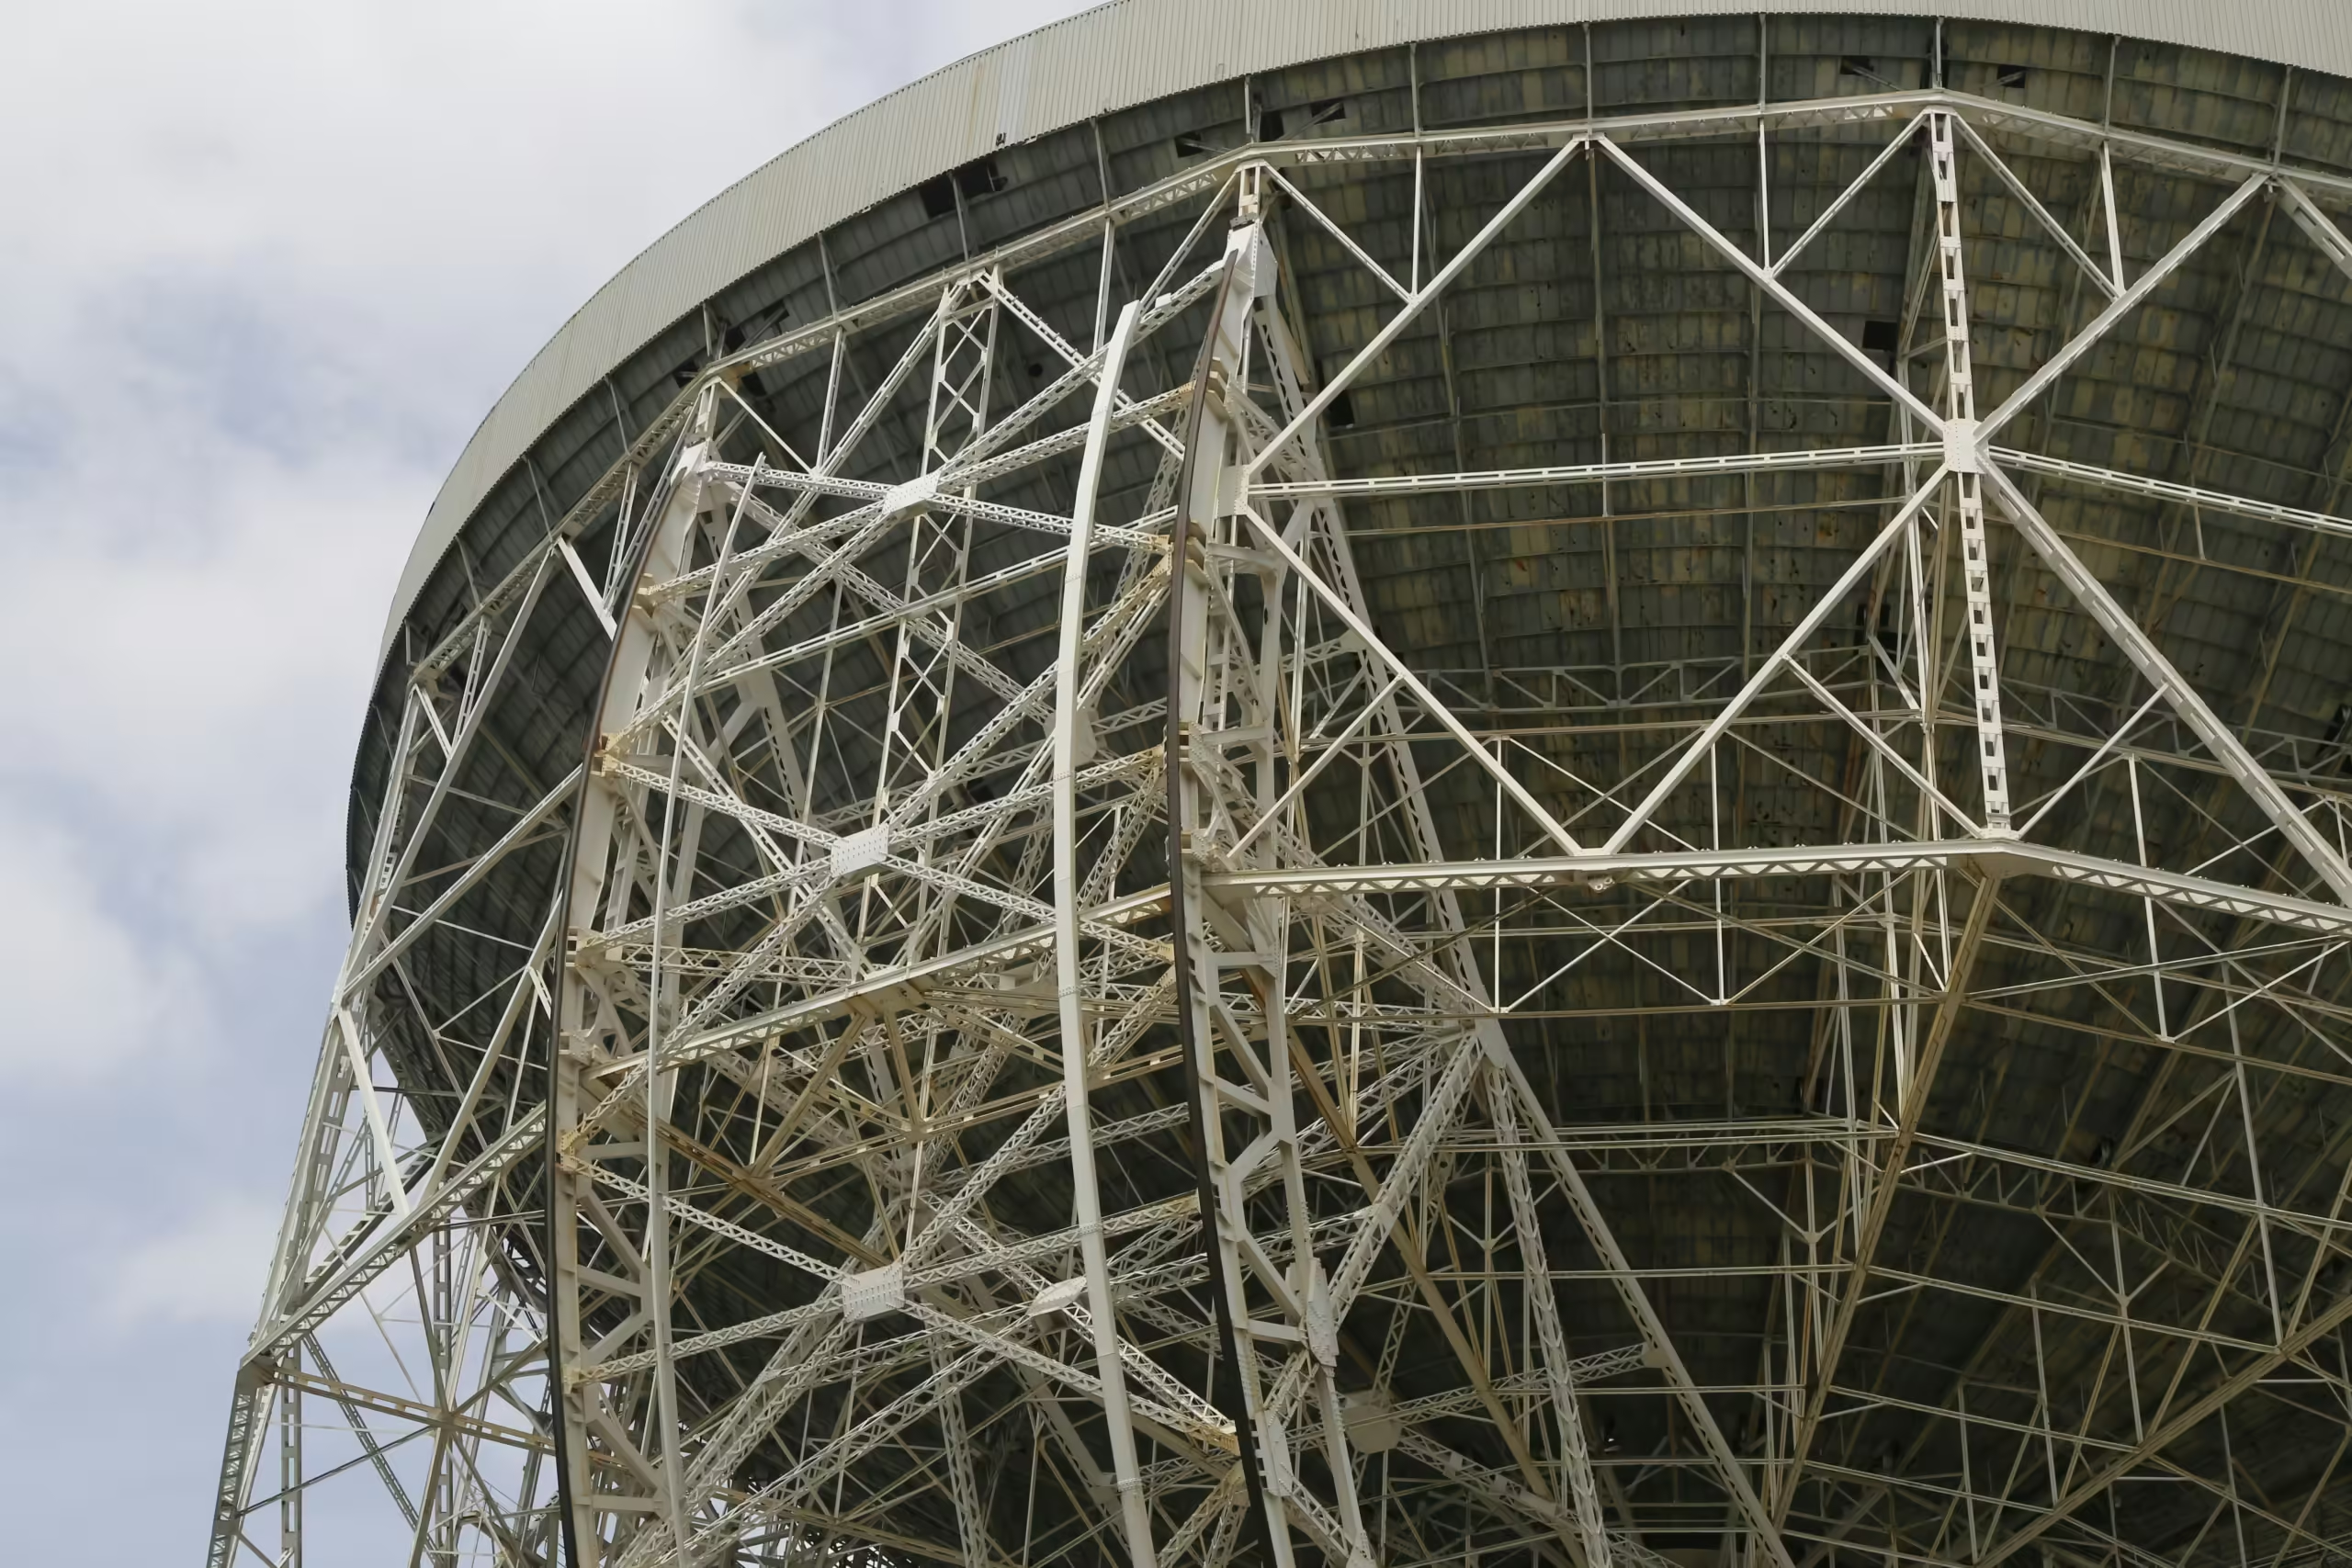
This image is property of images.unsplash.com.
Current Trends
In recent years, advancements in telescope technology and a growing community of amateur astronomers have sparked renewed interest in collimation. Modern telescopes come with built-in features that make the process more intuitive, and the availability of digital tools and apps simplifies collimation further, even for beginners.
Tools and Technology
Collimation tools have become more sophisticated, ranging from simple collimation caps to advanced laser collimators. The use of computer-aided design (CAD) in creating more precise and user-friendly telescopic equipment has also made accurate collimation more achievable. Additionally, online forums and communities dedicated to astronomy provide ample resources and advice, making it easier to get started and troubleshoot issues.
Key Concepts and Definitions
Before diving into the detailed steps of collimating your telescope, it’s important to understand some key concepts and terms. This foundational knowledge will make the process smoother and more comprehensible.
Primary Mirror
In a reflector telescope, the primary mirror is the largest mirror that gathers light and focuses it towards the secondary mirror or eyepiece. Ensuring this mirror is properly positioned is the cornerstone of collimation.
Secondary Mirror
The smaller mirror in a reflector telescope redirects light from the primary mirror to the eyepiece. Proper alignment is critical for optimal image quality.
Focal Plane
This is the plane where light rays converge to form a sharp image. Misalignment can cause the focal plane to shift, leading to blurred or distorted views.
Collimation Cap
A simple tool used to help align the optics of the telescope. It’s essentially a cover with a small hole in the center, allowing you to look directly down the optical axis and evaluate alignment.
Laser Collimator
An advanced tool that projects a laser beam down the optical path of the telescope, making the process of alignment more precise and user-friendly.

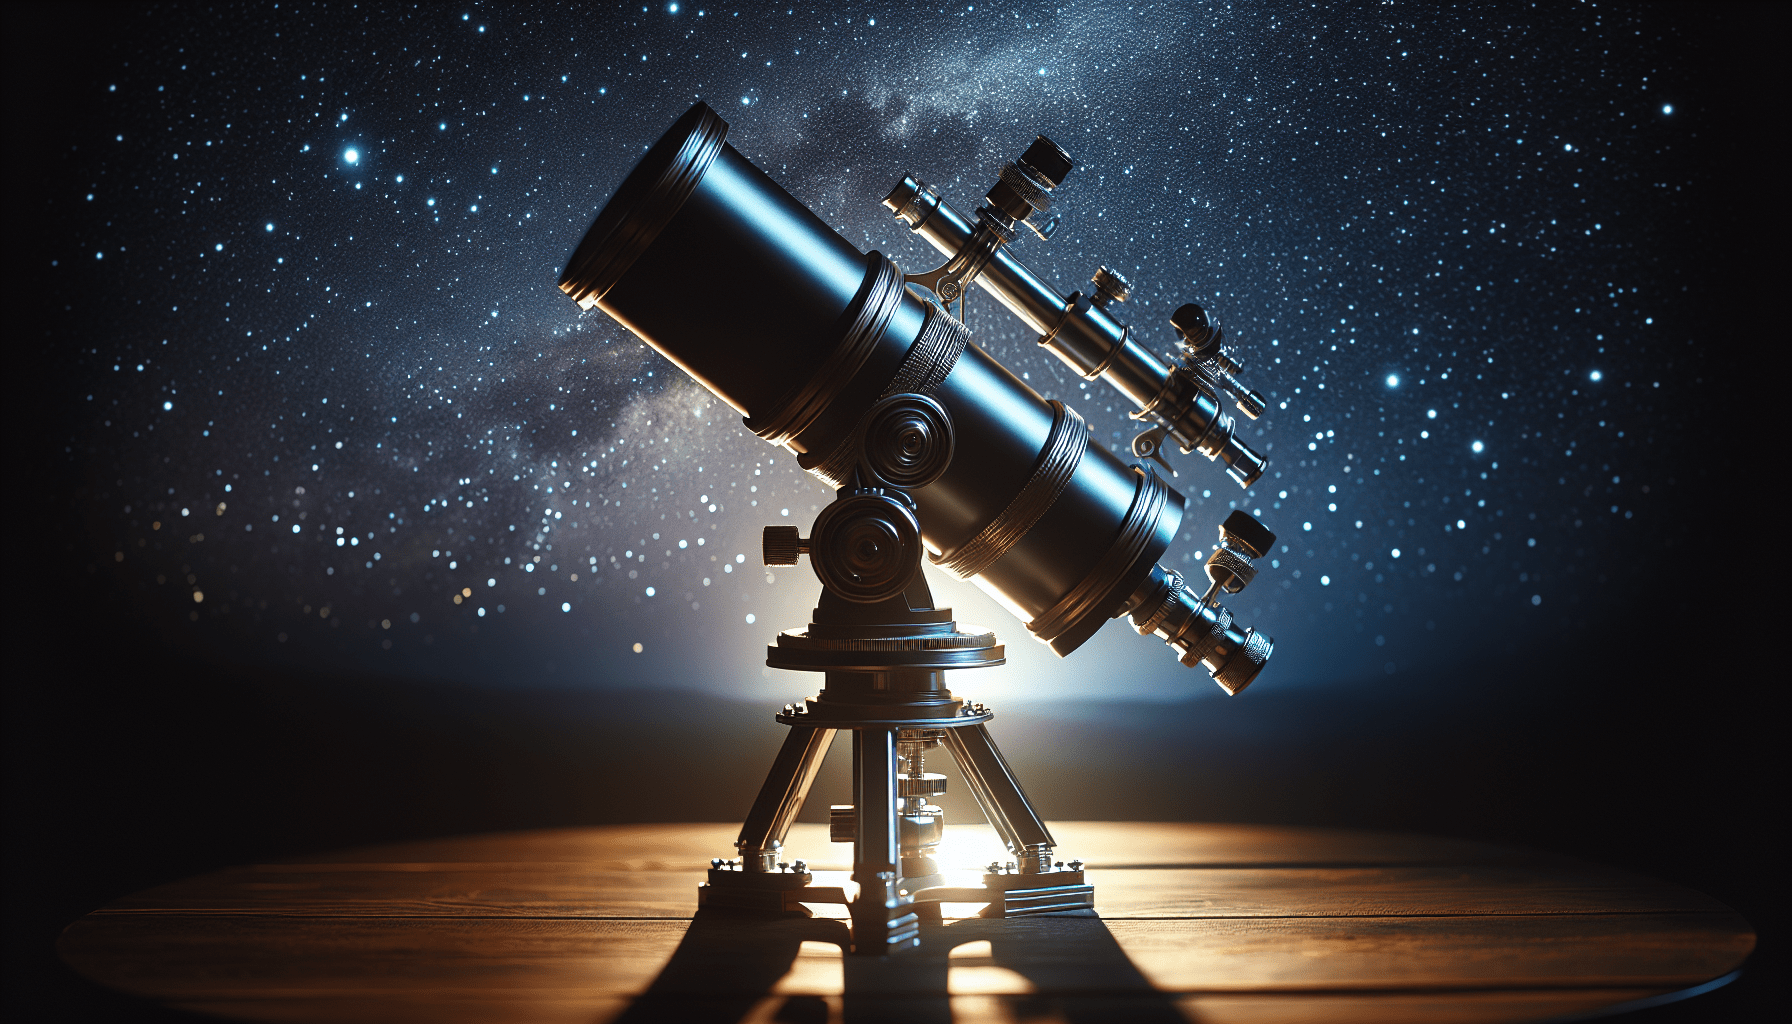
This image is property of images.unsplash.com.
Detailed Exploration
Now that you have a foundational understanding of the key concepts, let’s delve into the step-by-step process of collimating a telescope. This section will guide you through each stage, from initial checks to fine adjustments.
Step 1: Initial Checks and Preparations
Before you begin the collimation process, ensure that your telescope is set up in a stable and vibration-free environment. Remove any dust caps and accessories, but leave the eyepiece out for this part of the process.
Make sure the telescope is pointed at a bright light source, either natural (like the sky during daylight) or artificial. Good lighting will make it easier to see reflections and make necessary adjustments.
Step 2: Inspect the Primary Mirror
Start by looking down the tube of the telescope. If you’re using a collimation cap, place it over the focuser. Observe the reflection of the primary mirror. It should appear centered and symmetrical. If it’s off-center, you’ll need to adjust it.
Here’s a quick reference table for evaluating common issues:
| Observation | Issue | Adjustment Needed |
|---|---|---|
| Primary mirror off-center | Misaligned primary mirror | Adjust primary mirror screws |
| Secondary mirror not centered | Misaligned secondary mirror | Adjust secondary mirror holder screws |
| Fuzzy or double reflection | Both mirrors misaligned | Recheck both primary and secondary |
Step 3: Adjust the Secondary Mirror
Using the three adjustment screws on the back of the secondary mirror holder, tweak the mirror until its reflection is centered in the primary mirror. This step ensures that light is directed properly from the primary to the secondary mirror.
Step 4: Fine-Tune the Primary Mirror
Next, you’ll need to adjust the primary mirror. Most telescopes have screws at the back end, which you can turn to tilt the mirror slightly. The aim is to have the secondary mirror’s reflection centered in the primary mirror. Make small adjustments and check the alignment frequently.
Step 5: Using a Laser Collimator
If you have a laser collimator, this tool can make the process simpler and more precise. Insert the laser collimator into the focuser and turn it on. The laser beam will travel down the optical path and show you exactly where adjustments are needed. Move the mirrors until the laser hits its intended target points.
Step 6: Final Checks
Once you believe the collimation is correct, it’s essential to perform some final checks. Insert an eyepiece and observe a distant object. Slowly move the focuser in and out and ensure that the image remains sharp and clear at all focal lengths. If necessary, make minor adjustments to fine-tune the alignment.
Example 1: Case Study on Newtonian Reflector Telescope
Jim, an amateur astronomer, had just purchased a Newtonian reflector telescope. Excited to start exploring the night sky, he quickly encountered blurry images and struggled to get a clear view. He realized that collimation might be the issue.
Jim followed the steps outlined above, starting with an inspection of the primary mirror. He noticed the reflection was off-center. Using the adjustment screws, he slowly centered the primary mirror. Next, he tackled the secondary mirror, ensuring its reflection appeared symmetrical. Finally, using a laser collimator, he fine-tuned the setup.
After completing the collimation process, Jim immediately noticed a significant improvement in image clarity. Stars were more focused, and details on the moon’s surface were crisp.

This image is property of images.unsplash.com.
Example 2: Schmidt-Cassegrain Telescope Application
Emily, another stargazing enthusiast, used a Schmidt-Cassegrain telescope. She noticed that stars appeared elongated rather than pinpoints of light. Knowing this often signals collimation issues, she decided to take action.
Following a similar procedure to Jim’s but adapting to her SCT, Emily first used the collimation cap to inspect mirror alignment. She then employed a laser collimator for precise adjustments. Finally, she conducted a star test, where she slightly defocused a star to check for concentric rings.
Emily found that after a few tweaks, the stars returned to pinpoints, and her planetary observations were much clearer.
Comparison of Different Perspectives
There are various methods and tools for collimating a telescope. Some astronomers prefer the simplicity of manual collimation with a cap, while others rely on the precision offered by laser tools. Each approach has its own merits and drawbacks.
Manual Collimation
Manual collimation, using simple tools like a collimation cap, is cost-effective and can be just as accurate with practice. However, it can be time-consuming and may require a steeper learning curve.
Laser Collimation
Laser collimation offers greater precision and convenience, especially for beginners or those looking for a quicker process. The downside is that laser collimators can be expensive, and there’s always a risk of misalignment if the laser itself isn’t collimated.
Impact Assessment
Both methods, when executed properly, yield excellent results. The choice between manual and laser collimation often comes down to personal preference, skill level, and budget.
Manual collimation fosters a deeper understanding of your telescope’s mechanics, which can be beneficial for troubleshooting. On the other hand, laser collimation provides a faster, more user-friendly experience, allowing you to spend more time observing and less time adjusting.

Future Directions and Implications
The field of amateur astronomy is ever-evolving, with technological advancements continually improving the experience.
Predictions
We can expect future telescopes to incorporate more automated collimation systems, reducing the need for manual adjustments entirely. These systems could use advanced sensors and computer algorithms to maintain perfect alignment automatically.
Implications
Automated collimation systems would make high-quality observations more accessible to beginners, expanding the community of amateur astronomers. This democratization of astronomy could lead to increased interest and discoveries from hobbyists around the world.
Conclusion
Recap
We’ve covered the essential steps of collimating a telescope, from initial checks and tool selection to fine adjustments and final verification. Understanding the historical context and current trends enriches your comprehension and appreciation of this crucial process. Various methods and tools each have their unique advantages, and practical examples illustrate their applications and effectiveness.
Final Thought
The night sky is a treasure trove of wonders waiting to be discovered. Proper collimation ensures that your telescope performs at its best, allowing you to explore the cosmos with clarity and awe. So next time you look up at the stars, you’ll know that the perfect view is just a few adjustments away.

Engagement
If you found this guide helpful, please share it with fellow astronomy enthusiasts. Feel free to comment with your questions or tips, and explore more resources on our website to continue your journey into the stars.
Credible Sources
- “The Backyard Astronomer’s Guide” by Terence Dickinson and Alan Dyer
- “Collimation of Newtonian Telescopes” by Vic Menard and Tippy D’Auria
- Various articles from Sky & Telescope magazine
- Online forums and communities like Cloudy Nights and Reddit’s r/astronomy
By following these guidelines and utilizing the right tools, you can ensure your telescope is always in peak condition, making your astronomical observations as rewarding as possible. Happy stargazing!
Related site – HOW TO ALIGN YOUR NEWTONIAN REFLECTOR TELESCOPE
