Astrophotography Journey: Have you ever gazed up at the night sky, captivated by its beauty, and wondered how you could preserve those celestial moments forever? Astrophotography is a mesmerizing hobby that allows them to do just that. However, venturing into the world of astrophotography requires more than just a keen interest in the stars. It demands the right equipment to capture the intricate details of the cosmos. This article aims to guide beginners through the essential gear needed to start their journey into astrophotography, ensuring that their first foray is as smooth and rewarding as possible.
Table of Contents
Understanding Astrophotography: A Brief Overview
Astrophotography is the art of capturing images of astronomical objects, celestial events, and areas of the night sky. It combines the technical aspects of photography with the wonders of astronomy to enable individuals to preserve images of stars, planets, and the vastness of space. This niche art form does not just require a camera; it necessitates specialized equipment to overcome the challenges of photographing faint objects far across the cosmos.
The Origins of Astrophotography
The practice of astrophotography dates back to the early 19th century, with the first successful image of the moon taken in 1840. Since then, technological advancements have revolutionized the field. From film-based cameras to modern-day digital sensors, astrophotography has progressed remarkably, allowing amateurs and professionals alike to explore the night sky in unprecedented detail.
Essential Equipment for Astrophotography
Starting an astrophotography journey requires certain equipment designed to capture the night sky’s brilliance. While the basics are outlined here, remember that personal preference and specific needs may dictate additional choices.
Choosing the Right Camera
- DSLR Cameras: Digital single-lens reflex (DSLR) cameras are popular among astrophotographers due to their versatility, image quality, and compatibility with various lenses. They offer the necessary manual controls to adjust settings such as exposure time and ISO sensitivity, which are critical for capturing celestial images.
- Mirrorless Cameras: These cameras, similar to DSLRs in functionality, are lighter and more portable. Their electronic viewfinders provide a live view, making it easier to frame shots in low-light conditions.
- Astronomy Cameras: Dedicated astronomy cameras are designed specifically for capturing celestial objects. These cameras often have cooled sensors to minimize noise, making them ideal for deep-sky imaging.
Selecting a Suitable Lens or Telescope
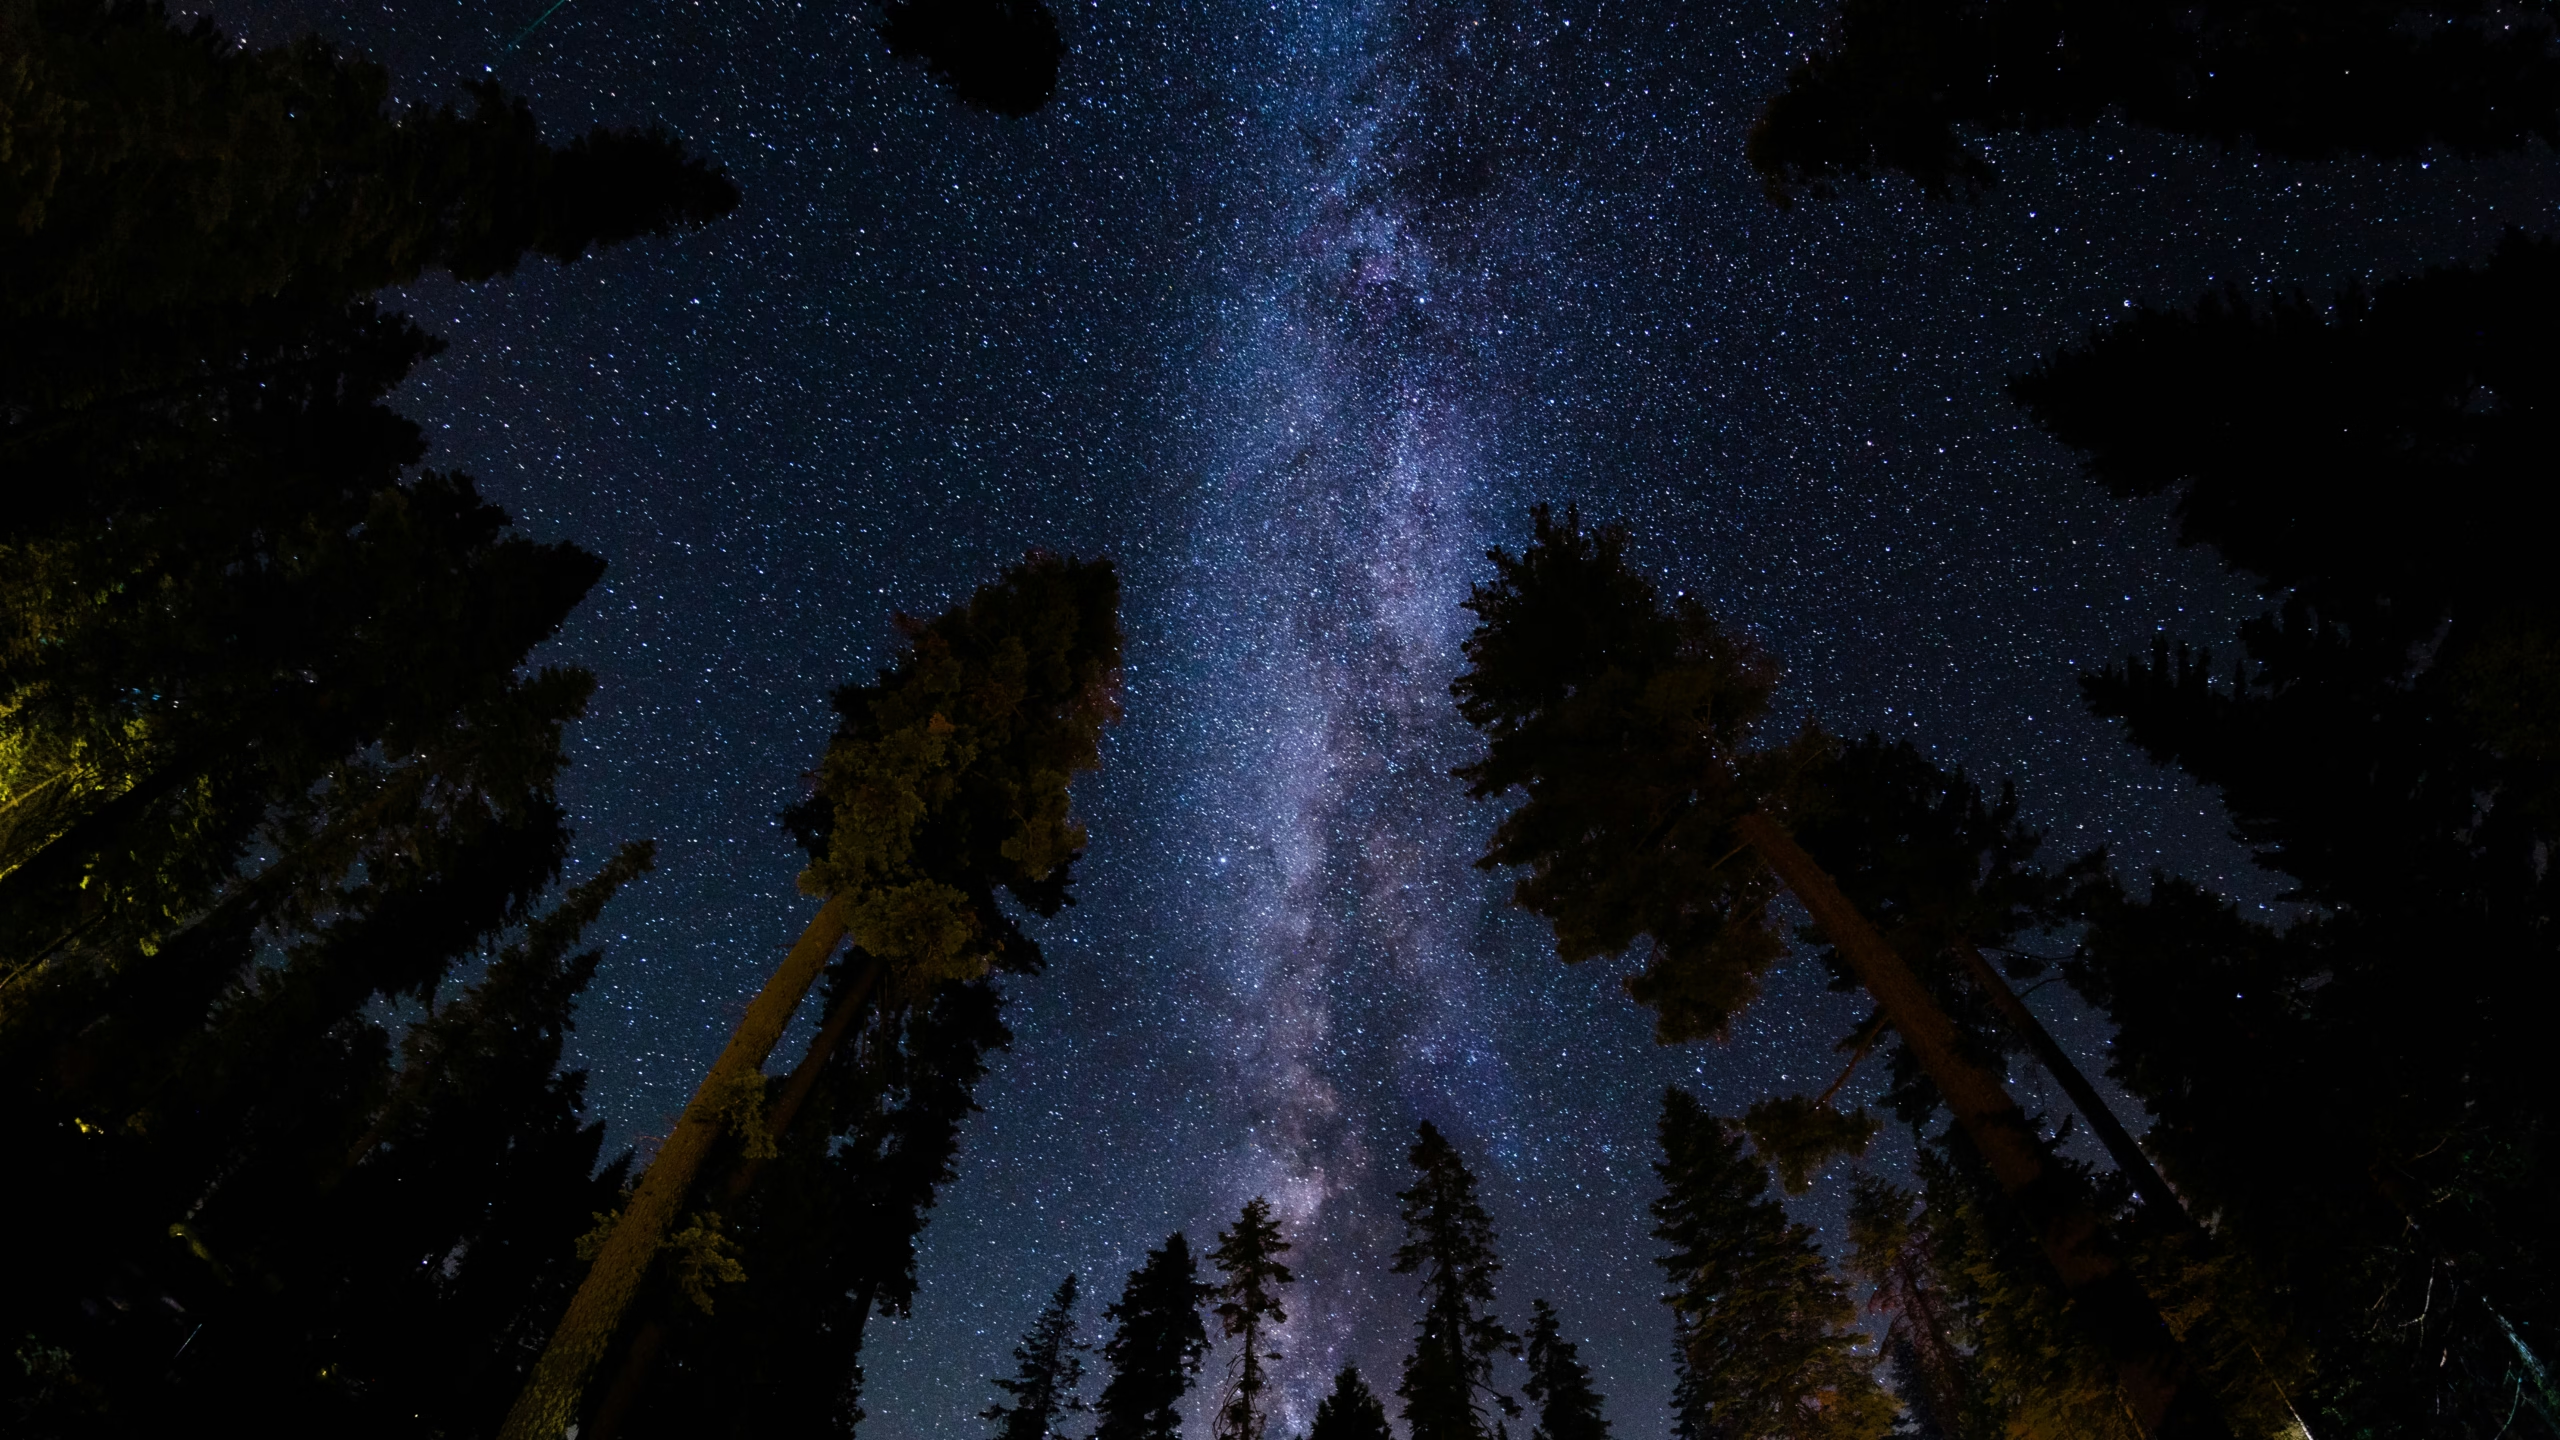
- Wide-Angle Lenses: These lenses are ideal for capturing wide-field shots of the Milky Way and auroras. A lens with a focal length between 14mm and 35mm is often recommended for this type of photography.
- Telephoto Lenses: For those interested in capturing detailed images of the moon or planets, telephoto lenses with a focal length of 200mm and beyond are suitable options.
- Telescopes: Telescopes offer a detailed view of deep-sky objects. Refractors, reflectors, and catadioptrics are the three main types of telescopes, each with its strengths and applications.
Mounts: Stability and Tracking
A sturdy mount is crucial for astrophotography, as long exposure times demand stability. Two main types of mounts are prevalent in the field:
- Altazimuth Mounts: These simple mounts provide up-and-down and side-to-side movement. Although easy to use for terrestrial photography and casual star gazing, they are not ideal for long astrophotographic exposures due to field rotation.
- Equatorial Mounts: Designed specifically for astronomical use, equatorial mounts align with the Earth’s axis, allowing smooth tracking of celestial objects. Motorized versions can further enhance their tracking capabilities.
Accessories to Enhance the Experience
- Remote Shutter Release: Essential for minimizing vibrations during exposure, remote shutter releases allow users to trigger the camera without physically touching it.
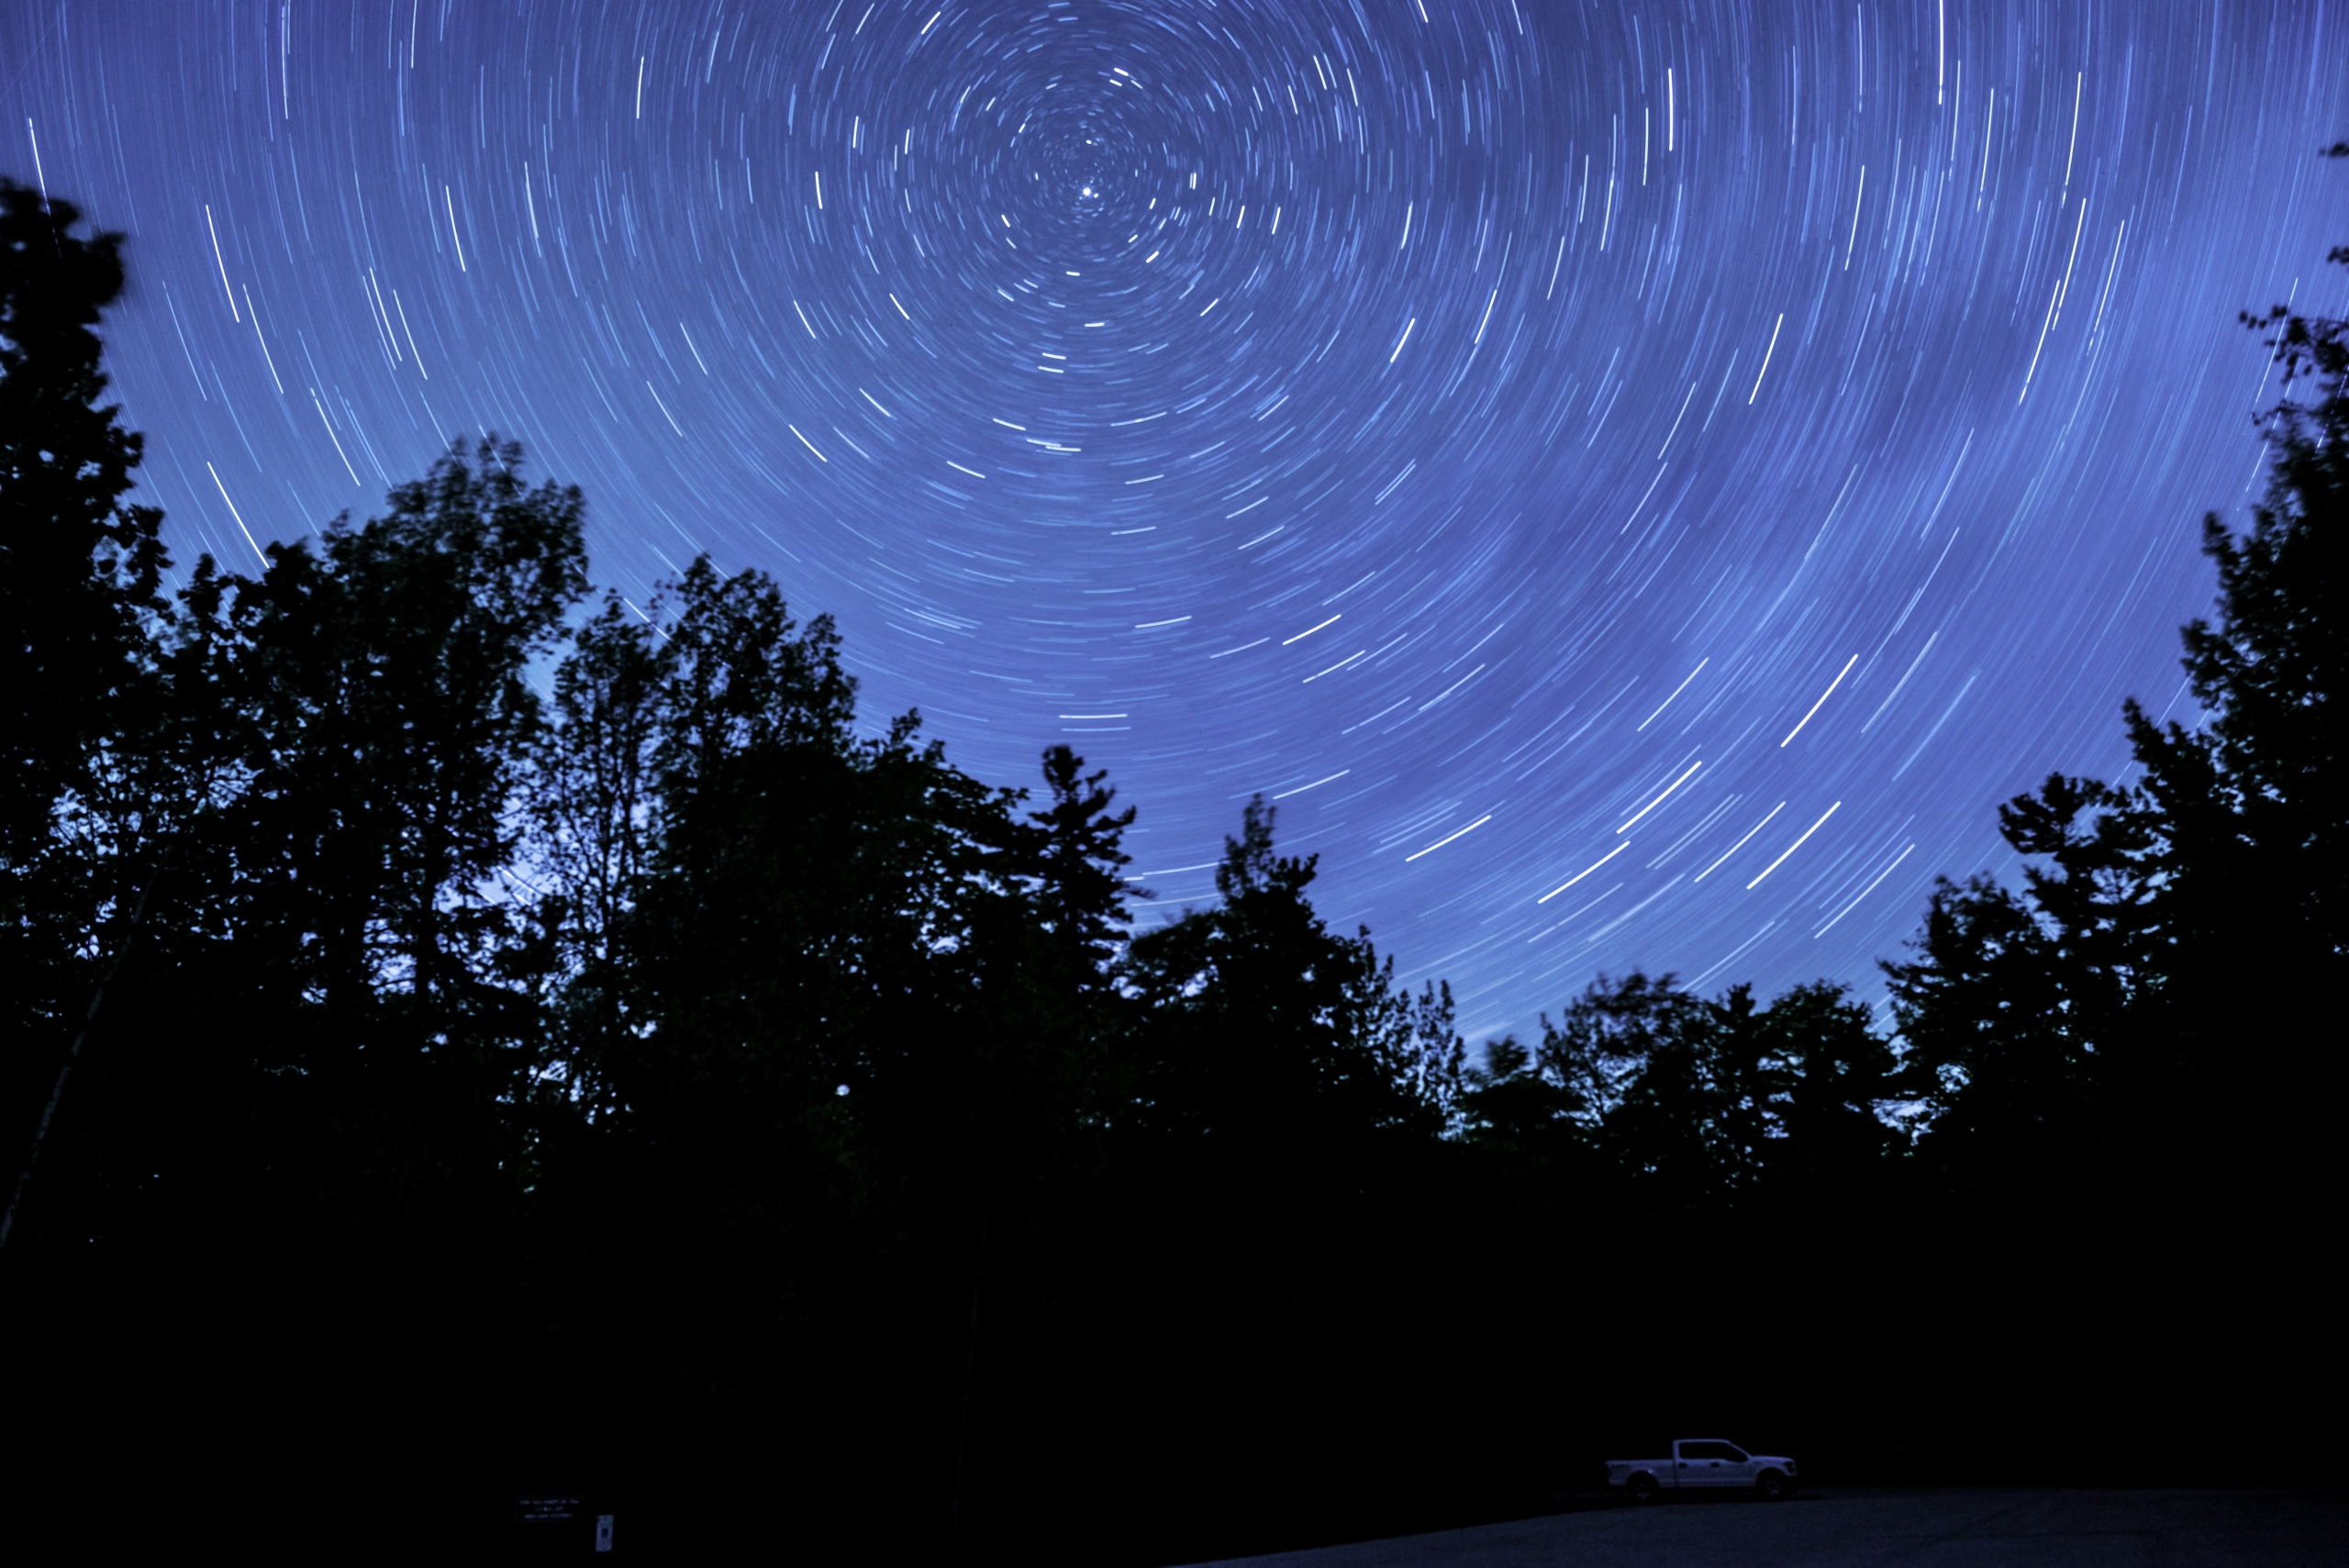
- Intervalometer: This device automates the timing of shots, especially helpful for capturing time-lapse sequences or composite images of star trails.
- Light Pollution Filters: These filters can be attached to lenses or telescopes to reduce the effects of urban light pollution on night sky images.
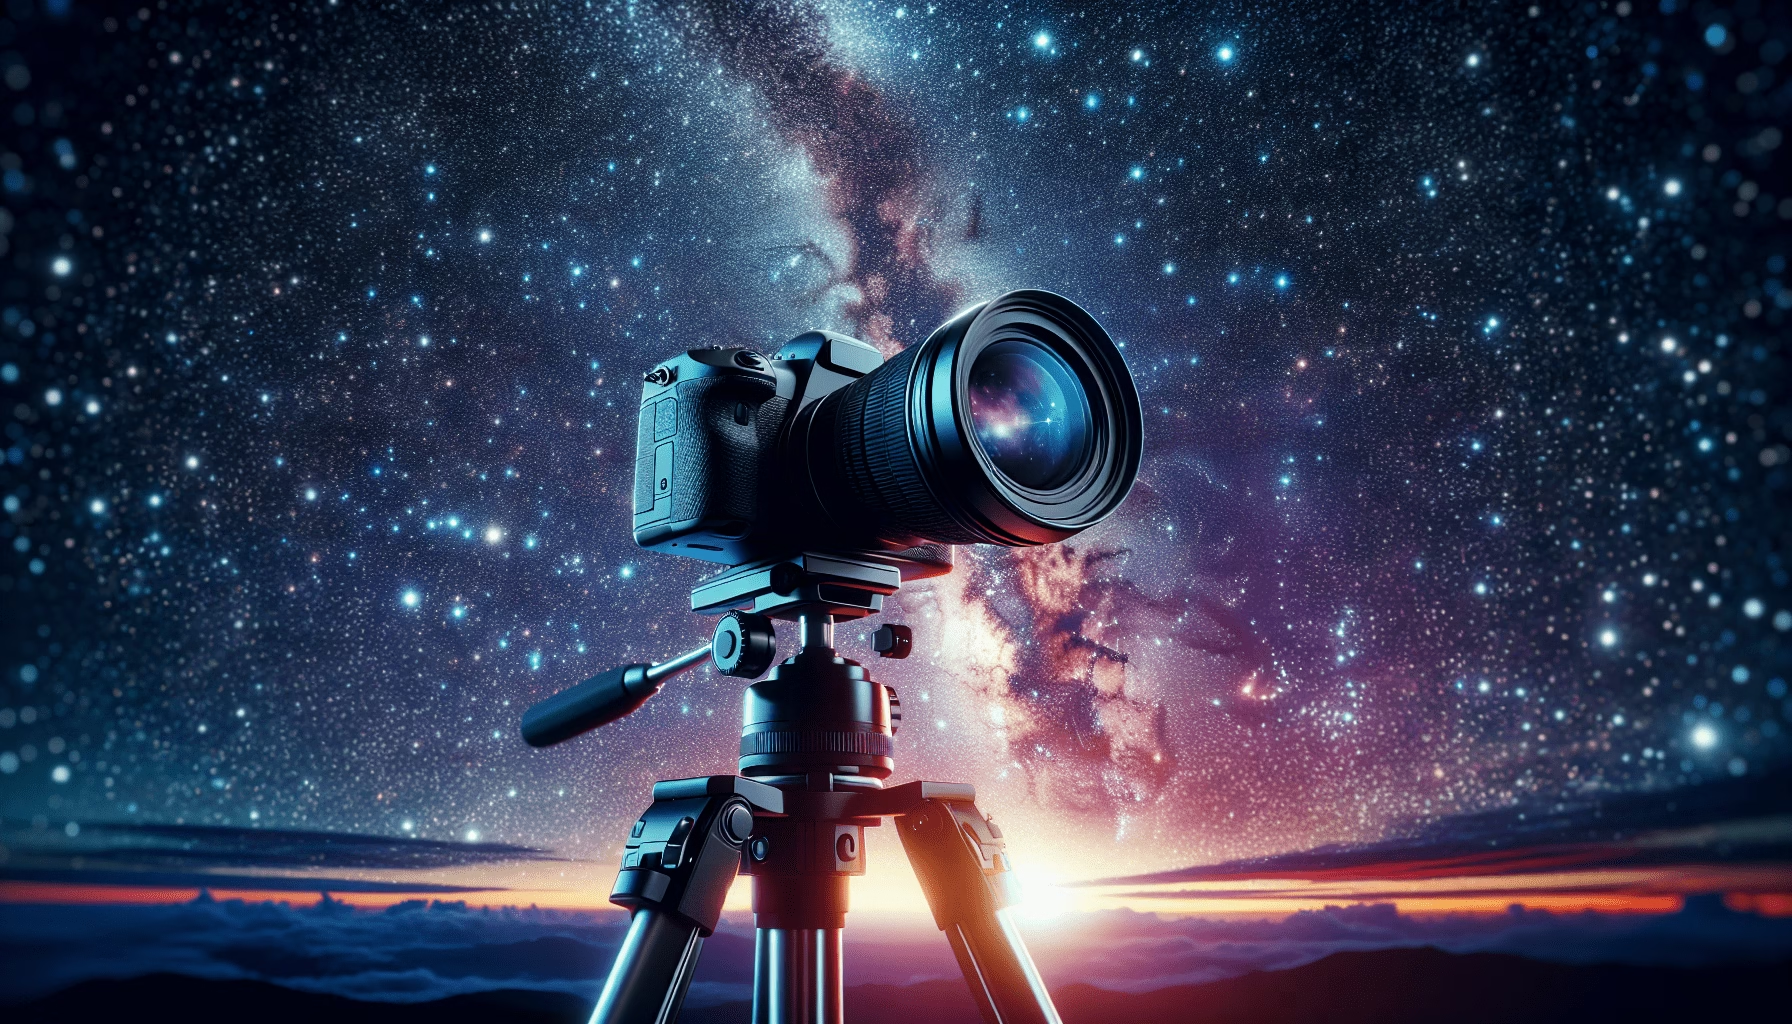
- Tripods: A stable tripod is critical to prevent camera movement during long exposures. Look for a model that is sturdy yet lightweight for easy transport.
Step-by-Step Guide to Setting Up Astrophotography Equipment
Now that you have an understanding of the essential equipment, let’s walk through the process of setting up for a night of astrophotography. This guide will concentrate on ensuring optimal use of your gear to capture stunning sky images.
Step 1: Location and Timing
Choosing the right location and time is crucial for astrophotography. Aim for areas with minimal light pollution, such as rural locations far from city lights. Timing your photography sessions around new moon phases can also help, as the absence of moonlight allows for capturing fainter stars and galaxies.
Step 2: Assembling and Aligning the Mount
For those using an equatorial mount, proper alignment with the celestial pole is essential. Begin by setting up the tripod on a level surface. Next, adjust the mount’s altitude and azimuth to align it accurately with the Earth’s axis. Many mounts come with polar scopes or smartphone apps to assist in this process.
Step 3: Attaching the Camera and Lens
Once the mount is properly aligned, attach the camera or telescope. Fasten the equipment securely to prevent unwanted movement. If using a telescope, ensure that the focus is adjusted correctly to capture crisp, clear images.
Step 4: Fine-Tuning Camera Settings
- ISO Setting: Higher ISO values can increase the camera sensor’s sensitivity to light, capturing more detail in darker environments. However, be cautious to balance it against image noise.
- Aperture: Use a wide aperture (low f-number) to gather as much light as possible.
- Shutter Speed: Depending on the subject, long exposure times are often required. Avoid exceeding the reciprocal value of your focal length to prevent star trails, unless trails are part of the intended composition.
Step 5: Capturing the Image
Using a remote shutter release or the intervalometer, begin capturing images. It may take several attempts and adjustments to settings like exposure time and ISO to achieve the desired result.
Troubleshooting Common Astrophotography Challenges
Astrophotography novices often face a few common hurdles. Fortunately, with practice and the right strategies, these can be overcome.
Insufficient Star Details
If the stars appear faint or lackluster, consider increasing the ISO setting or using a longer exposure time. However, be mindful of noise, which can be managed by using noise reduction techniques during post-processing.
Blurry Images
Blurriness can be due to various factors, including unstable mounts, incorrect focus, or vibrations. Ensure that the tripod and mount are stable. Additionally, check the focus frequently, as it may shift with temperature changes.
Light Pollution
While visiting dark-sky sites is the best solution for light pollution, filters can help mitigate its effects. Additionally, positioning oneself to avoid direct artificial lights can improve image quality.
Documenting and Enhancing Your Work
Applying post-processing techniques can significantly enhance astrophotographic results. Software such as Adobe Lightroom and Photoshop are popular choices for adjusting exposure, contrast, and noise reduction. Stacking software like DeepSkyStacker can be particularly useful for combining multiple images to improve detail and clarity.
Future Trends in Astrophotography
Astrophotography is continuously evolving, influenced by advancements in technology. The integration of smart devices for remote control and automated tracking has already made significant impacts. Additionally, the development of higher sensitivity sensors and more efficient light pollution filters continue to expand possibilities for astrophotographers.
Engaging with the Astrophotography Community
Joining forums, attending workshops, and participating in stargazing events can provide valuable learning opportunities and foster connections with fellow enthusiasts. Engaging with the community offers fresh perspectives and ideas, helping budding astrophotographers refine their craft.
Conclusion: Embarking on Your Astrophotography Journey
Astrophotography is a captivating endeavor that combines a love for photography with the mysteries of the night sky. By equipping themselves with the right tools and techniques, aspiring astrophotographers can fully grasp the celestial wonders above. As they embark on this journey, patience, practice, and a keen eye for detail will be their most trusted allies. Through the fusion of art and science, their images will illuminate the hidden beauty of the universe, forever capturing its ephemeral splendor.
What equipment is needed for a beginner wanting fo get into astrophotography ?
Advanced Techniques for Planetary Photography Through Telescopes Guide
