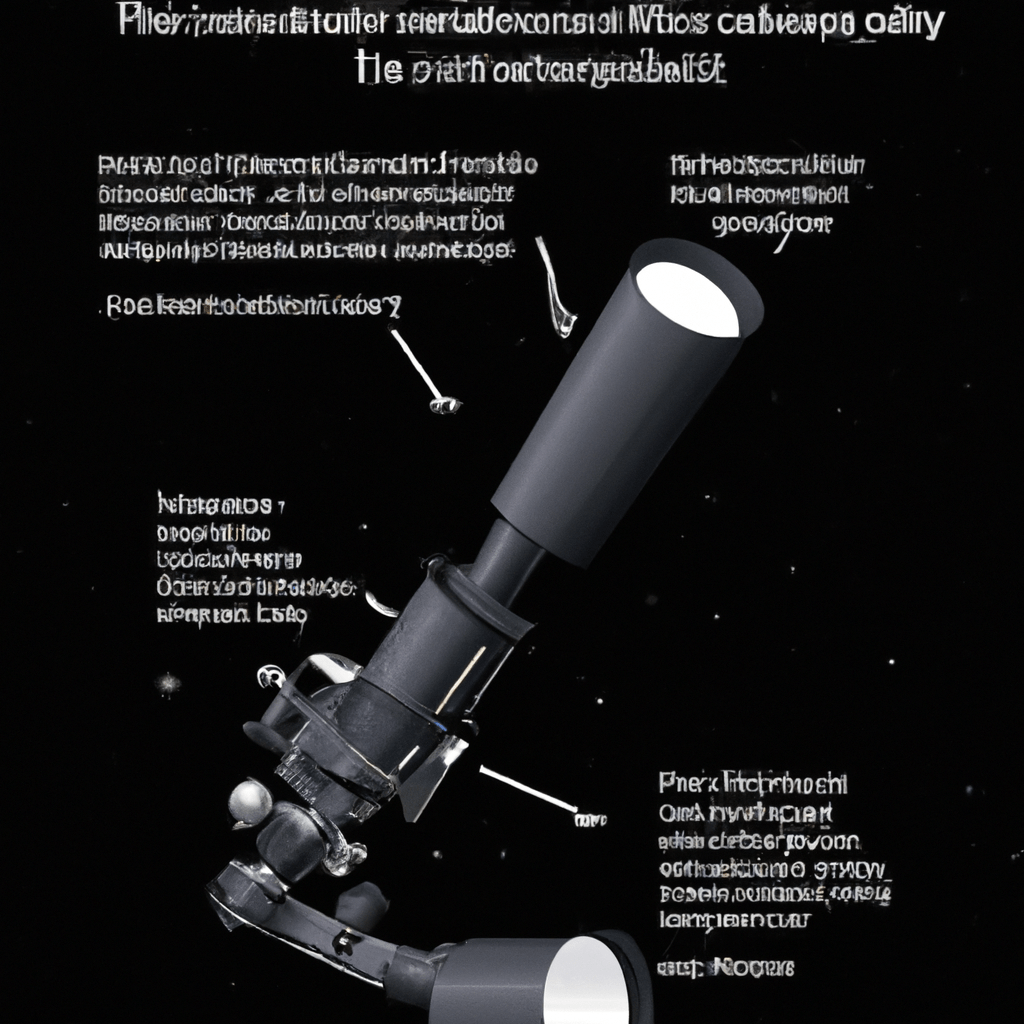
If you’ve ever marveled at the night sky and wished to capture its beauty through photography, you may be wondering, “Can I attach a camera to my telescope for astrophotography?” The answer is a resounding yes! Combining the power of a telescope with the sophistication of a camera allows you to capture stunning images of celestial objects. In this article, we will explore the benefits and challenges of attaching a camera to your telescope, as well as provide some useful tips to ensure successful astrophotography endeavors. So, grab your telescope and camera – let’s embark on a journey to capture the wonders of the universe!
Table of Contents
Choosing the Right Camera
Astrophotography requires a camera that is compatible with your telescope and meets your specific needs. There are several factors to consider when choosing a camera for astrophotography.
Compatibility with the Telescope
The first step in choosing the right camera for astrophotography is ensuring that it is compatible with your telescope. Different telescopes may require different types of camera attachments, so it is essential to check the compatibility before making a purchase.
Image Sensor Type
The image sensor is one of the critical components of a camera for astrophotography. There are two common types of sensors: CCD (Charge-Coupled Device) and CMOS (Complementary Metal-Oxide-Semiconductor). CCD sensors are generally preferred for astrophotography due to their lower noise levels and higher sensitivity.
Megapixel Count
The megapixel count refers to the number of pixels the camera’s sensor can capture. While a higher megapixel count may seem desirable, it is not necessarily a determining factor for astrophotography. The quality of the sensor and other factors play a more significant role in capturing detailed and sharp images of celestial objects.
ISO Range
The ISO range dictates the camera’s sensitivity to light. For astrophotography, a camera with a wide ISO range is beneficial as it allows you to capture images in low-light conditions. Look for a camera that offers a high ISO range with controllable noise levels to ensure optimal performance in capturing the night sky.
Full-Frame vs. Cropped Sensor
When choosing a camera for astrophotography, you will come across the terms full-frame and cropped sensor. Full-frame sensors are larger and offer a wider field of view, making them ideal for capturing expansive celestial objects. On the other hand, cropped sensors have a smaller field of view, but they can magnify smaller objects, such as planets. Consider your astrophotography goals and budget to determine which sensor size is suitable for you.
Connectivity Options
The camera’s connectivity options are crucial for transferring images to your computer or other devices. Look for cameras that offer USB, HDMI, or Wi-Fi connectivity to simplify the process of transferring and sharing your astrophotographs.
Budget Considerations
Astrophotography can be an expensive hobby, but there are cameras available at various price points. Determine your budget and prioritize the features that are most important to you to make an informed decision.
Attaching the Camera to the Telescope
Once you have chosen the right camera, the next step is to attach it to your telescope. There are various methods and accessories available to secure your camera to the telescope.
Prime vs. Eyepiece Projection
There are two primary techniques for attaching a camera to a telescope: prime focus and eyepiece projection. Prime focus involves connecting the camera directly to the telescope without an eyepiece. This method provides a wider field of view and works well for capturing larger celestial objects. Eyepiece projection, on the other hand, involves using an eyepiece to project the image onto the camera’s sensor. This technique is suitable for capturing smaller objects, such as planets, and allows for higher magnification.
Camera Adapters
Camera adapters are essential for attaching your camera to the telescope. These adapters come in different sizes and formats to ensure compatibility between your camera and telescope. It is important to choose the correct adapter for your specific camera and telescope combination to secure a proper fit.
T-Rings and T-Adapters
T-rings and T-adapters are commonly used accessories for attaching cameras to telescopes. A T-ring connects your camera to a T-adapter, which then attaches to the telescope. These accessories provide a secure and stable connection, allowing you to capture sharp and steady images.
Focal Reducers and Barlow Lenses
Focal reducers and Barlow lenses are additional tools that can enhance your astrophotography experience. A focal reducer reduces the telescope’s focal length, resulting in a wider field of view and faster exposure times. On the other hand, a Barlow lens increases the focal length, allowing for greater magnification. These accessories can be useful for capturing different celestial objects and achieving specific photography goals.
Focusing and Framing
When attaching your camera to the telescope, it is essential to focus and frame your shots correctly. Use the telescope’s focuser to achieve a sharp focus and adjust the camera’s settings to capture the desired field of view. Experiment with different settings and techniques to find the optimal balance between exposure time, magnification, and clarity.
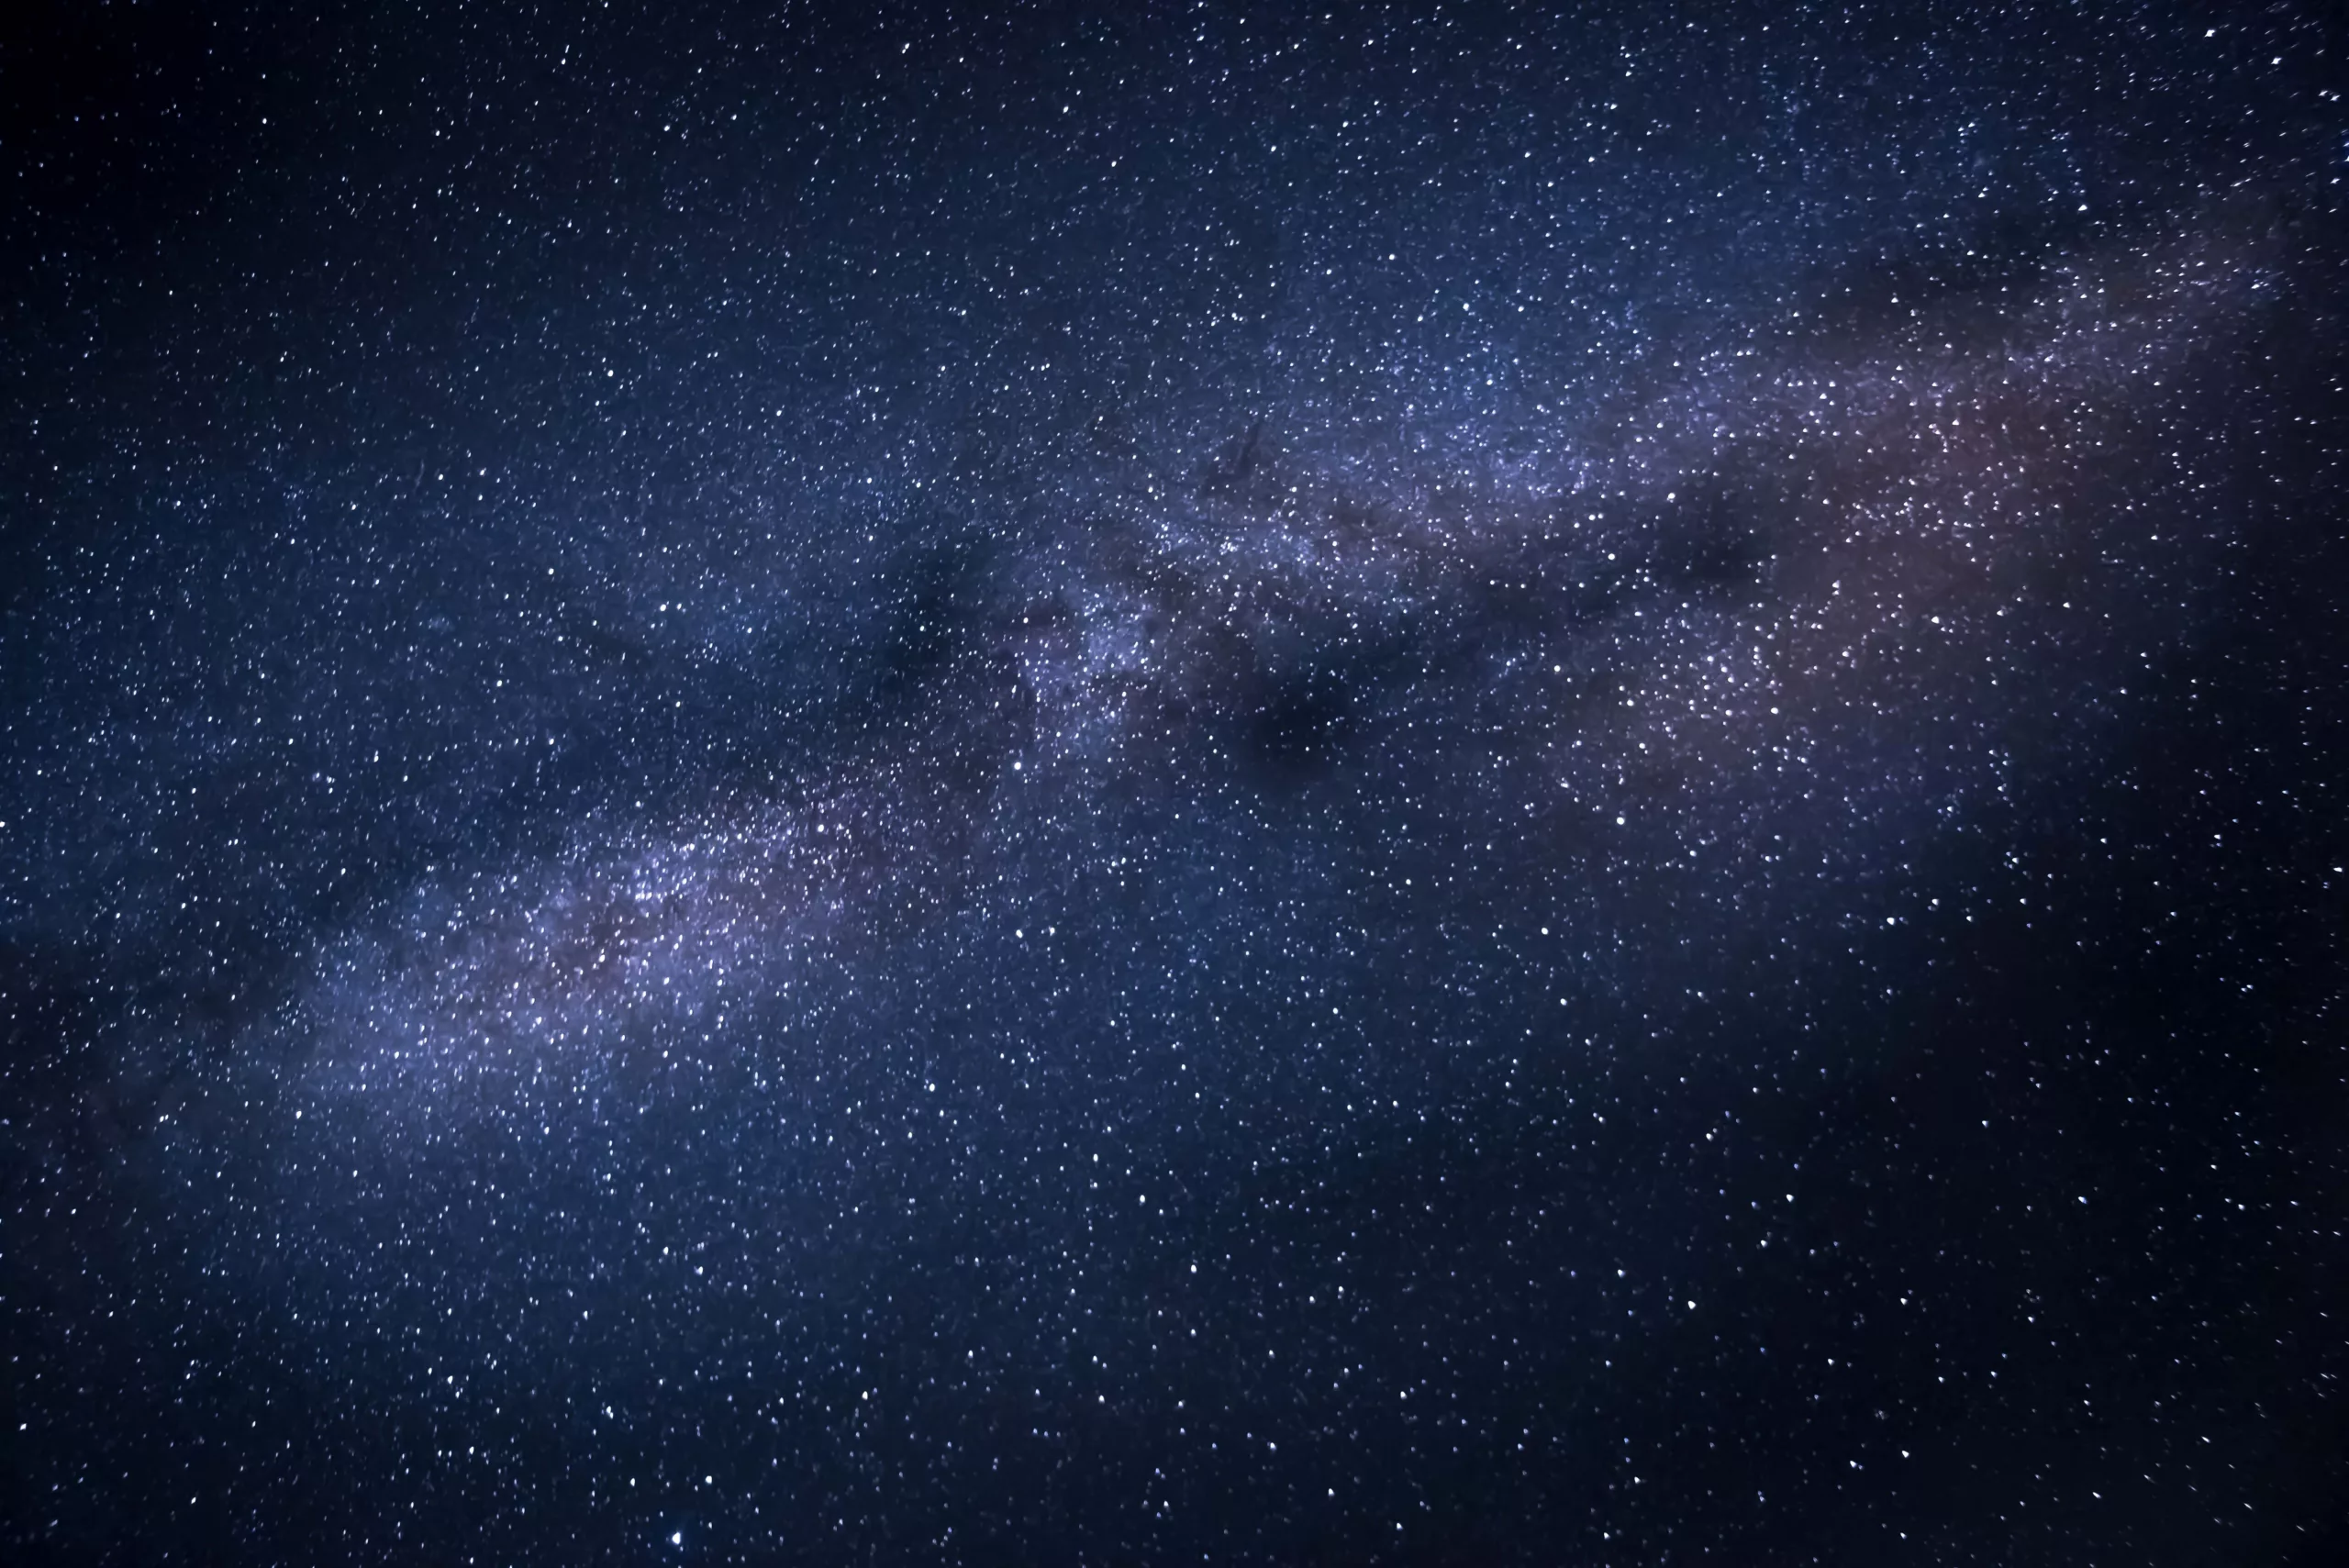
Telescope For Astrophotography
Remote Shutter Release and Intervalometer
Using a remote shutter release and intervalometer can significantly improve your astrophotography results. These tools allow you to control the camera without physically touching it, minimizing the risk of blurring or shaking the image.
Using a Remote Shutter Release
A remote shutter release is a small device that connects to your camera and allows you to trigger the shutter remotely. By using a remote shutter release, you can avoid camera shake caused by manually pressing the shutter button, resulting in sharper and more focused images.
Benefits of an Intervalometer
An intervalometer is a versatile tool that enables you to set predefined intervals between exposures, control exposure times, and capture time-lapse sequences. This is especially useful for capturing star trails, meteor showers, or any other objects or phenomena that require multiple exposures over an extended period. With an intervalometer, you can automate the image capture process and create stunning astrophotographs with ease.
Guiding and Tracking Systems
For capturing clear and detailed astrophotographs, precise guiding and tracking systems are essential. These systems help compensate for the Earth’s rotation, ensuring that celestial objects remain in focus throughout the exposure.
Need for Guiding
Guiding is the process of continuously adjusting the telescope’s position to counteract the Earth’s rotation. This ensures that the desired object stays centered in the frame, leading to sharper and more accurate images. Guiding is particularly important when capturing long-exposure photographs or faint details of celestial objects.
Autoguiders
Autoguiders are devices that use a separate camera to monitor the position of a guide star. They provide real-time feedback, allowing for automatic corrections to the telescope’s tracking. Autoguiders make the guiding process more accurate and efficient, resulting in clearer and more precisely tracked astrophotographs.
Off-Axis Guiders
Off-axis guiders are another guiding method commonly used in astrophotography. They utilize a small prism or mirror to split the light path, enabling simultaneous guiding and imaging. Off-axis guiders minimize the risk of flexure and offer a convenient way to guide without obstructing the camera’s field of view.
Guiding Software
Guiding software plays a crucial role in controlling and monitoring the guiding process. There are various guiding software options available, ranging from free to premium versions, each offering different features and functionalities. Look for software that is compatible with your camera and guiding system, and learn how to utilize its capabilities to enhance your astrophotography results.
Importance of Accurate Tracking
Accurate tracking is vital for capturing sharp and detailed astrophotographs. a sturdy mount with precise tracking capabilities is essential. Consider investing in an equatorial mount, which allows you to align the telescope with the Earth’s axis of rotation. A smooth and stable tracking system will significantly improve the quality of your astrophotographs by reducing blurring and trailing.
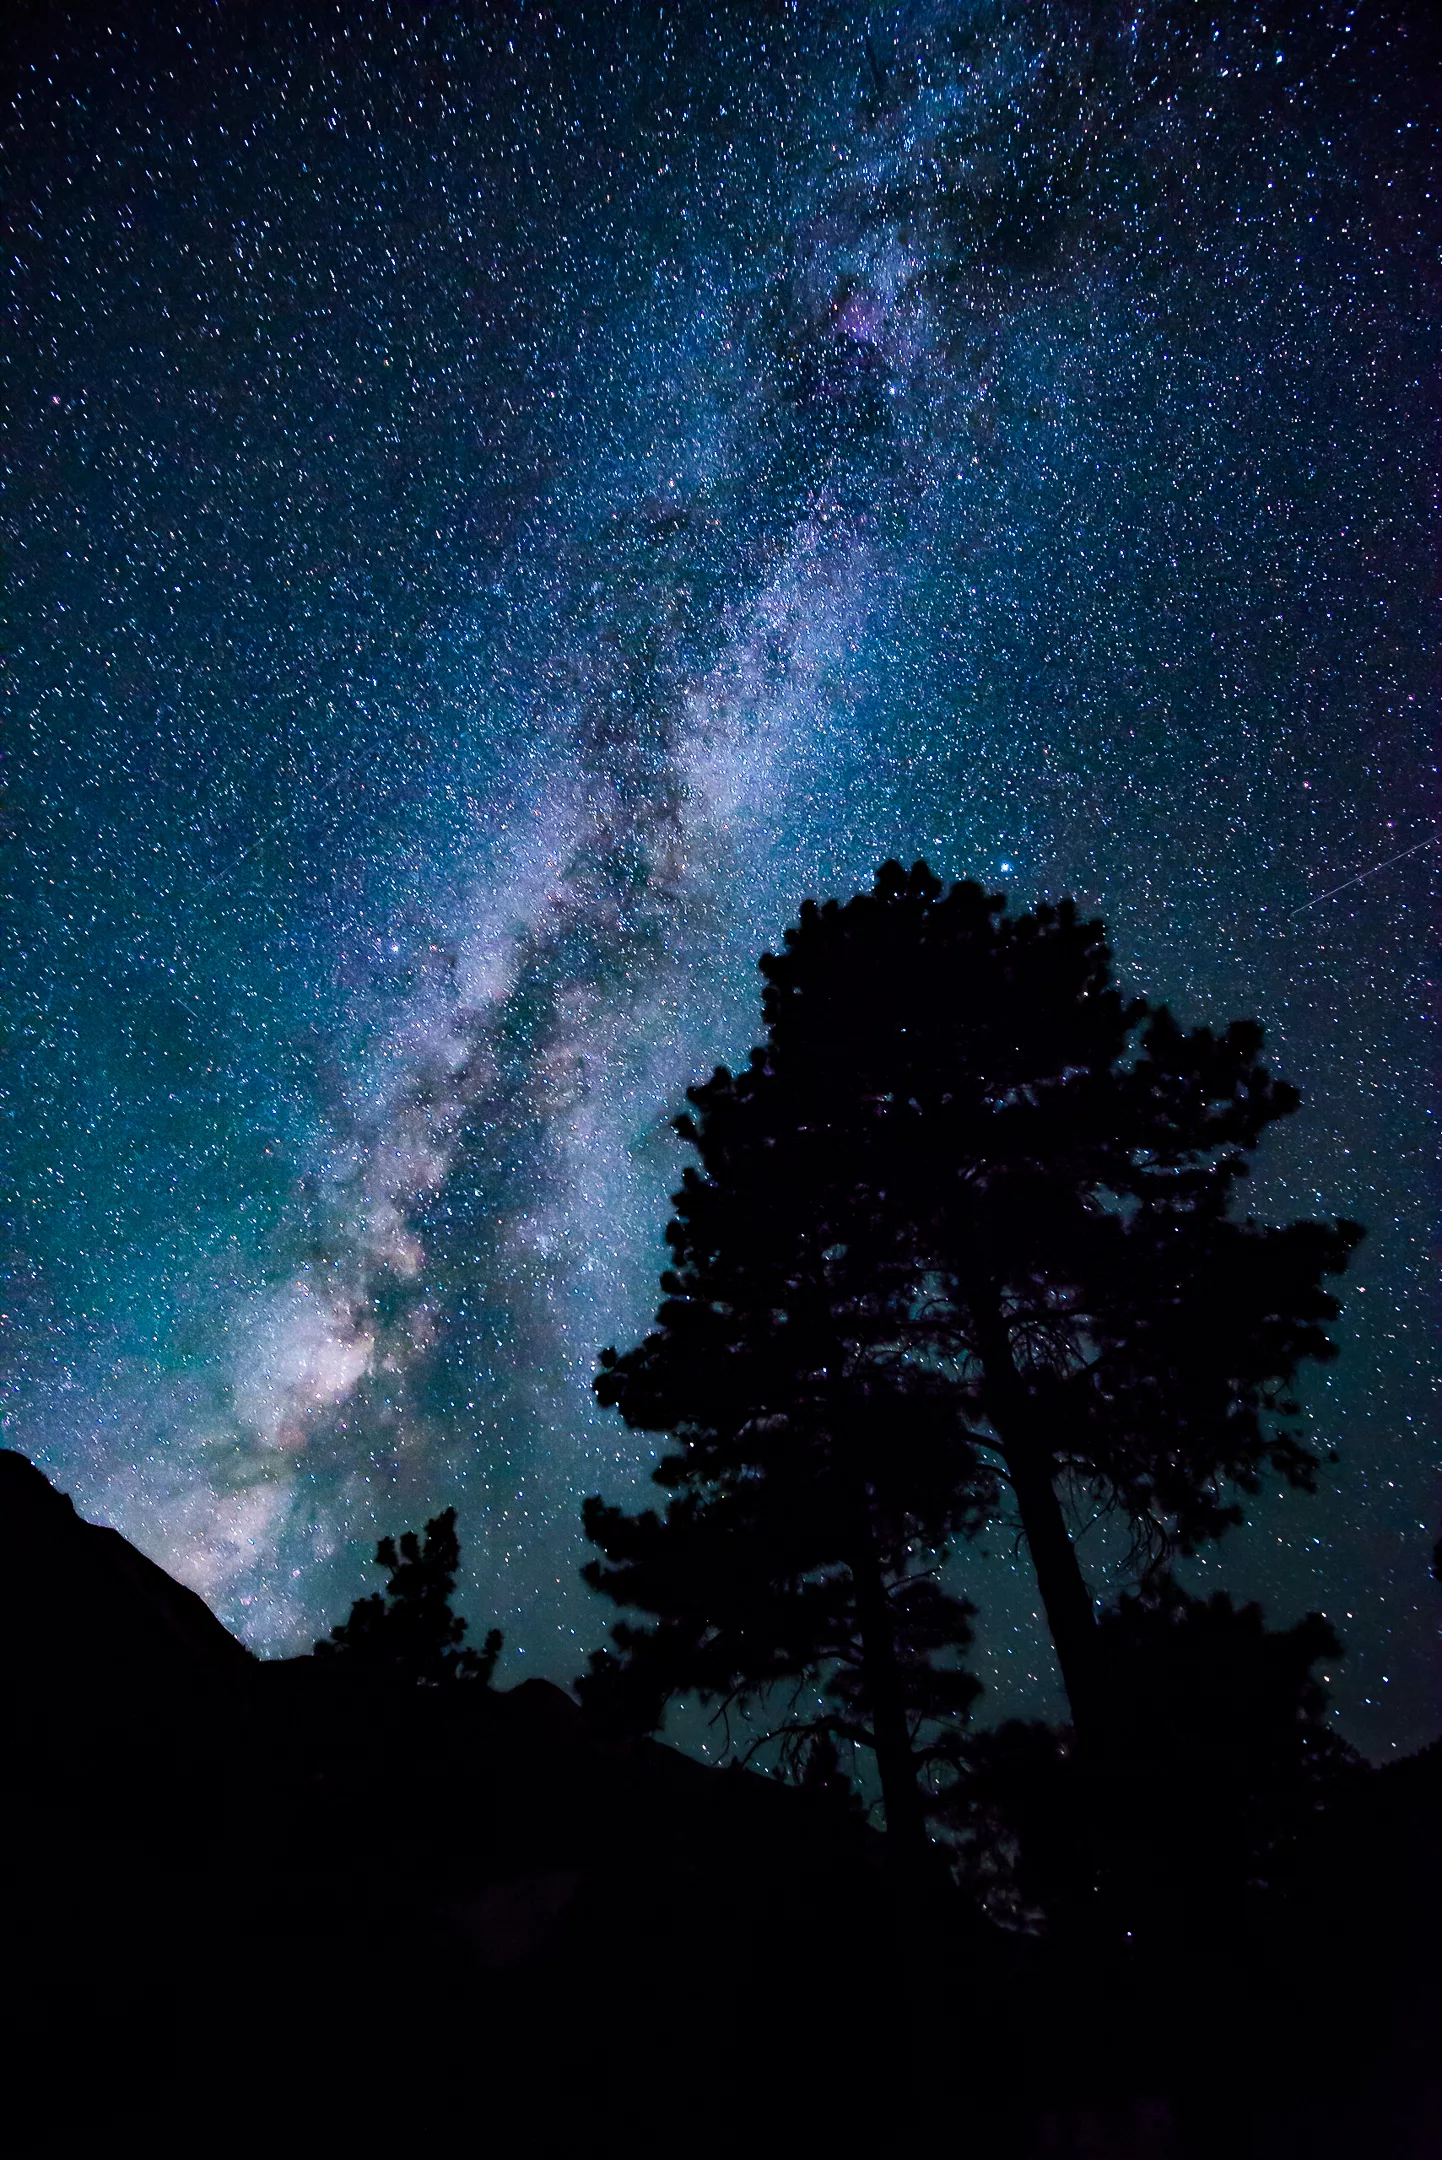
Telescope For Astrophotography
Exposure Settings and Techniques
Achieving the correct exposure settings in astrophotography is crucial for capturing the beauty of the night sky. Understanding and manipulating key exposure parameters can significantly impact the quality and clarity of your images.
ISO Sensitivity
ISO sensitivity determines the camera’s ability to capture light. In astrophotography, higher ISO settings are often used to capture faint details in low-light conditions. However, it is crucial to strike a balance between ISO and noise levels. Experiment with different ISO settings to find the optimal balance for your camera, ensuring both exposure and low noise levels.
Shutter Speed
Shutter speed controls the duration of the exposure. In astrophotography, longer shutter speeds are often used to capture faint objects or create star trails. However, longer exposures can also result in increased noise and blurring due to issues like Earth’s rotation or atmospheric conditions. Understanding the relationship between shutter speed, the desired effect, and image quality is essential for achieving stunning astrophotographs.
Aperture and Focal Length
Aperture affects the amount of light entering the camera. In astrophotography, using a wide aperture allows for more light collection, improving image brightness. However, it is important to consider the impact of wider apertures on image quality, such as reduced sharpness or increased aberrations.
Focal length also plays a crucial role in astrophotography. longer focal lengths magnify celestial objects, allowing for detailed captures of smaller features. However, longer focal lengths can also lead to image blurring due to increased sensitivity to vibrations. Experiment with different apertures and focal lengths to find the right balance for your specific astrophotography goals.
Stacking and Image Processing
Stacking and image processing techniques can significantly enhance astrophotographs by reducing noise, enhancing details, and increasing overall image quality. Stacking involves aligning and combining multiple exposures of the same object, minimizing noise and maximizing signal-to-noise ratio. Various software tools are available for stacking astrophotographs, ranging from beginner-friendly options to more advanced applications.
Image processing techniques, such as noise reduction, color correction, and sharpening, help polish the stacked images further. These techniques allow you to reveal hidden details, enhance colors, and bring out the true beauty of celestial objects. Experiment with different processing techniques and find a workflow that suits your artistic vision.
Long Exposure Noise Reduction
Long exposure noise reduction is a feature found in many modern cameras that helps reduce noise generated during long exposures. This feature takes a dark frame with the same exposure time immediately after the initial exposure. The camera then subtracts the noise patterns in the dark frame from the original image, resulting in less visible noise. However, it is important to note that long exposure noise reduction doubles the time required for each exposure, so it may not be ideal for situations where quick consecutive exposures are needed.
Lights, Darks, and Flats
To achieve the best possible astrophotographs, it is essential to capture and use lights, darks, and flats. Lights are the actual exposures of the celestial objects you want to capture. Dark frames are taken with the lens or camera covered and have the same exposure time as the lights. They capture the noise generated by the camera sensor and are used to subtract the noise patterns from the lights during stacking. Flats are images of a uniformly illuminated surface and help correct imperfections such as dust or vignetting. Capturing and utilizing these calibration frames will greatly enhance the quality of your final astrophotographs.
Filters for Astrophotography
Filters are valuable tools in astrophotography that help enhance specific features and overcome challenges presented by light pollution, atmospheric conditions, or other factors.
Light Pollution Filters
Light pollution filters are designed to reduce the impact of artificial light sources, such as streetlights or urban areas, on astrophotographs. These filters selectively block specific wavelengths of light, allowing for clearer and more accurate captures of celestial objects. Light pollution filters are particularly useful when shooting from areas with high light pollution and can significantly improve the contrast and visibility of deep-sky objects.
Narrowband Filters
Narrowband filters isolate specific emission lines emitted by nebulae, allowing for enhanced contrast and visibility. These filters are especially useful for capturing objects rich in hydrogen-alpha, oxygen-III, and sulfur-II emissions. Narrowband imaging techniques can reveal intricate details in nebulae and other celestial objects that are not readily visible to the human eye.
UV/IR Cut Filters
UV/IR cut filters are primarily used to block ultraviolet and infrared light that can affect the image quality. These filters help reduce unwanted artifacts, such as color fringing or reduced sharpness, caused by these wavelengths. UV/IR cut filters are particularly beneficial when shooting with lenses or telescopes that are not specifically designed for astrophotography.
Neutral Density Filters
Neutral density filters reduce the amount of light entering the camera, allowing for longer exposures and creative control over the image’s brightness. These filters are particularly useful when capturing subjects such as the Moon or the Sun, where excessive brightness can lead to overexposure or loss of details.
Hydrogen-Alpha Filters
Hydrogen-alpha filters selectively pass the wavelength of light emitted by hydrogen-alpha gas, allowing for enhanced captures of nebulae and other hydrogen-rich regions. These filters can reveal intricate details and structures not visible in regular broadband astrophotographs.
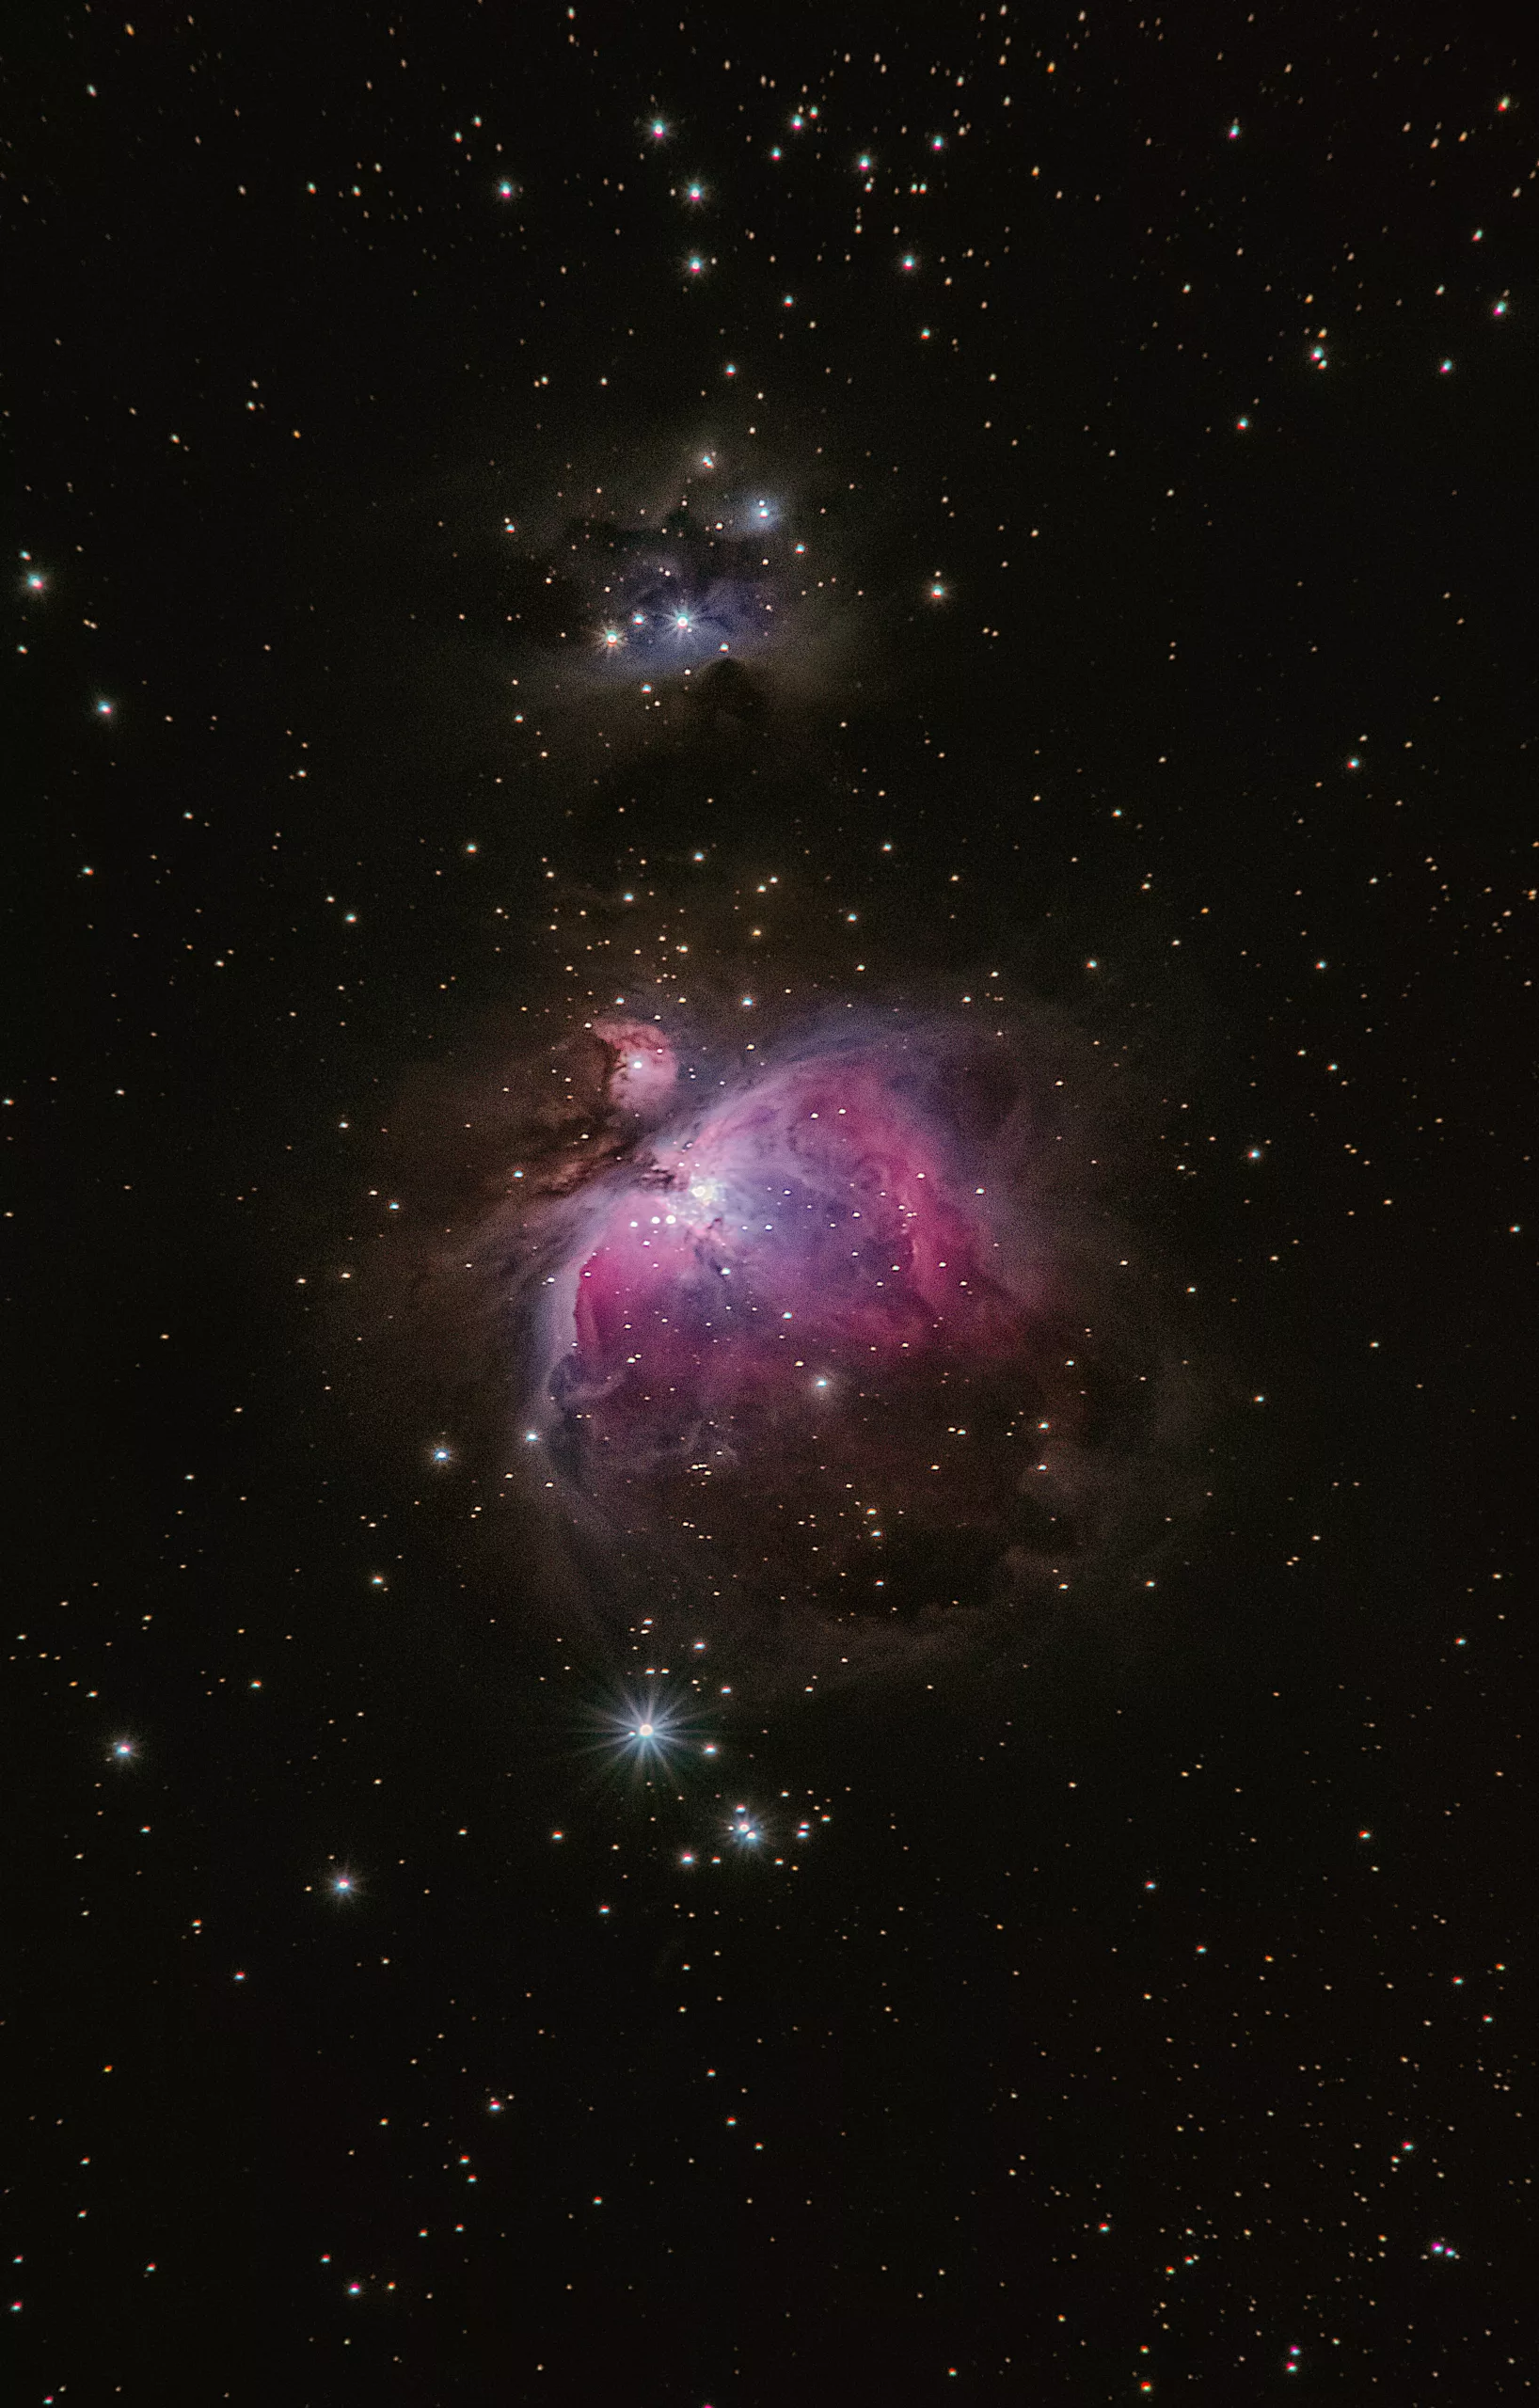
Choosing the Right Telescope
Selecting the right telescope is crucial for successful astrophotography. Consider the following factors when choosing the telescope that best suits your needs and budget.
Aperture and Focal Length
Aperture determines the amount of light that the telescope can gather, directly impacting image brightness and clarity. A larger aperture allows for greater light collection, resulting in sharper and more detailed astrophotographs. Focal length, on the other hand, dictates the field of view and magnification. Longer focal lengths can capture smaller objects in greater detail, while shorter focal lengths provide wider field views. Consider your desired astrophotography subjects and goals when selecting the appropriate aperture and focal length for your telescope.
Optical Quality
Optical quality is paramount in astrophotography, as it directly affects the sharpness and clarity of your images. Look for telescopes with high-quality lenses or mirrors and minimal optical aberrations. Refractor telescopes are known for their excellent optical quality, while reflector telescopes often offer larger apertures at a more affordable price point.
Mount and Tracking Capability
A sturdy and reliable mount is essential for astrophotography. Equatorial mounts, which align with the Earth’s axis of rotation, provide the most accurate tracking capabilities for long-exposure astrophotographs. Look for mounts with precise tracking systems, smooth motion, and built-in guiding capabilities to ensure optimal performance.
Portability and Weight
Consider the portability and weight of the telescope, especially if you plan to travel or capture astrophotographs in different locations. Lighter and more portable telescopes offer convenience and ease of setup, making them ideal for on-the-go astrophotography.
Budget Considerations
Astrophotography equipment can vary significantly in price, and it is essential to set a budget before making a purchase. Determine your priorities, consider your astrophotography goals, and find a telescope that strikes the right balance between performance and affordability.
Understanding Focal Length, Aperture, and Field of View
Understanding the concepts of focal length, aperture, and field of view is crucial for capturing the desired composition and achieving the desired effects in your astrophotographs.
Focal Length and Magnification
Focal length determines the degree of magnification and the resulting field of view. Longer focal lengths provide higher magnification, allowing for detailed captures of smaller celestial objects, whereas shorter focal lengths offer wider fields of view suitable for capturing larger star clusters or nebulae.
Aperture and Light Gathering
Aperture refers to the diameter of the telescope’s objective lens or primary mirror. A larger aperture allows for greater light gathering, resulting in brighter and more detailed astrophotographs. The choice of aperture depends on your desired astrophotography subjects and the level of detail you want to capture.
Focal Ratio and Exposure Time
The focal ratio, denoted by f/number, determines the brightness and exposure time required for astrophotography. Lower f/numbers indicate wider apertures and faster exposure times, while higher f/numbers correspond to narrower apertures and longer exposure times. Understanding the relationship between focal ratio, exposure time, and ISO sensitivity is essential for achieving properly exposed astrophotographs.
Field of View and Framing
Field of view refers to the area of sky visible through the telescope, measured in degrees. A wider field of view allows for capturing larger celestial objects or encompassing more of the night sky. Consider your desired composition and astrophotography goals when choosing a telescope with the appropriate field of view for your needs.
Cropping and Resizing
Cropping and resizing astrophotographs can be useful to refine the composition and emphasize specific details. Cropping allows you to eliminate unnecessary elements from the frame, while resizing can enhance image sharpness or accommodate specific display requirements. However, it is important to capture as much detail as possible during the original exposure, as excessive cropping or resizing can lead to loss of image quality.
Photographing Different Celestial Objects
Astrophotography offers a unique opportunity to capture the beauty and mystery of various celestial objects. Here are some tips for photographing different types of subjects.
Moon
Photographing the Moon requires careful consideration of exposure settings and techniques due to its high brightness. Start with a lower ISO to prevent overexposure, and experiment with different shutter speeds and apertures to achieve the desired level of detail. Consider using a telephoto lens or a telescope with a focal length suitable for capturing the Moon’s surface features.
Planets
Capturing planets in astrophotographs requires high magnification and precise focusing. Use a telescope with a long focal length or employ eyepiece projection to achieve detailed images. Planetary photography often benefits from recording high-speed video and extracting the sharpest frames during post-processing. Consider using specialized planetary imaging cameras or stacking software to maximize the clarity and sharpness of the captured details.
Nebulae
Nebulae are expansive clouds of gas and dust, often featuring intricate structures and vibrant colors. To photograph nebulae, use a wide-field telescope or a lens with a fast aperture to capture larger regions. Longer exposures and stacking techniques can reveal finer details, while narrowband filters help isolate specific emissions for enhanced contrast and visibility.
Galaxies
Galaxies are distant and often faint celestial objects that require longer exposures and sensitive cameras to capture their intricate structures. Employ a telescope with a long focal length and a low aperture ratio to gather as much light as possible. Dark sky conditions and remote locations with minimal light pollution are ideal for photographing galaxies. Additionally, image stacking and post-processing techniques can help bring out the subtle details and colors of these distant objects.
Star Clusters
Star clusters, such as open and globular clusters, offer captivating astrophotography opportunities. Use a telescope with a suitable focal length or a wide-field lens to capture the clusters’ unique shapes and patterns. Adjust the exposure settings to capture the brightest stars while preserving the surrounding details. Experimenting with different exposure times and stacking methods can reveal the cluster’s hidden features and enhance the overall image quality.
Meteor Showers
Photographing meteor showers presents a unique challenge due to the unpredictable nature of the events. Use a wide-field lens or a camera with a wide field of view to maximize the chances of capturing meteor streaks. Opt for longer shutter speeds and higher ISO settings to increase the chances of capturing meteors during your exposure. Patience and multiple exposures are often key to capturing stunning meteor shower images.
Auroras
Capturing the dancing colors of auroras requires being in the right place at the right time, with proper camera settings. Use a wide-angle lens to capture the vastness of the aurora display. Opt for longer exposures to capture the movement and vibrant colors. Experiment with different ISO settings to balance exposure and noise levels. Ensure you are in a dark location away from light pollution to maximize the intensity and richness of the aurora colors.
Post-Processing and Editing Astrophotographs
Post-processing and editing play a crucial role in refining and enhancing your astrophotographs. Here are some common techniques used in post-processing to achieve stunning results.
Calibrating and Stacking Images
Calibrating and stacking multiple images can significantly improve the quality and clarity of astrophotographs. Calibration frames, such as darks, flats, and bias frames, are used to eliminate noise, correct imperfections, and enhance overall image quality. Stacking software combines the aligned and calibrated images, allowing the signal to be boosted while minimizing noise.
Noise Reduction Techniques
Noise reduction is an essential step in astrophotography post-processing. Image noise, such as random noise or hot pixels, can be effectively reduced using noise reduction tools available in various image editing software. The goal is to reduce noise while preserving the fine details and structures of the astrophotograph.
Color Correction and Enhancement
Color correction and enhancement techniques can help bring out the true beauty and richness of celestial objects. Adjusting color balance, saturation, and hue can help reveal hidden details and enhance the overall visual appeal of the astrophotograph. However, it is important to strike a balance between enhancing the colors and maintaining the natural look of the object.
Sharpening and Detail Enhancement
Sharpening techniques are used to enhance the overall sharpness and clarity of the astrophotograph. Unsharp mask or deconvolution tools can help bring out fine details and increase the perceived sharpness of the image. Careful adjustment is crucial to prevent oversharpening and the introduction of artifacts.
Applying Filters and Effects
Filters and effects can be used to create artistic or creative interpretations of astrophotographs. Sepia, black and white, or toning effects can add a unique touch to the image, while graduated filters can help balance the exposure and enhance the overall composition.
Preserving Naturalness
While post-processing allows for artistic interpretations and enhancements, it is important to preserve the naturalness of the astrophotograph. Avoid excessive manipulation that may distort the original image or misrepresent the observed characteristics. Find a balance between enhancing the image’s aesthetic appeal and maintaining the integrity of the captured celestial object.
