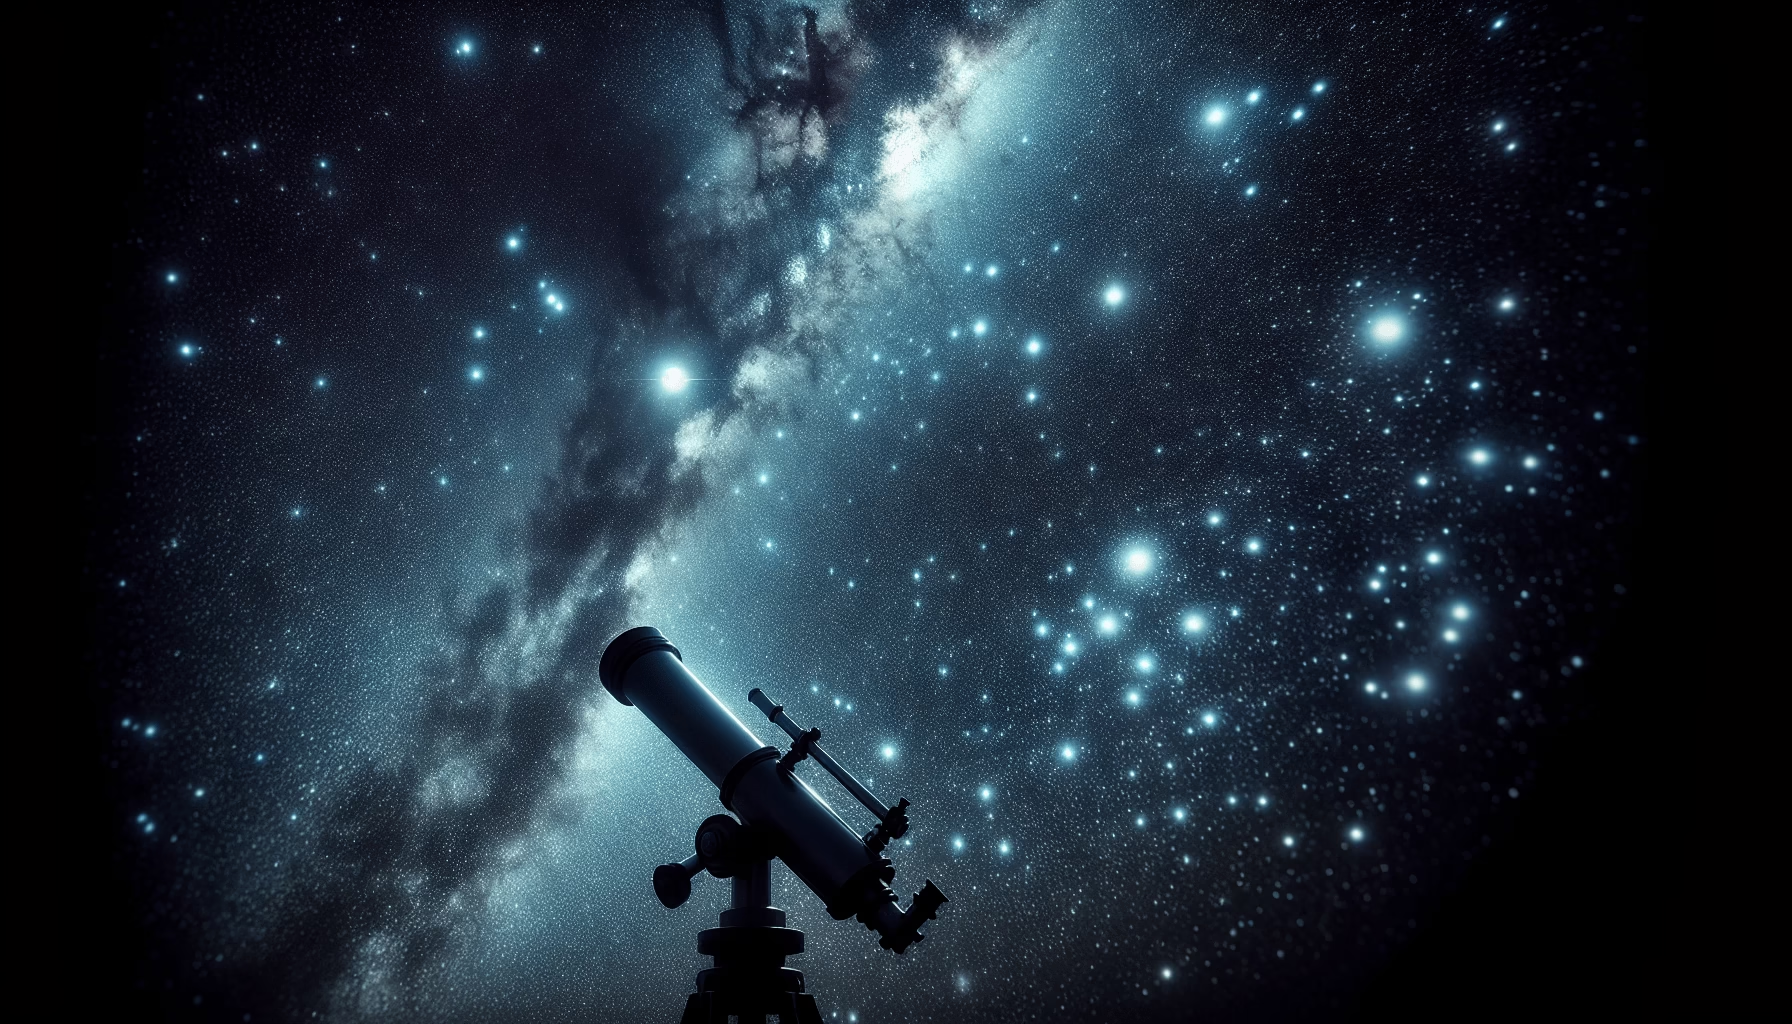
What makes capturing the elusive beauty of the night sky so compelling? For many, it’s the challenge of distilling the vastness of the cosmos into a single frame, turning what is infinitely large into something perceptible and intimate. It is in this pursuit that night photography through telescopes finds its charm, melding the art of photography with the science of astronomy. This comprehensive guide will unravel the essentials and nuances of creating successful night photography through telescopes, ensuring that your journey across the celestial sphere is as inspiring as the images you capture.
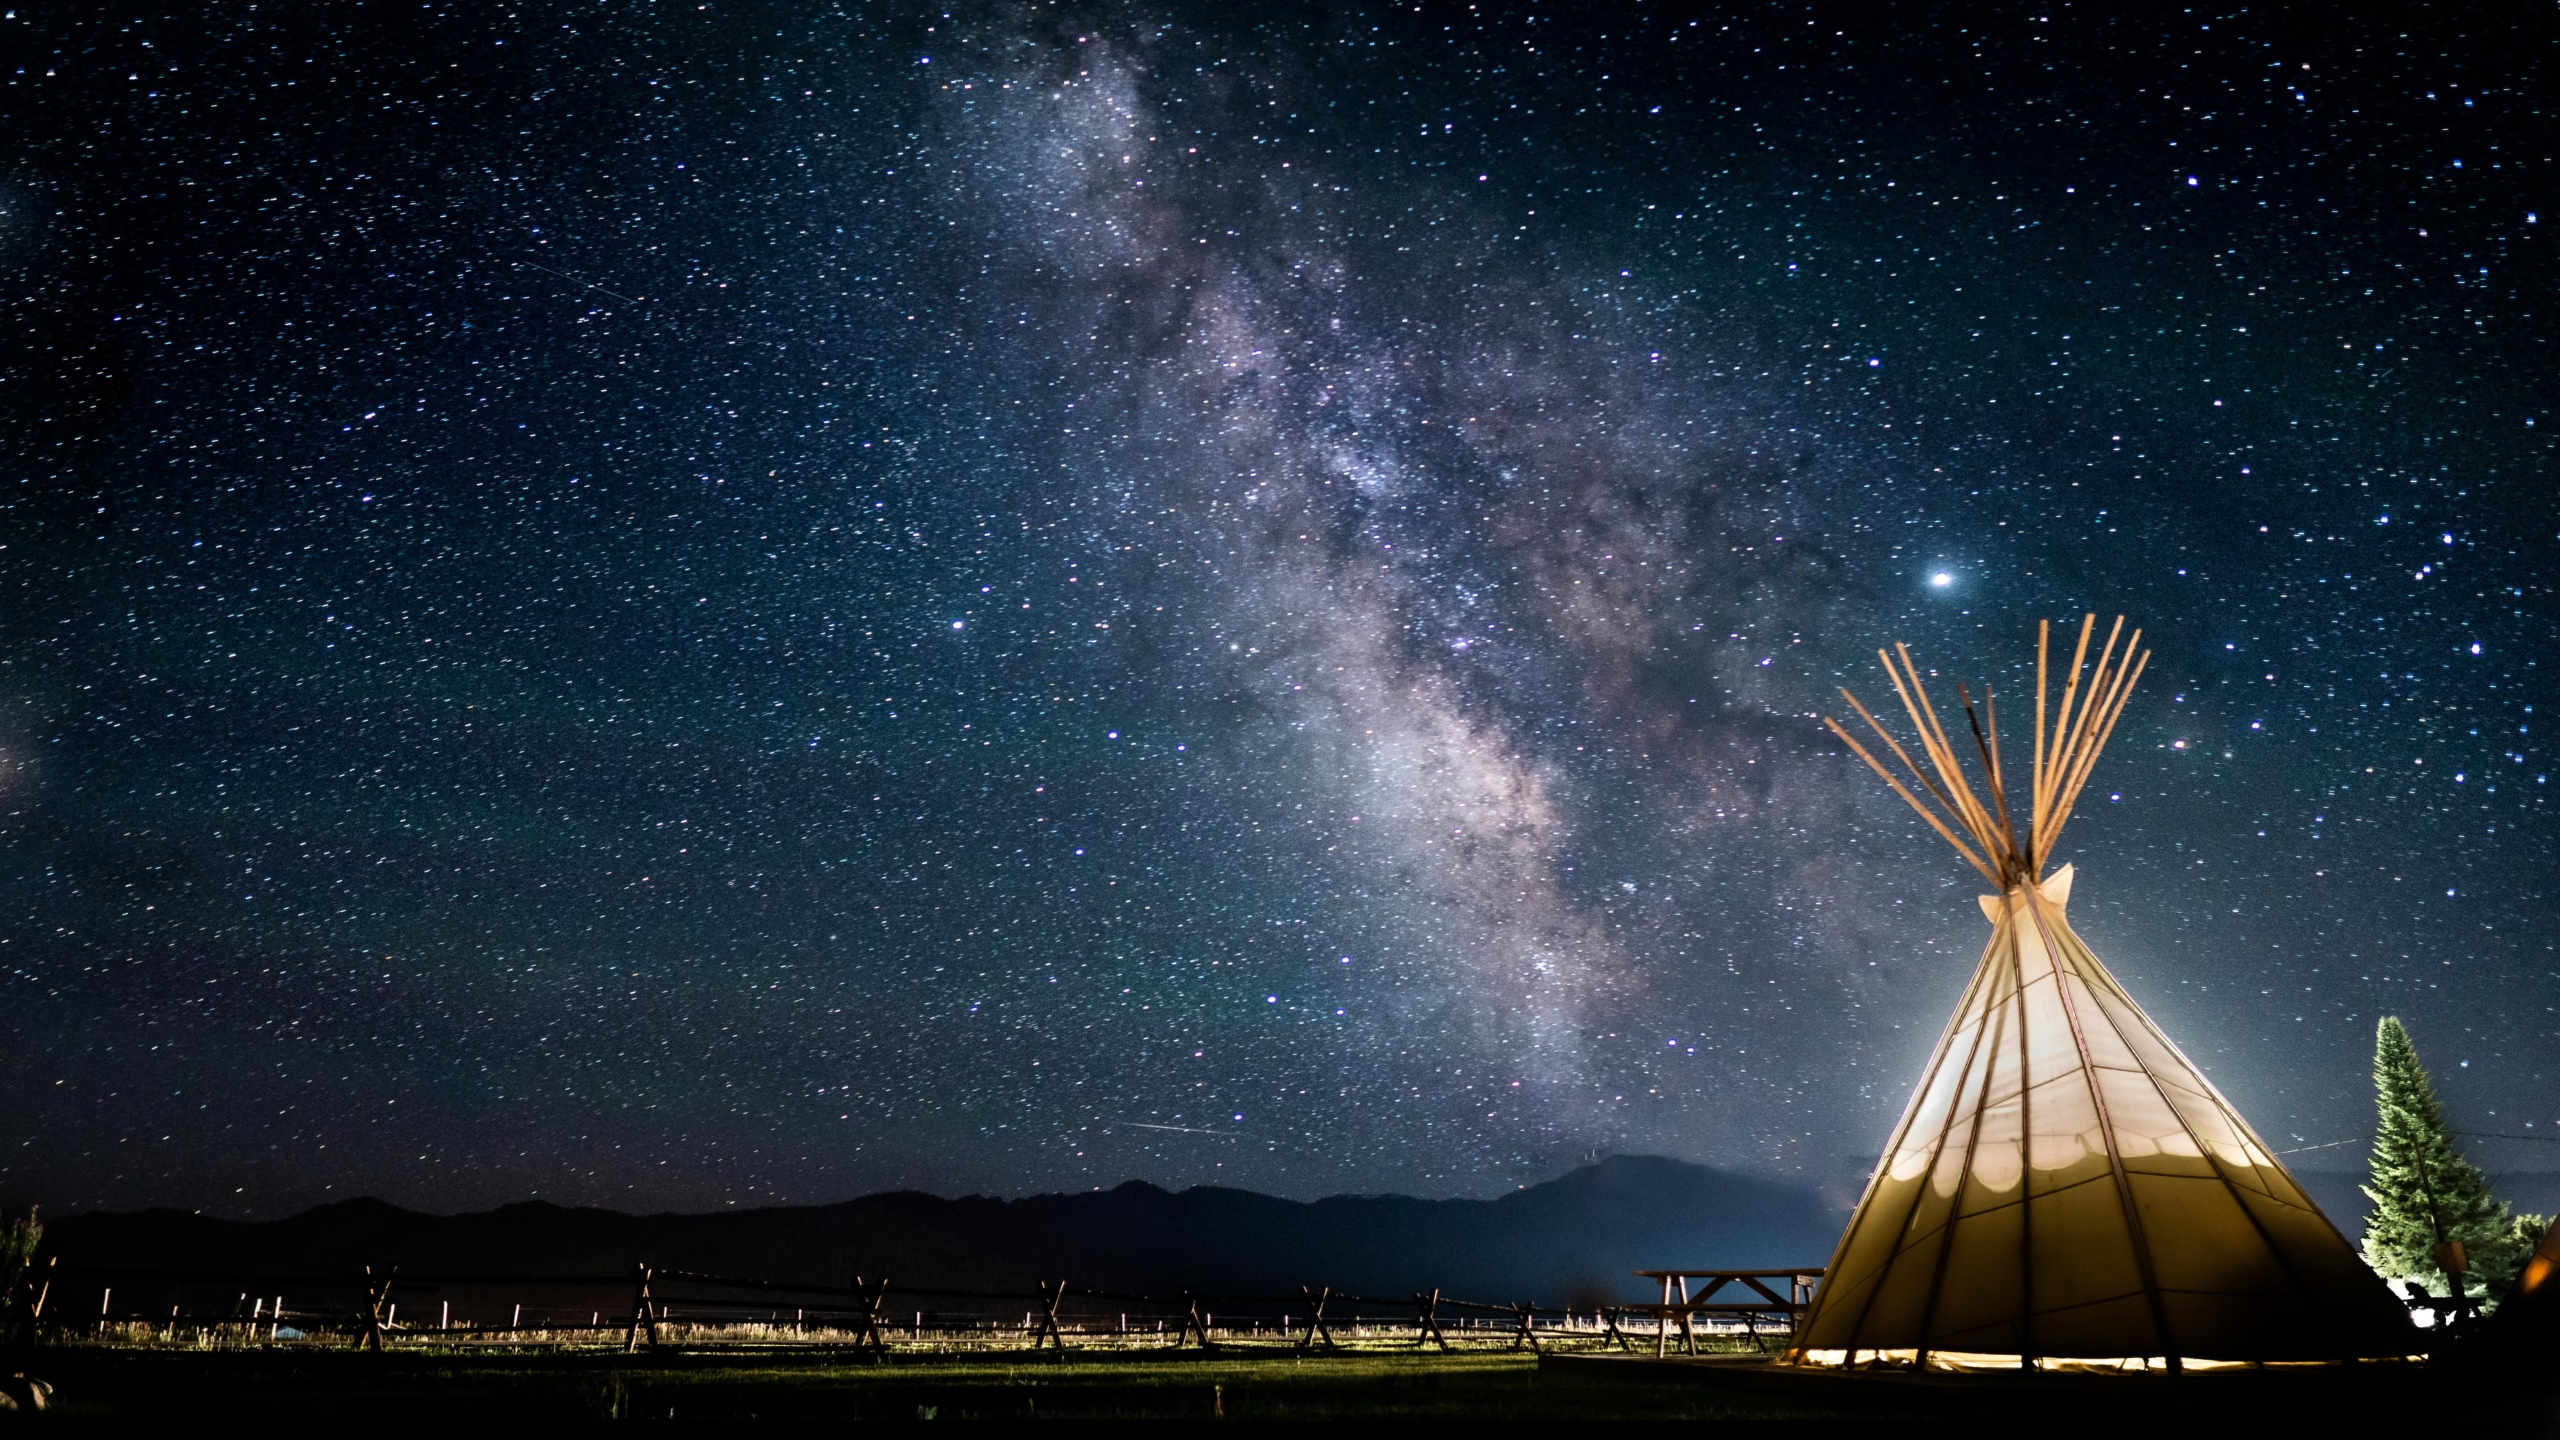
Table of Contents
Understanding Night Photography through Telescopes
When embarking on the endeavor of night photography through telescopes, it’s crucial to understand both the foundational and advanced concepts. This practice involves pointing a camera—often with specialized equipment and techniques—through a telescope to capture stunning images of stars, planets, and other celestial bodies. It is a sophisticated synergy between photographic skill and astronomical curiosity, requiring both technical know-how and artistic vision.
The Historical Backdrop
The allure of capturing the night sky is as old as astronomy itself. Historically, people have been fascinated by the cosmos, with early astronomers sketching their observations. However, it wasn’t until the advent of photography in the 19th century that more permanent records of the stars could be captured. Early astrophotography was rudimentary; yet, even with its initial limitations, it laid the groundwork for today’s detailed images of distant galaxies.
The Importance of the Telescope
The telescope is the heart of night sky photography. Without it, capturing the intricate details of celestial bodies would be impossible. Galileo’s early telescopic observations marked the beginning of astronomy as a modern science, paving the way for the development of more advanced optical devices. Whether using a simple refractor or a sophisticated Schmidt-Cassegrain, understanding your telescope’s capabilities and limitations is critical.
Essential Equipment for Night Photography
To achieve successful night photography through telescopes, investing in the right equipment is paramount. Each piece of equipment plays a unique role in ensuring high-quality images. From the telescope itself to complementary gear like cameras and mounts, clarity lies in the details.
Cameras: The Eye of the Telescope
Choosing the right camera is nearly as important as selecting the appropriate telescope. Digital Single-Lens Reflex (DSLR) cameras and mirrorless cameras are popular choices among night photographers. They provide the sensitivity and control necessary for low-light environments. Factors such as sensor size, maximum ISO capabilities, and noise performance should all be carefully considered.
Telescope Mounts: Stability and Precision
While the telescope itself focuses on capturing light, the mount ensures that the telescope remains steady, minimizing the impact of Earth’s rotation. Equatorial mounts are favored for night photography due to their ability to track celestial bodies as they move across the sky. Motorized mounts can further enhance tracking accuracy, especially for long exposure shots.
Focal Reducers and Filters
Focal reducers decrease the focal length of your telescope, widening the field of view and enhancing light-gathering capabilities. Filters, on the other hand, aid in reducing light pollution and accentuating specific wavelengths of light, such as the hydrogen-alpha line crucial for imaging nebulas.
The Technique: Capturing the Night Sky
The methodology used in night photography through telescopes distinguishes a well-composed celestial photograph from a mere snapshot. Mastering exposure, understanding focusing techniques, and manipulating image processing all contribute to creating captivating astrophotographs.
Mastering Exposure
Exposure in night photography can be challenging due to limited light availability. Experimenting with longer exposure times allows more light to reach the camera sensor, capturing the faint glow of distant objects. However, one must be cautious of overexposure and star trails, unless shooting for this specific effect deliberately.
Focusing on Infinity
Achieving razor-sharp focus is arguably the most challenging aspect of astrophotography. With celestial objects often being millions of light-years away, the focusing process can be quite different from regular photography. Techniques involve using the “live view” feature on cameras with digital zoom to fine-tune focus, often aided by a Bahtinov mask for precise adjustments.
Image Processing
Post-capture processing can substantially darken the learning curve of astrophotography but is necessary in refining raw images into finished works of art. Techniques such as stacking multiple exposures to enhance detail and reduce noise, and using software like Adobe Photoshop or specialized programs like DeepSkyStacker, are essential.
Building the Perfect Setup
Each astrophotographer’s setup is unique, tailored to individual goals and preferences. While beginners might start simple, adding components over time is a natural progression in refining astrophotographic skills. Here’s a hypothetical example of a setup for a balcony astrophotography session:
Analyzing Your Space
Understanding your environment is critical. For a balcony setup, consider the space available and potential obstructions such as nearby buildings or trees blocking the view of the sky. Observing light pollution levels and the path of the moon can guide you in timing your photography sessions.
Choosing the Right Telescope
For a balcony setup with limited viewing angles, a compact telescope with a portable mount can be beneficial. A reflector telescope on a sturdy alt-azimuth mount offers simplicity for quick setup, while a refractor telescope on a motorized equatorial mount provides more precise tracking and imaging capabilities.
Alignment and Calibration
Properly aligning your mount and calibrating your equipment is an essential part of setting up. Use a polar scope or alignment software to ensure accuracy and prevent tracking errors. Calibration of the telescope’s finder scope with the camera’s field of view ensures the object targeted for imaging is perfectly centered.
Addressing Challenges and Mitigating Issues
No venture is without its challenges, and night photography is no exception. The unpredictable nature of the weather, dealing with equipment failures, and combating light pollution are hurdles that photographers frequently face. Understanding and mitigating these challenges is as much a part of the process as capturing the images themselves.
Coping with Light Pollution
One of the prominent challenges is light pollution, especially in urban areas. Using filters designed to block specific wavelengths of artificial light can enhance image clarity. Traveling to designated dark-sky locations, when possible, can offer clearer skies for observation.
Weather and Atmospheric Conditions
Cloud cover, humidity, and temperature fluctuations can significantly affect the outcome of your astrophotography session. Monitoring weather forecasts and understanding the atmospheric conditions conducive to good photography are vital to planning successful outings.
Enhancing Skills and Learning Continuously
Becoming proficient in night photography through telescopes requires dedication to constant learning and skill enhancement. Engaging with communities, attending workshops, and studying various celestial phenomena contribute to one’s growth as an astrophotographer.
Community Engagement
Joining astronomy clubs or online forums can provide valuable insights and feedback from fellow enthusiasts and professionals. Sharing images and experiences fosters an environment of learning and mutual support, aiding in the development of both technical skills and artistic creativity.
Workshops and Continuous Education
Participating in photography and astronomy workshops can significantly advance one’s knowledge and techniques. From learning about the latest equipment to understanding celestial events, staying informed elevates the quality of one’s work.
Case Studies and Comparisons
Real-world examples and case studies further illustrate the captivating potential of astrophotography. Examining these case studies provides insight into diverse techniques and creative approaches, demonstrating how different setups and conditions can yield varied results.
Case Study: The Milky Way’s Majesty
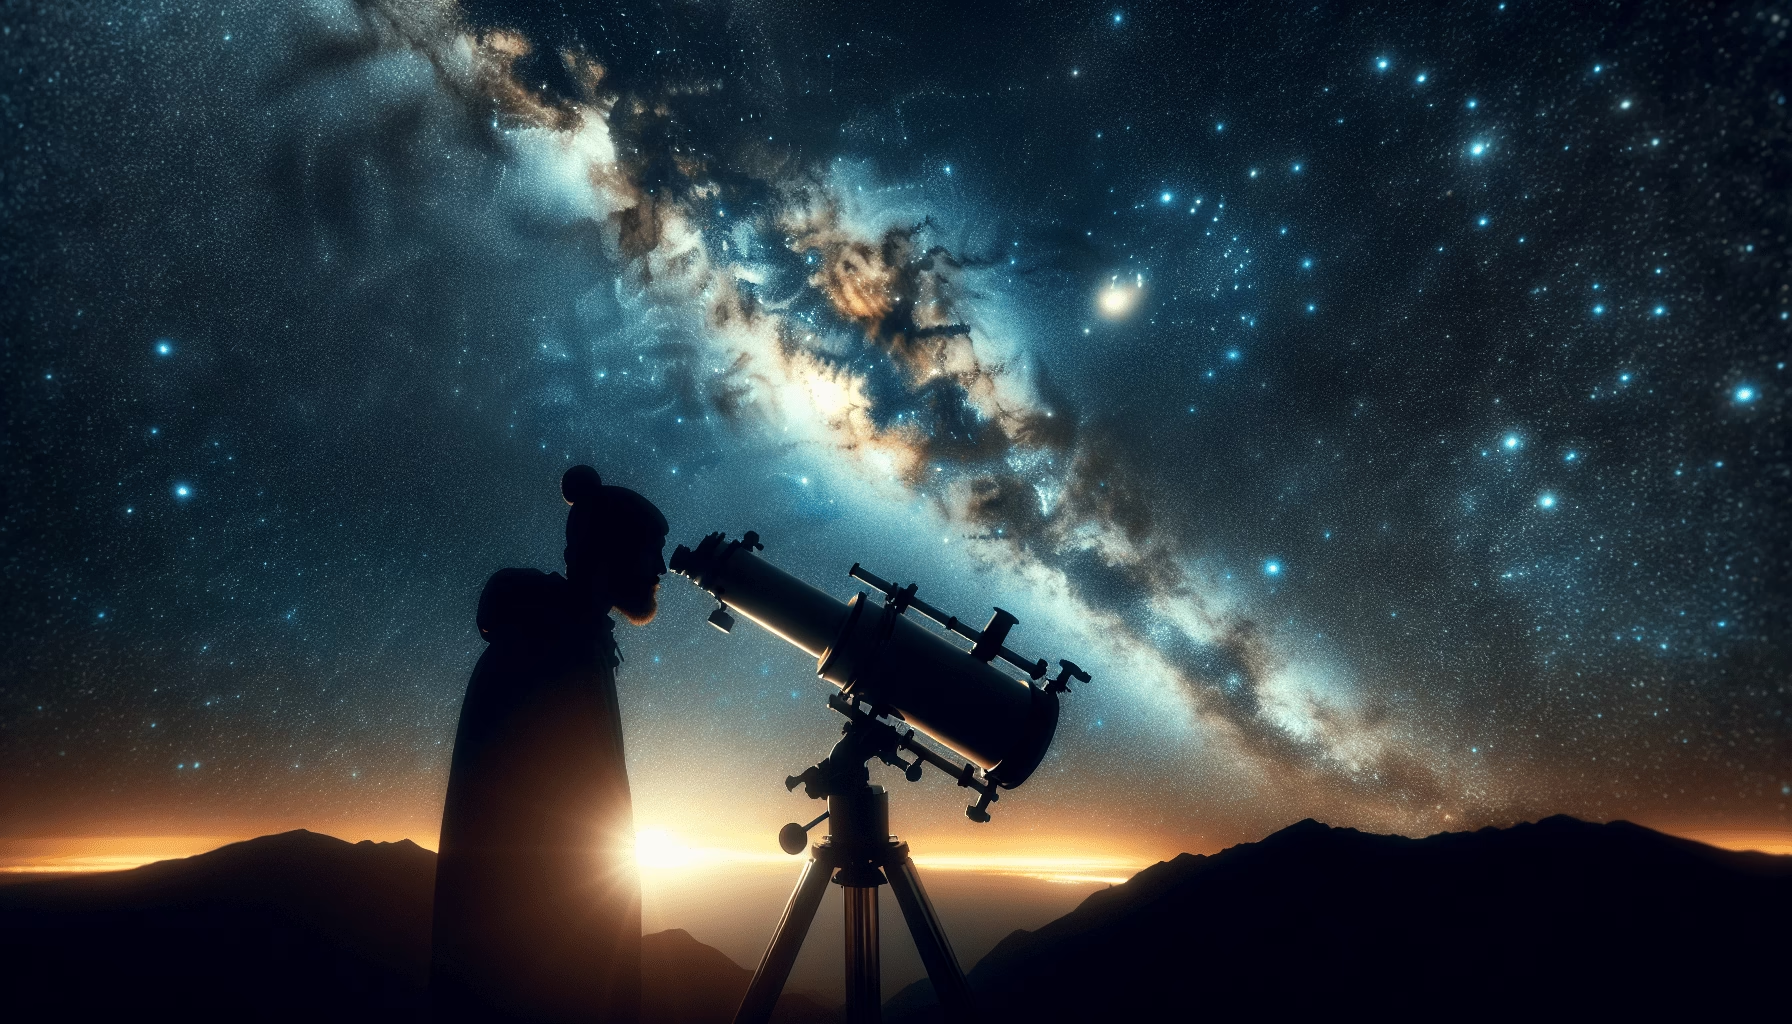
Consider the example of capturing the Milky Way. An enthusiast could use a DSLR mounted on a motorized equatorial mount, coupled with a wide-angle lens, to capture the milky band stretching across the sky. Using a high ISO setting and a long exposure time captures the intricate details of our galaxy’s core, showcasing the depth and beauty that telescope-enhanced photography can achieve.
Conclusion: The Cosmic Canvas
Creating successful night photography through telescopes is a journey of discovery, both outward towards the stars and inward into one’s creative process. The marriage of technology and artistry makes this endeavor uniquely fulfilling, as photographers capture fleeting moments of cosmic beauty. By understanding the equipment, mastering the techniques, and continuously challenging themselves, enthusiasts translate the infinite tapestry of the universe into tangible works of visual splendor. The night sky, vast and mysterious, becomes both a subject to be captured and a canvas for constant inspiration.
