Capturing Constellations Like a Pro: Have you ever looked up at the night sky and wondered how those stunning images of constellations are captured? You’re not alone. The vast blanket of stars has always mesmerized and inspired countless individuals. If you’ve ever dreamt of photographing the night sky like a pro, you’re in the right place!
Understanding “Astrophotography” begins with appreciating both its beauty and complexity. It’s not merely about pointing a camera at the sky and clicking; it requires a blend of patience, knowledge, and a touch of creativity. This guide will unravel the secrets of capturing constellations, turning you into a night sky photography aficionado before you even know it.
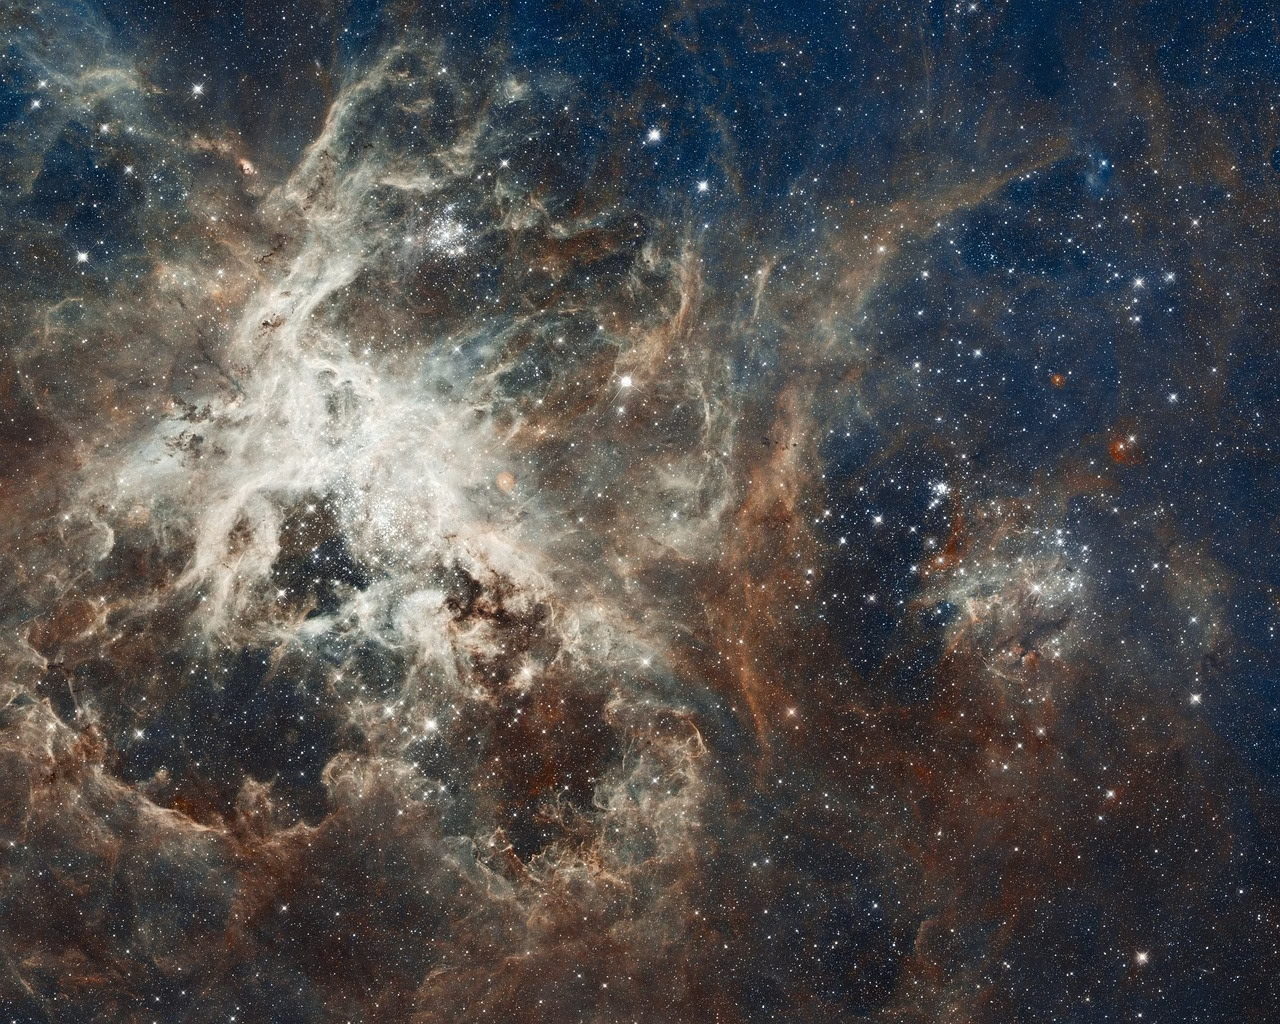
Table of Contents
The Cosmic Connection: A Brief History of Astrophotography
Astrophotography might seem a modern endeavor, but humans have been sketching and mapping the stars for centuries. The invention of photography in the 19th century allowed this practice to shift from the sketchbook to the camera. By the late 1800s, astronomers were using photographic plates to capture the night sky in ways the human eye could not. This led to discoveries such as new stars and even entire galaxies, expanding our understanding of the universe.
Today, with advancements in technology, capturing the night sky is more accessible than ever. Digital cameras and mobile phones bring the cosmos within reach. However, as you will discover, understanding the basics and refining your techniques can transform your regular shots into extraordinary images.
Capturing Constellations: What You Need to Get Started
Equipment Essentials
Arming yourself with the right tools is crucial in astrophotography. While you don’t need the latest gadgets, understanding your equipment will help you make the most of what you have.
- Camera: A DSLR or mirrorless camera with manual settings is ideal. The sensor quality is more important than megapixels when it comes to low-light photography.
- Lens: A wide-angle lens is perfect for capturing expansive sky views. A lens with an aperture of f/2.8 or lower allows more light to reach the sensor, which is vital for night photography.
- Tripod: Stability is non-negotiable when photographing the night sky. Even the slightest movement can blur the stars, so invest in a sturdy tripod.
- Remote Shutter Release: This reduces vibrations caused by manually pressing the shutter button, resulting in sharper images.
- Star Tracker or Equatorial Mount (Optional): If you plan to take long exposure shots, these devices help compensate for the Earth’s rotation, keeping stars sharp over extended periods.
Additional Gear
- Red Flashlight: Essential for retaining your night vision while adjusting your camera settings in the dark.
- Extra Batteries and Memory Cards: Cold temperatures can drain batteries faster, so pack extras.
- Warm Clothing: Nights can be chilly, so dress in layers to stay comfortable.
- Apps: Use apps like Stellarium or SkySafari to locate constellations and plan your shoot.
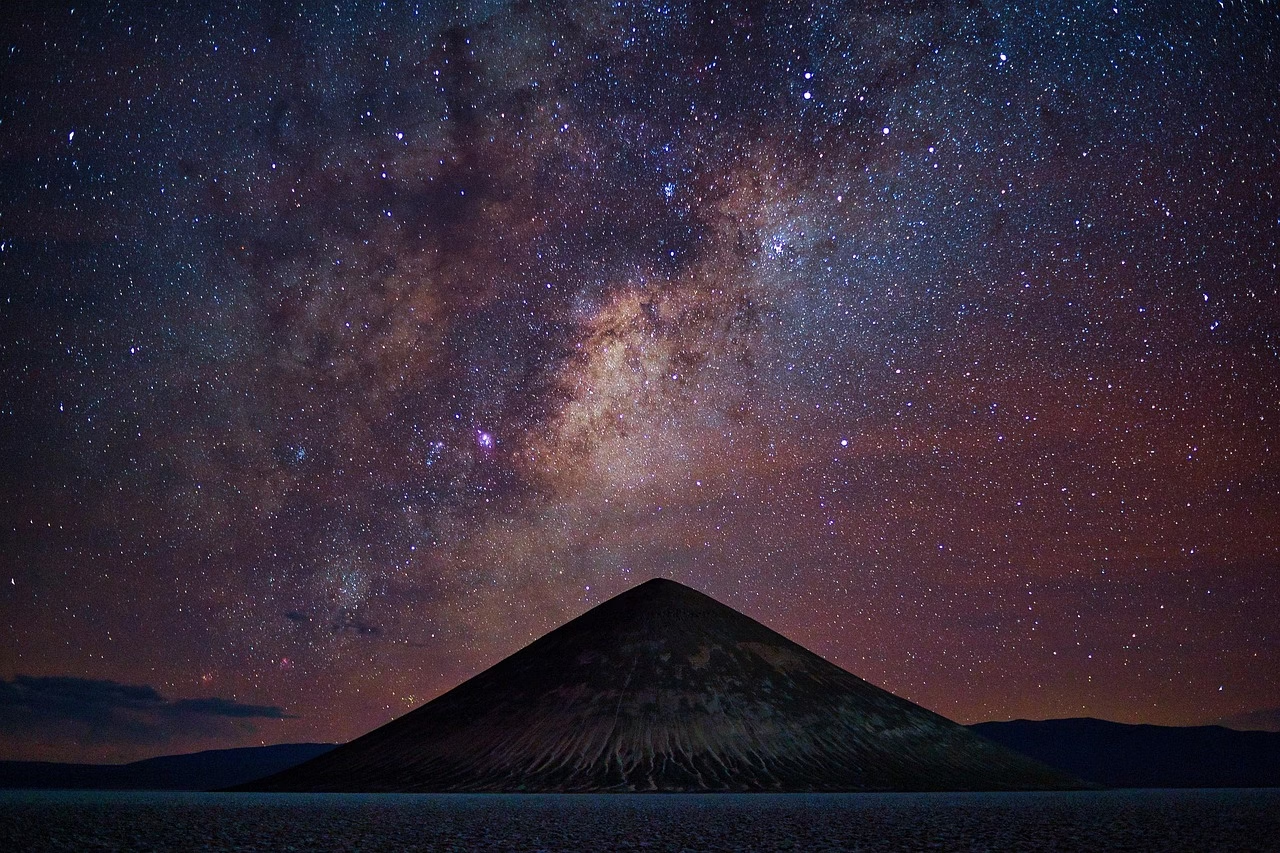
Setting the Scene: Ideal Conditions for Shooting Stars
The success of night sky photography doesn’t just depend on your equipment; nature plays a significant role. Here are crucial factors to consider:
Light Pollution
One of the greatest challenges in astrophotography is light pollution. Urban areas can overpower the natural glow of the stars. If possible, venture out to a location with minimal artificial light. Websites like the Dark Site Finder can help you locate the best spots near you.
Weather Conditions
Clear skies are crucial. Check weather forecasts to ensure there are no clouds obstructing your view. Humidity and air pollution can also affect visibility, so consider those factors when planning.
Moon Phase
The brightness of the moon can wash out the night sky. Ideally, shoot during a new moon when the sky is darkest, increasing the visibility of constellations.
Timing
Twilight isn’t ideal for astrophotography since residual sunlight can affect your images. The best time is during the astronomical twilight, which occurs when the sun is 18 degrees below the horizon, ensuring complete darkness.
Mastering Camera Settings: The Heart of Astrophotography
Operating your camera manually is crucial in astrophotography. Auto settings might work for daytime photography, but capturing the night sky requires more control.
ISO
Set your ISO level high to make your camera sensor more sensitive to light. Start at 1600 or 3200, but be mindful of noise at higher levels. Modern cameras offer better noise reduction without sacrificing image quality.
Aperture
Use a low f-stop (wider aperture) to allow more light. A setting of f/2.8 or wider is usually ideal, though it depends on your lens capability.
Shutter Speed
The longer the shutter is open, the more light your camera sensor will capture. However, too long of an exposure will trail stars due to Earth’s rotation. A good rule is the 500 Rule: Divide 500 by the focal length of your lens to get the maximum number of seconds you can expose without noticeable star trails.
Focus
Cameras often struggle to focus in the dark. Set your lens to manual focus and adjust until stars are sharp. It’s useful to use a bright star or distant light to achieve this.
White Balance
Set white balance manually. Many astrophotographers prefer the daylight setting, as it accurately captures the colors of the stars and sky.
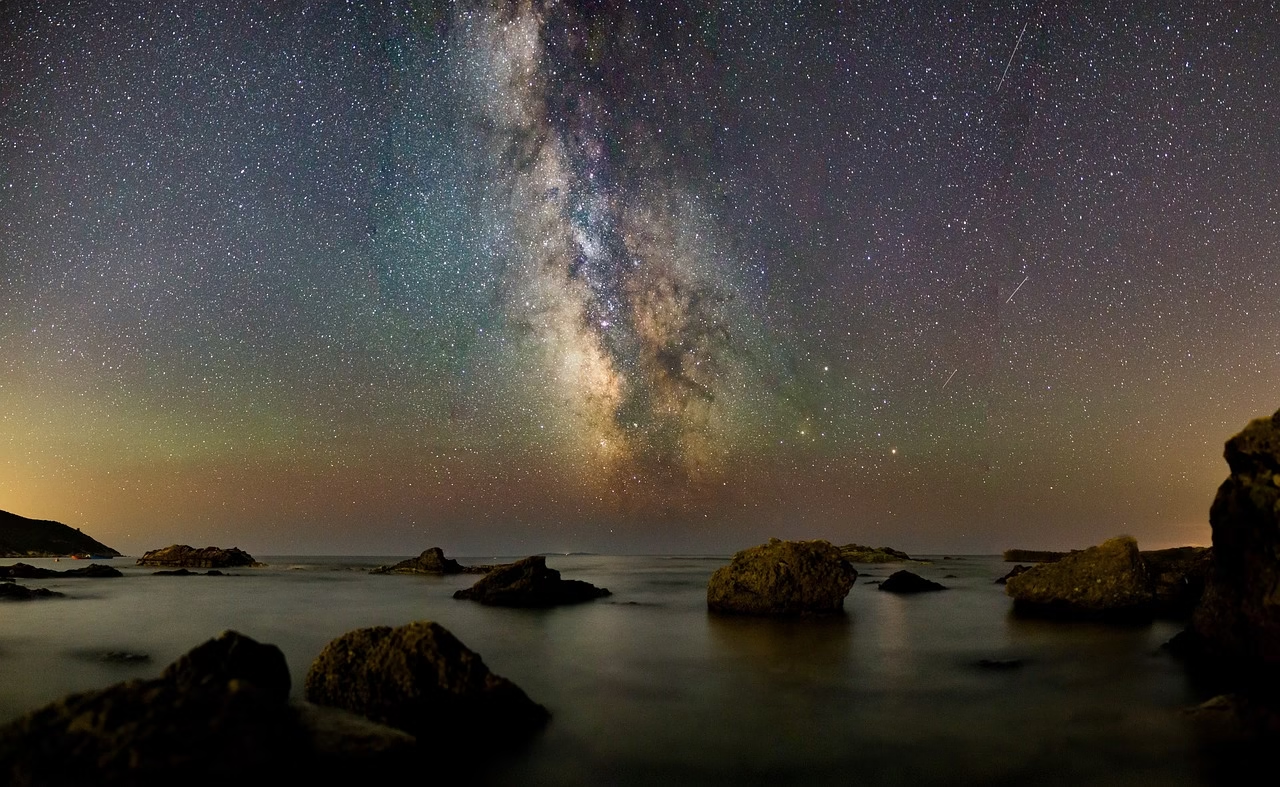
Composing the Perfect Shot: Framing Your Constellations
A well-composed photograph will capture the viewer’s imagination. When framing your shot, consider including terrestrial objects like trees, mountains, or a lone silhouette to provide context and scale against the vastness of the night sky.
Rule of Thirds
Use the rule of thirds to add balance and interest to your photos. Place constellations off-center to create a more dynamic image. Most cameras have a grid function to help you with this.
Leading Lines
Incorporate elements like roads or streams that naturally lead the viewer’s eye towards the stars. This technique draws attention to your celestial subject.
Foreground Interest
A striking foreground can anchor your image and give the viewer a sense of place. Experiment with silhouettes of natural or man-made structures.
Post-Processing: Turning Raw Snapshots into Masterpieces
Once you’ve captured your images, it’s time for post-processing to make them shine. Software like Adobe Lightroom and Photoshop are popular among astrophotographers.
Basic Adjustments
- Exposure: Adjust to brighten or darken the overall image, but be cautious of introducing noise.
- Contrast: Enhances the difference between the night sky and the stars, making them pop.
- Highlights & Shadows: Adjust to bring out details in both dark and bright areas of your image.
- Clarity & Dehaze: Enhance details and remove atmospheric haze, improving overall sharpness.
Advanced Edits
- Noise Reduction: Essential for cleaning up your image, but avoid creating a plastic-like look.
- Star Color: Enhance the natural colors of stars for added interest.
- Stacking Images: Techniques like stacking multiple exposures can enhance your final photograph by reducing noise and increasing detail.
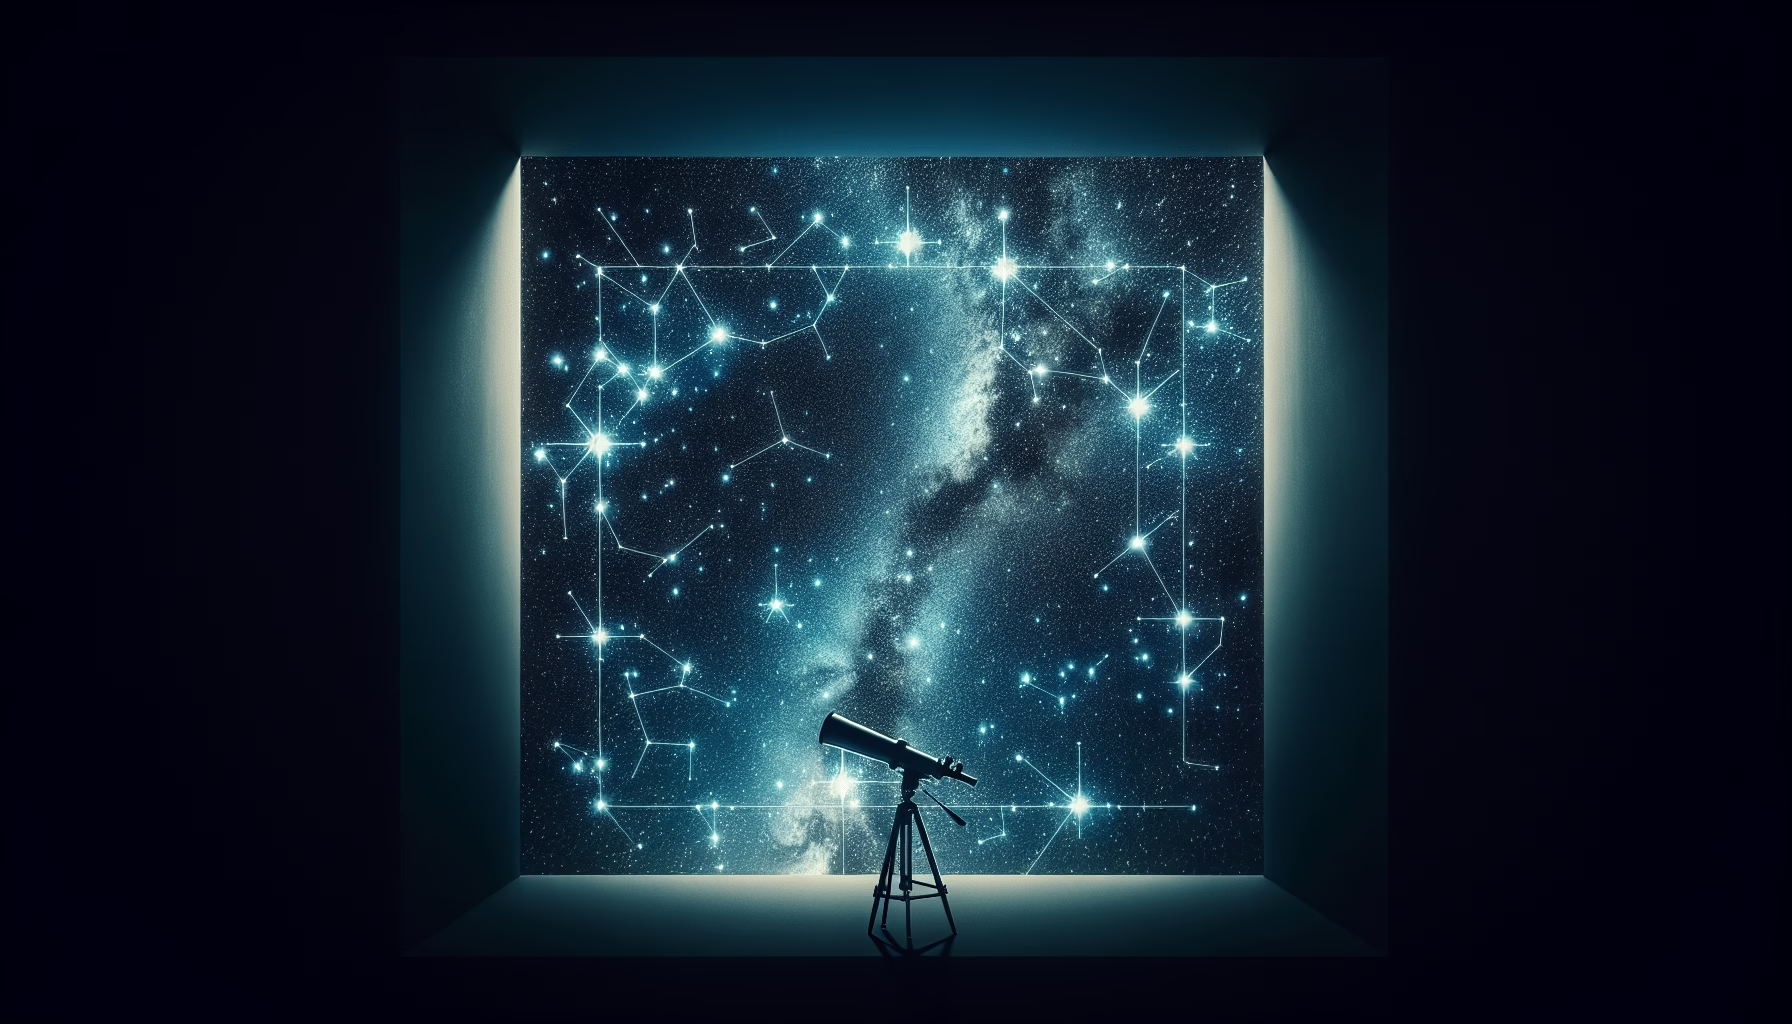
Real-Life Inspirations: Astrophotographers and Their Journey
The Stories Behind the Lens
Behind every stunning shot of the heavens lies a unique story. Consider the journey of Ansel Adams, who combined his passion for photography with his deep appreciation for the cosmos. His breathtaking landscapes, under starry skies, have inspired generations.
Or look at Terri Vatuone, an astrophotographer who captures the Milky Way in various terrestrial settings, evoking a sense of wonder. Vatuone’s work illustrates the importance of patience and meticulous planning—qualities essential in astrophotography.
Learning from the Experts
Many acclaimed astrophotographers share their process, tips, and experiences. Following them on social platforms or attending workshops can offer invaluable insights. Podcasts and YouTube channels featuring experts can also broaden your knowledge, making the night sky feel a little closer.
Troubleshooting Common Astrophotography Challenges
Problem: Blurry Stars
The Cause: Movement during shutter release or incorrect focus.
The Solution: Use a remote shutter release and ensure proper manual focus before shooting.
Problem: Excessive Noise
The Cause: High ISO settings or extended exposures.
The Solution: Fine-tune ISO settings and use shorter exposures while considering stacking techniques.
Problem: Star Trails
The Cause: Long exposure times.
The Solution: Follow the 500 Rule to determine the optimal exposure time for sharp stars.
Inspirational Community: Joining Astrophotography Groups
Engaging with a community of like-minded enthusiasts can be both encouraging and educational. From online forums to local meet-ups, sharing your experiences and learning from others will enrich your journey in astrophotography.
Participating in challenges, workshops, and events is a great way to test your skills and receive constructive feedback. Whether you’re capturing famous constellations or discovering your own cosmic narratives, the astrological community provides a welcoming galaxy of support and inspiration.
Final Thoughts: Embark on Your Celestial Adventure
Capturing constellations is more than a technical skill; it’s an art form that invites you to connect deeply with the universe. As you venture into astrophotography, remember that practice is your greatest ally. Each attempt refines your technique, sharpens your eye, and brings the cosmos a little closer. Let curiosity and patience be your guiding stars as you capture the infinite beauty of the night sky.
With this newfound knowledge and passion, you’re ready to create celestial masterpieces. So, grab your camera, find a dark spot, and let the stars guide your journey into astrophotography, where every image tells a stellar story. Happy shooting!
